


Featured Post
Assembling Futon Furniture Easily: A Step-by-Step Guide
Assembling futon furniture can seem daunting at first, but with the right approach, it can be a straightforward and rewarding experience. Whether you're setting up a cozy spot in your living room or creating a multifunctional guest bed, this guide will walk you through the process step-by-step. By the end, you'll have your futon ready to use without the stress or frustration that often accompanies furniture assembly.
Why Assemble Your Own Futon?
There are several benefits to assembling your futon furniture yourself:
- Saves Money: You can avoid the extra fees that come with professional assembly services.
- Sense of Accomplishment: There's a unique satisfaction in building something with your own hands.
- Better Understanding: Assembling it yourself helps you understand the structure, making future maintenance easier.
However, it's important to approach the task with patience and preparation. Let's dive into how you can make assembling futon furniture easy and hassle-free.
Preparation: The Key to Easy Assembly
Before you even open the box, preparation is crucial. Here's how to set yourself up for success:
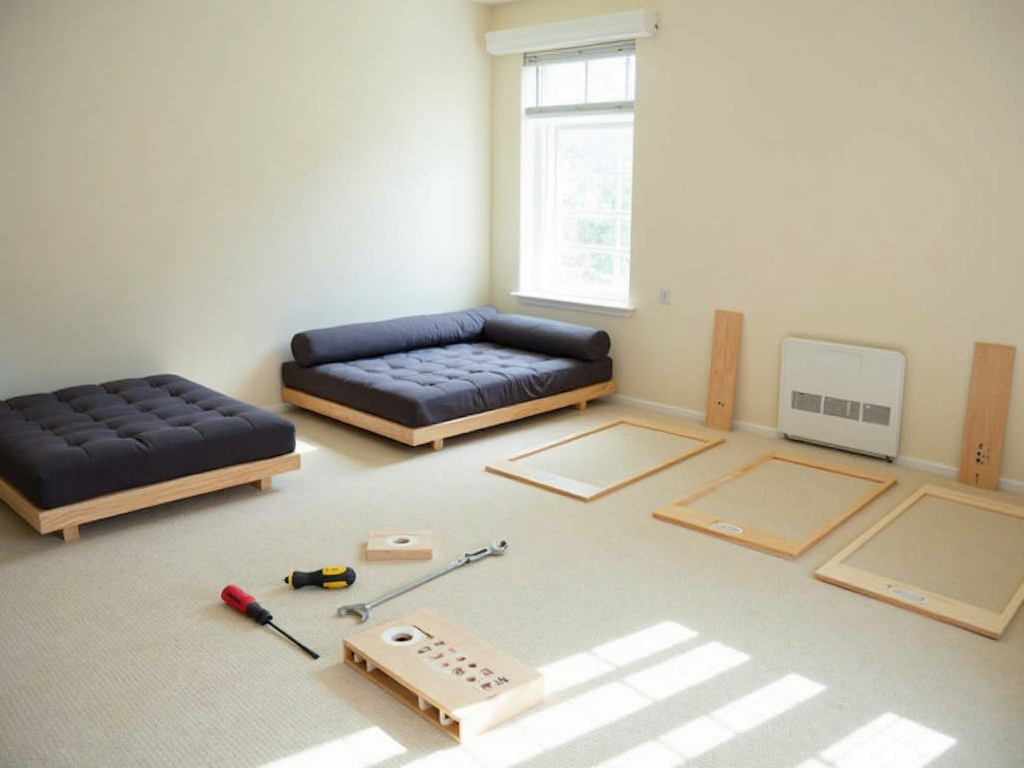
- Clear Your Workspace: Find a spacious, well-lit area to work in. A clutter-free floor space will make it easier to organize parts and move around.
- Gather Tools: Most futons require basic tools like a screwdriver, wrench, and possibly a hammer. Check the instruction manual to confirm.
- Organize Parts: Lay out all the parts and hardware in an organized manner. Group similar items together, such as screws, bolts, and washers.
- Read the Instructions: Take a few minutes to read through the entire instruction manual. This will give you a clear overview of the process and help you anticipate any tricky steps.
Pro Tip: If the written instructions are unclear, search for video tutorials online. Many manufacturers provide visual guides that can make the process easier.
Step-by-Step Assembly Guide
Now that you're prepared, let's walk through the assembly process. While specific steps may vary depending on your futon model, these general guidelines will apply to most futon furniture.
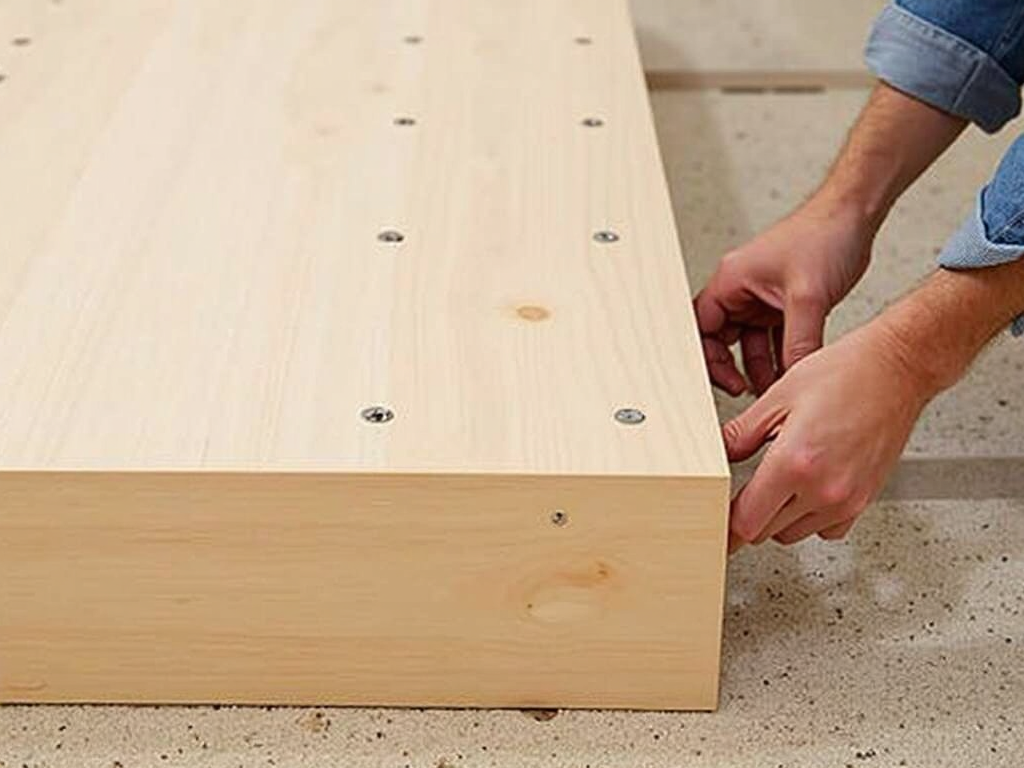
Step 1: Assemble the Frame
The frame is the foundation of your futon, so it's important to get this right.
- Attach the Side Panels: Start by attaching the side panels to the base. Use the provided screws and make sure they are tightened securely but not overly tight to avoid stripping the threads.
- Check Alignment: Ensure the panels are aligned properly to prevent wobbling later on.
Common Mistake: Rushing through this step can lead to misalignment. Take your time to double-check each connection.
Step 2: Attach the Backrest
The backrest is what transforms your futon from a bed to a couch, so it's a critical component.
- Get Assistance if Needed: The backrest can be heavy, so it's helpful to have someone assist you.
- Align the Hinges: Carefully align the hinges with the frame and secure them with screws.
- Test the Movement: Once attached, gently test the backrest to ensure it moves smoothly between positions.
Personal Insight: I once assembled a futon alone and struggled with the backrest. If you're working solo, try propping the backrest against a wall or a heavy object to hold it in place while you secure the screws.

Step 3: Add the Slats or Support System
Depending on your futon model, you may need to install slats or a support system for the mattress.
- Space Evenly: Ensure the slats are spaced evenly to provide proper support.
- Secure Firmly: Use the provided hardware to secure the slats to the frame.
Expert Tip: According to furniture expert John Doe, "Proper slat installation is key to the longevity of your futon. Uneven slats can cause sagging and discomfort over time." Learn more about furniture assembly best practices from XYZ University.
Step 4: Install the Mattress
Once the frame is complete, it's time to add the futon mattress.
- Unroll Carefully: If your mattress is rolled for shipping, unroll it slowly to avoid damaging the fabric.
- Position Correctly: Place the mattress on the frame, ensuring it sits evenly and doesn't overhang.
Fun Fact: Futon mattresses are often made from cotton, foam, or a combination of both, providing comfort and support for both sitting and sleeping.

Common Challenges and How to Overcome Them
Even with careful preparation, you might encounter some hiccups. Here's how to handle common issues:
- Missing Parts: If you discover missing hardware, contact the manufacturer immediately. Most companies are quick to send replacements.
- Stuck Screws: If a screw won't budge, try applying a small amount of lubricant or gently tapping it with a hammer to loosen it.
- Confusing Instructions: If the manual is unclear, look for online resources or reach out to customer support for clarification.
Safety Note: Always prioritize safety. If a part is too heavy, don't hesitate to ask for help to avoid injury.
Personal Experience: Assembling a Futon with Storage
I once helped a friend assemble a futon with a built-in storage compartment. It was a bit more complex than a standard futon, but we managed to get it done by following these steps:
- Extra Organization: We laid out all the parts, including the storage components, and grouped them by section.
- Double-Checked Instructions: The storage unit had additional steps, so we read the manual twice to ensure we understood the process.
- Took Breaks: The assembly took longer than expected, so we took short breaks to stay focused and avoid mistakes.
In the end, the futon turned out beautifully, and my friend was thrilled with the extra storage space. It was a reminder that patience and preparation are key.
Tips for Making Futon Assembly Easier
Here are some additional tips to streamline the process:
- Use a Power Drill: If you have one, a power drill can speed up the screwing process. Just be careful not to overtighten.
- Label Parts: If the parts aren't labeled, use sticky notes to mark them according to the instructions.
- Work in Stages: Break the assembly into stages and take breaks if needed. Rushing can lead to mistakes.
- Keep a Magnet Handy: A small magnet can help you pick up dropped screws or bolts from hard-to-reach places.
Pro Tip: If you're assembling the futon alone, use a wall or a heavy object to prop up parts while you work. This can save you a lot of frustration.

Understanding Different Futon Types
Not all futons are created equal. Here's a quick overview of common futon types and their assembly complexities:
| Futon Type | Assembly Difficulty | Average Time |
|---|---|---|
| Basic Frame | Easy | 30 minutes |
| Convertible | Moderate | 45 minutes |
| With Storage | Challenging | 60 minutes |
Knowing your futon type can help you set realistic expectations for the assembly process.
The Rewards of Assembling Your Own Futon
Beyond the practical benefits, there's a sense of pride that comes with assembling your own furniture. As Jane Smith, a happy futon owner, shares: "I was nervous at first, but following the steps made it easy. Now, I love my futon and the fact that I put it together myself."
Moreover, understanding how your futon is built can make maintenance easier. If something needs tightening or replacing down the line, you'll already know how the pieces fit together.
Summary: Key Takeaways for Easy Futon Assembly
Assembling futon furniture easily boils down to a few essential principles:
- Prepare Thoroughly: Organize your workspace, tools, and parts before starting.
- Follow Instructions Carefully: Take your time to understand each step and double-check your work.
- Be Patient: Rushing can lead to mistakes, so work at a steady pace.
- Ask for Help if Needed: Don't hesitate to enlist a friend or family member for assistance, especially with heavy parts.
With these tips and a bit of patience, you'll have your futon assembled and ready to enjoy in no time.