


Featured Post
Mastering Cabinet Furniture Assembly: Tips and Tricks for a Seamless Setup
Assembling cabinet furniture can feel overwhelming, but it doesn’t have to be. With the right steps and a bit of patience, you can turn flat-packed pieces into a sturdy, stylish cabinet. This guide shares practical cabinet furniture assembly tips to help you succeed, whether it’s your first project or your tenth.
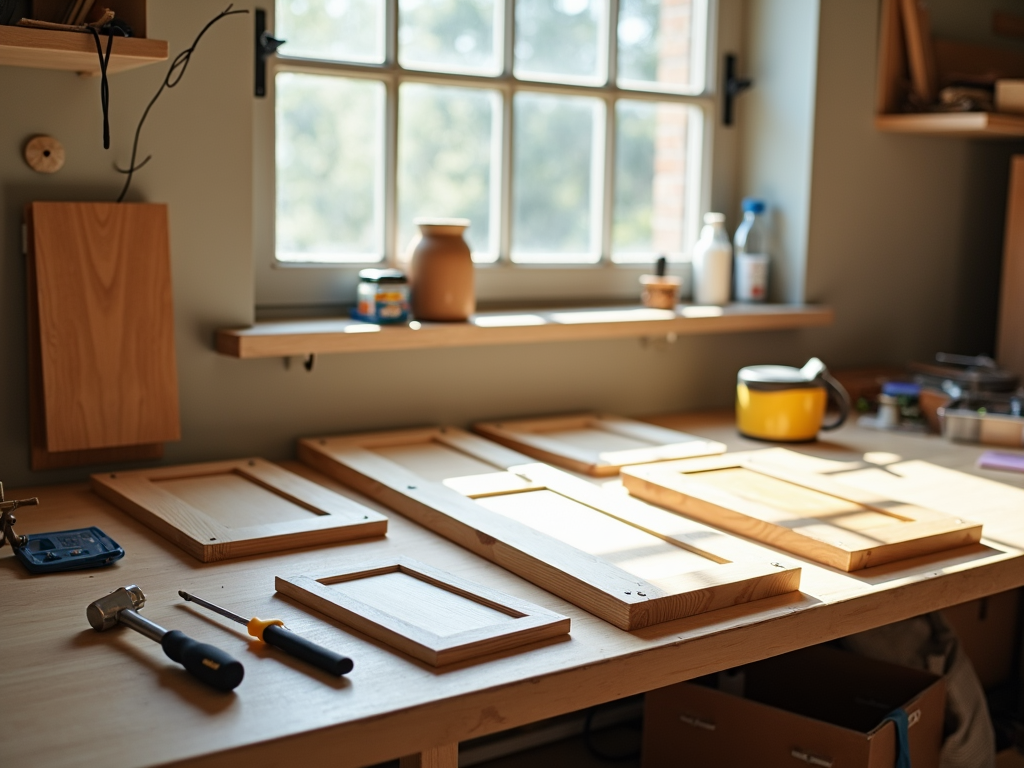
Preparing for Assembly
Start with a clean slate. Clear a space big enough to spread out all your cabinet parts without tripping over them. I’ve learned the hard way that a cramped setup leads to lost screws and frustration. Unpack everything and group similar pieces—like panels or hardware—so you’re not digging through a pile later. Check the manual to confirm you’ve got all the parts. Trust me, discovering a missing shelf halfway through is no fun.
Next, gather your tools. You don’t need a fancy workshop—just the basics will do. Lay them out where you can grab them easily. A little prep now saves a lot of hassle later. If you’ve ever started assembling furniture only to realize you’re missing a screwdriver, you know why this step matters.

Understanding the Instructions
The manual is your best friend, even if it looks like a puzzle at first. Sit down and read it cover to cover before touching a single screw. I once skipped this and ended up with a backward panel—hours wasted. Look at the diagrams closely; they often show details the text skips. If the words confuse you, focus on the pictures. They’re usually clearer than you’d expect.
If the manual’s not in English, don’t panic. Use a translation app or ask a friend to help. Getting the steps right early keeps your cabinet solid and your sanity intact.
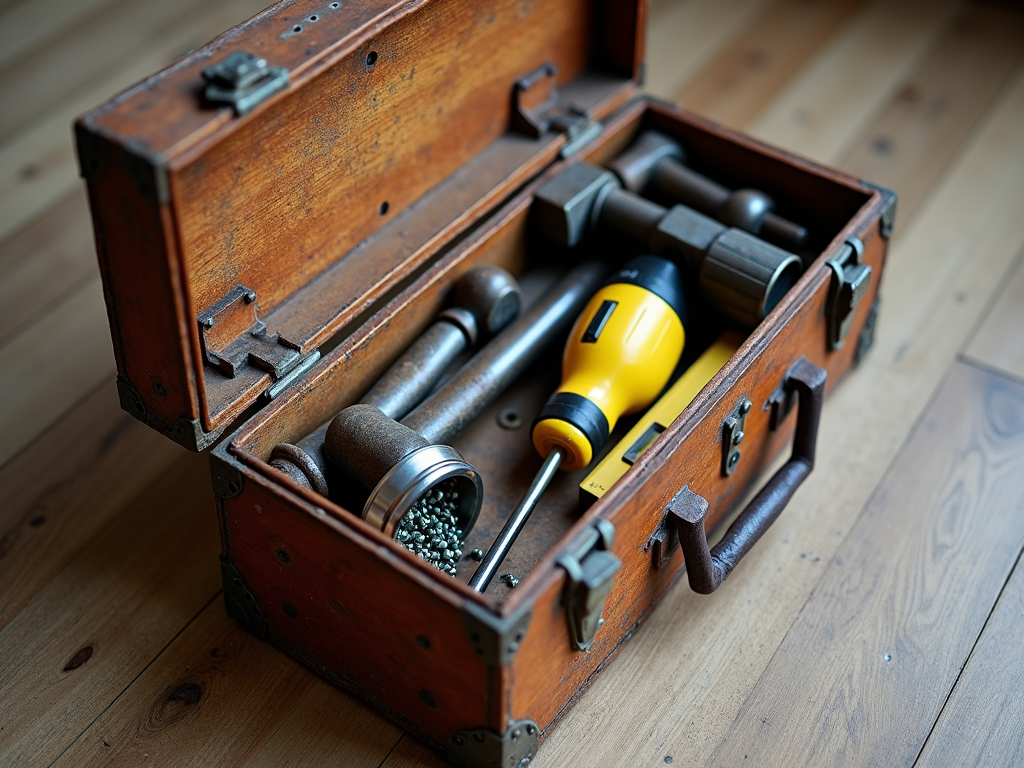
Tools You’ll Need
You don’t need much to assemble a cabinet, but the right tools make it easier. Here’s what I keep handy:
- Screwdriver: Both flathead and Phillips, since cabinets love variety.
- Hammer: For tapping pieces into place gently.
- Level: To avoid a wobbly finish.
- Measuring Tape: For double-checking fits.
A drill or rubber mallet might come up too, depending on the design. I’ve used a beat-up old screwdriver for years—it doesn’t need to be pretty, just functional.
Keep everything within arm’s reach. Scrambling for a tool mid-assembly kills your momentum. Check your kit before starting; a quick trip to the hardware store beats stalling out.
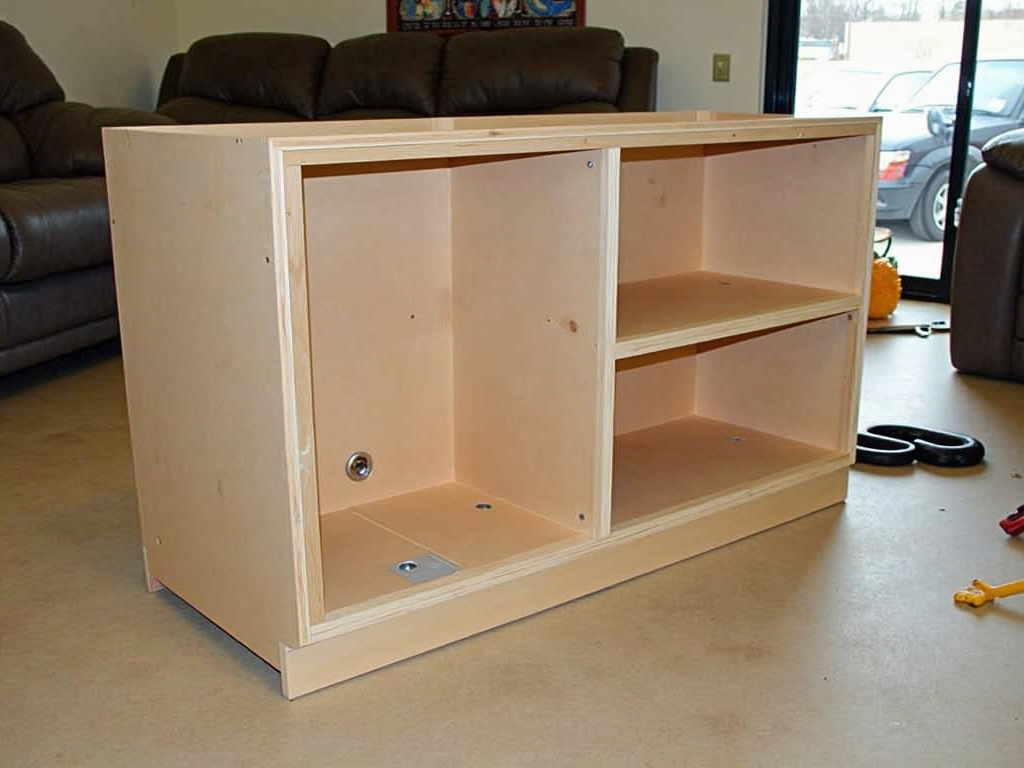
Step-by-Step Assembly Guide
Ready to build? Follow these steps to keep things smooth:
- Sort Everything: Lay out parts and hardware in piles. Small containers for screws are a lifesaver.
- Build the Base: Start here—it’s the foundation. Get it sturdy before moving up.
- Add Panels and Shelves: Attach sides, back, and shelves. Use your level to keep it straight.
- Fit Doors and Drawers: Take your time here; misalignment shows fast.
- Finish Up: Add knobs or handles last for that polished look.
I always start slow with the base. Rushing leads to shaky furniture—and no one wants that.
Check each step as you go. If something feels off, backtrack. It’s easier to fix a loose screw now than a leaning cabinet later.
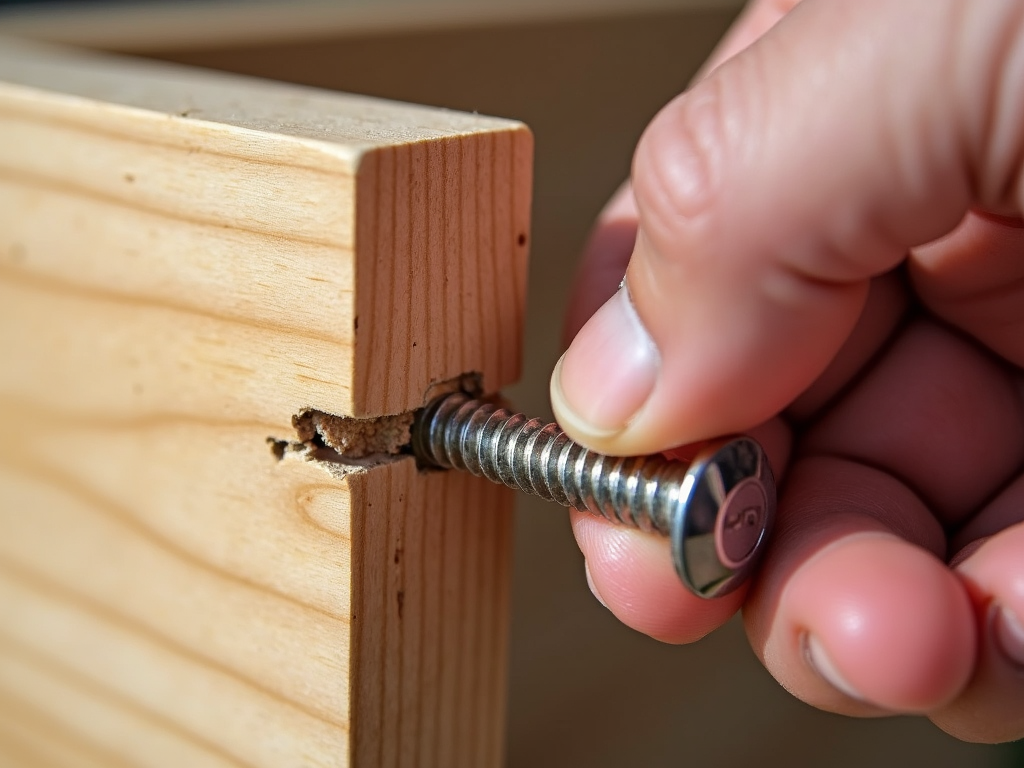
Common Mistakes to Avoid
Mistakes happen, but you can dodge the big ones. Here’s what I’ve learned to watch for:
- Skipping Ahead: Follow the manual’s order. Jumping steps messes up the sequence.
- Over-tightening: Screws should be snug, not buried. I’ve split wood doing this.
- Forgetting to Level: A tilted cabinet looks awful and might fall.
- Rough Handling: Glass doors or thin panels break easily—go gentle.
Take it from me: slow and steady beats fixing a mess later.
One time, I ignored the level on a tall cabinet. It stood fine—until I loaded it with books. Cue the crash. Lesson learned.
Tips for a Professional Finish
Want your cabinet to look store-bought? Try these:
- Add Wood Glue: A dab at joints boosts strength. I swear by it for wobble-free results.
- Align Carefully: Test doors and drawers before tightening fully.
- Smooth Edges: Sand any rough spots with fine paper.
- Wipe Down: Clear dust for a clean, sharp finish.
I’ve found glue and a quick sand turn a basic job into something impressive. Small moves, big payoff.
Stand back and admire your work when you’re done. A well-built cabinet feels good—trust me, I’ve grinned at plenty of my own.
In the end, cabinet furniture assembly tips boil down to preparation and care. Take your time, use the right tools, and follow the steps. You’ll end up with furniture that’s strong, looks great, and maybe even impresses your friends. Each project teaches you something new, so don’t sweat the small stuff. You’ve got this!