


Featured Post
Transform Your Home with DIY Projects Using Reclaimed Wood
Overview: Reclaimed wood is more than a passing fad—it’s a smart, sustainable way to bring history and charm into your home. This article dives into DIY projects with reclaimed wood that anyone can try, from simple crafts to standout furniture pieces.
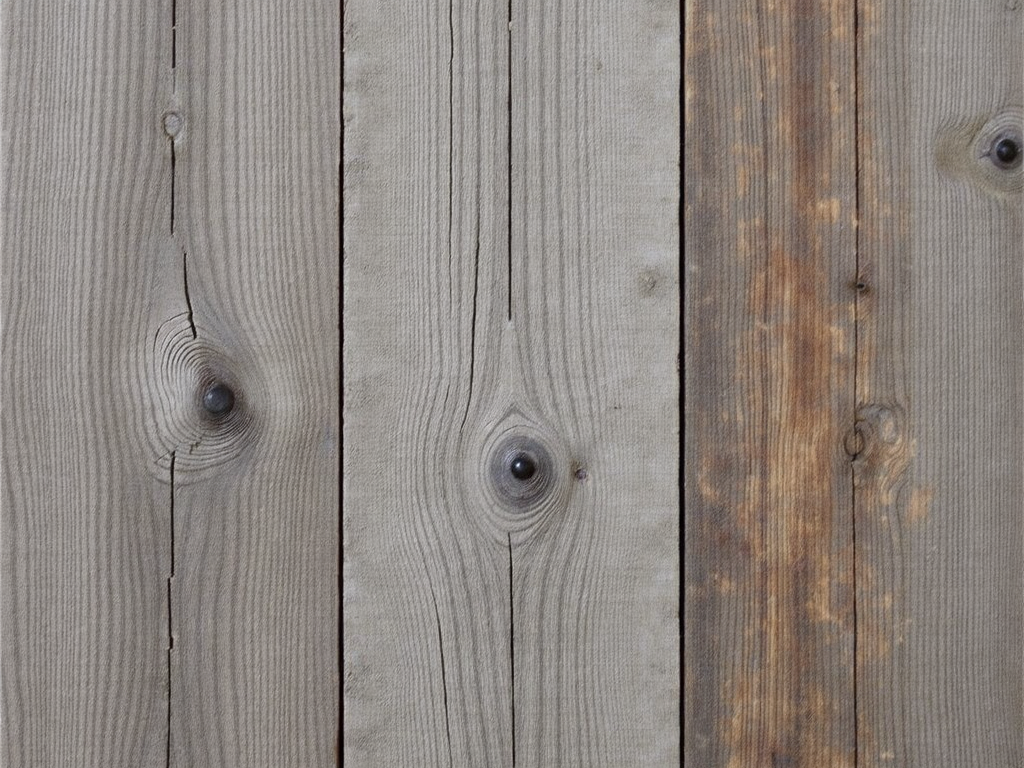
Reclaimed wood tells a story. Picture this: planks from an old barn or beams from a shuttered factory, weathered and worn, finding new life in your living room. I’ve always been drawn to its rugged look—the knots, the cracks, the faded colors. But what really hooks me is how eco-friendly it is. By using wood that’s already been cut, you’re keeping it out of landfills and cutting down the need for fresh lumber. That’s a win for your home and the planet.
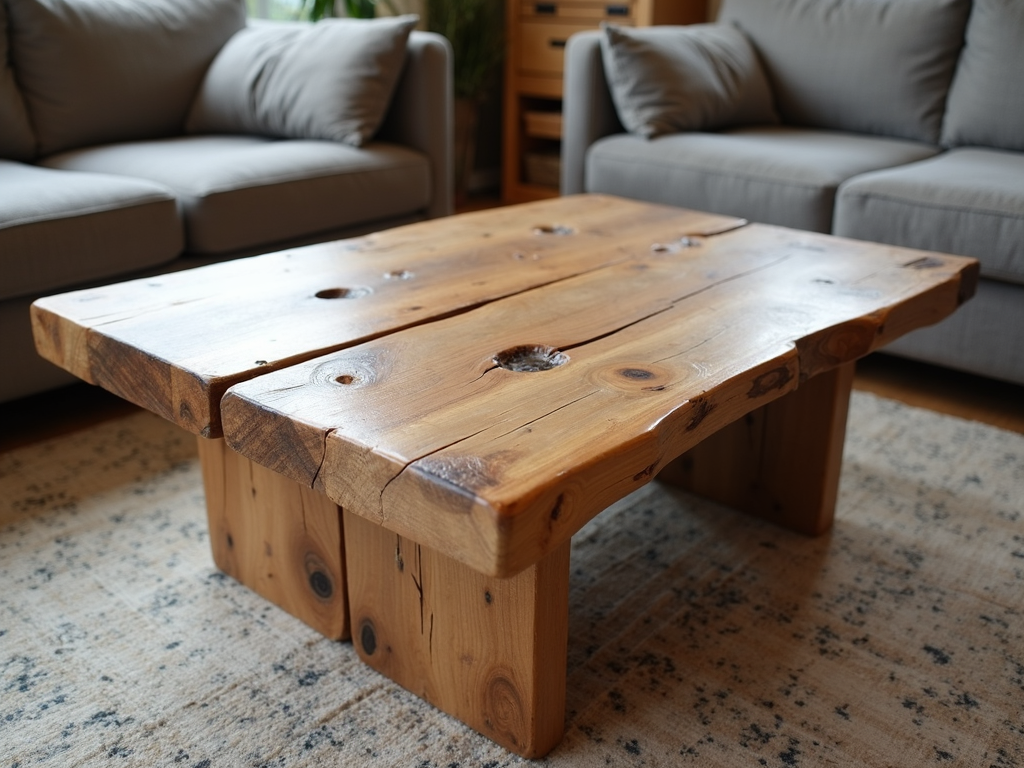
Let’s talk furniture—one of the best ways to use reclaimed wood. I made a coffee table once, just a slab of barn wood with four metal legs screwed on. It took an afternoon, and now it’s the centerpiece of my living room. The imperfections? They’re the best part. Each scratch adds personality. You could go bigger with a dining table or keep it simple with a side table. The trick is to let the wood do the talking—no need for fancy finishes.
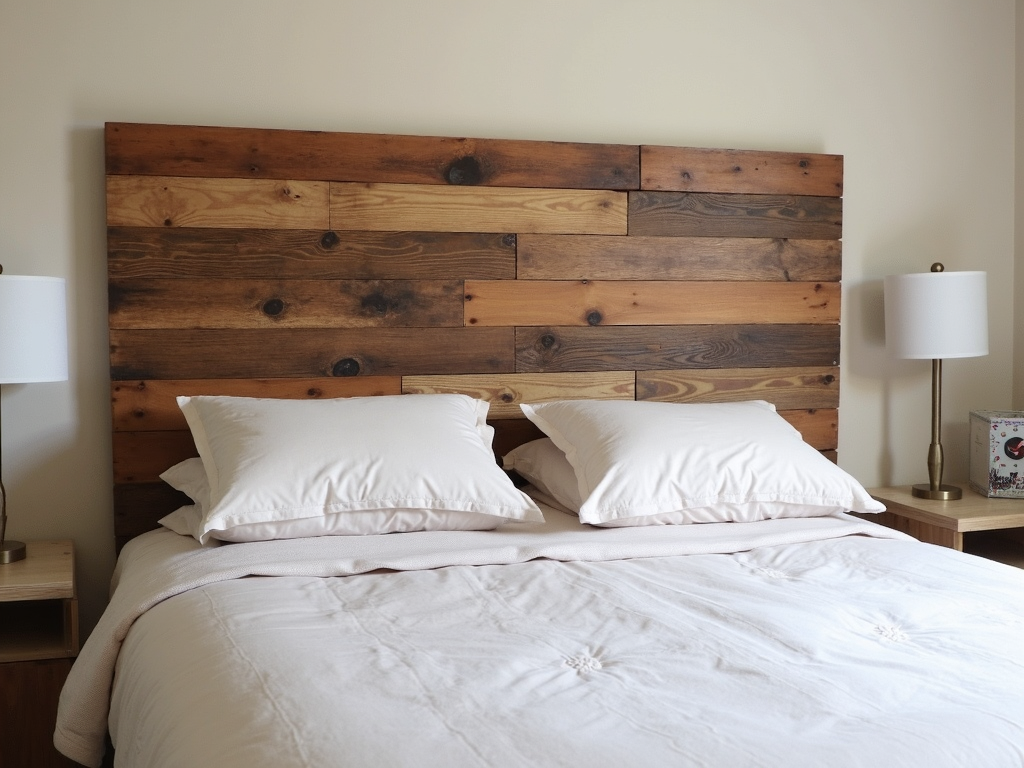
Another project I love is a reclaimed wood headboard. It’s a game-changer for your bedroom. I built one with horizontal planks—some light, some dark—and sealed it with a clear coat. It’s warm and inviting, like a cabin retreat. You can line them up vertically if that’s more your style. A quick tip: sand it smooth, then add a stain to bring out the grain. It’s easy and makes a huge difference.
Feeling artistic? Try a wall piece. I cut some old wood into squares and triangles, then nailed them into a geometric pattern above my couch. It’s simple but striking—a real conversation starter. You don’t need to be an artist; just play with shapes and sizes. It’s a low-risk way to test out DIY projects with reclaimed wood and see what you can create.

Shelves are another winner. I put up floating shelves in my kitchen using wood from an old pallet. They hold my spice jars perfectly and add that rustic vibe I’m after. You could use them anywhere—books in the living room, towels in the bathroom. They’re practical and look great, proving reclaimed wood isn’t just for show.
Before you start, prep is key. I learned this the hard way—nails and dirt can hide in reclaimed wood. Clean it with a brush and some water, then sand it down. I use 80-grit sandpaper to start, then 120-grit for a smoother finish. If you’re worried about bugs, a quick treatment with borax works wonders. Seal it with polyurethane if it’ll face moisture, like in a bathroom.
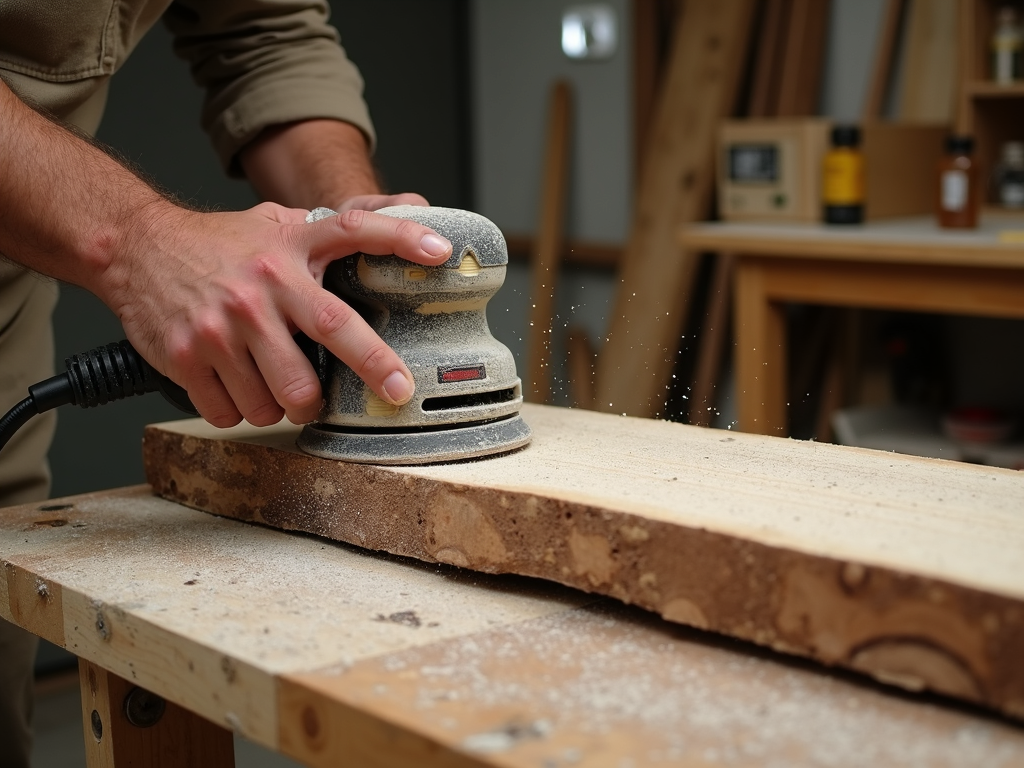
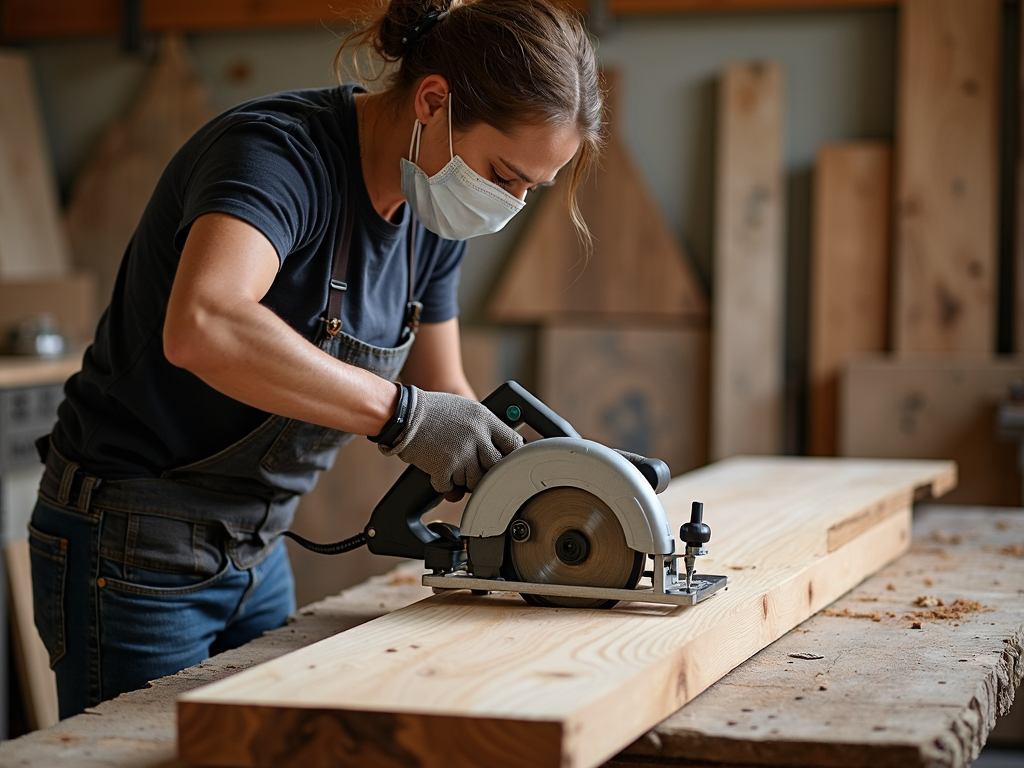
Safety matters too. I’ve gotten splinters more times than I’d like to admit, so gloves are a must. Sanding kicks up dust, so wear a mask—I use a basic one from the hardware store. Cutting? Stick to a saw you’re comfortable with and keep your fingers clear. It’s common sense, but it’s easy to forget when you’re excited to start.

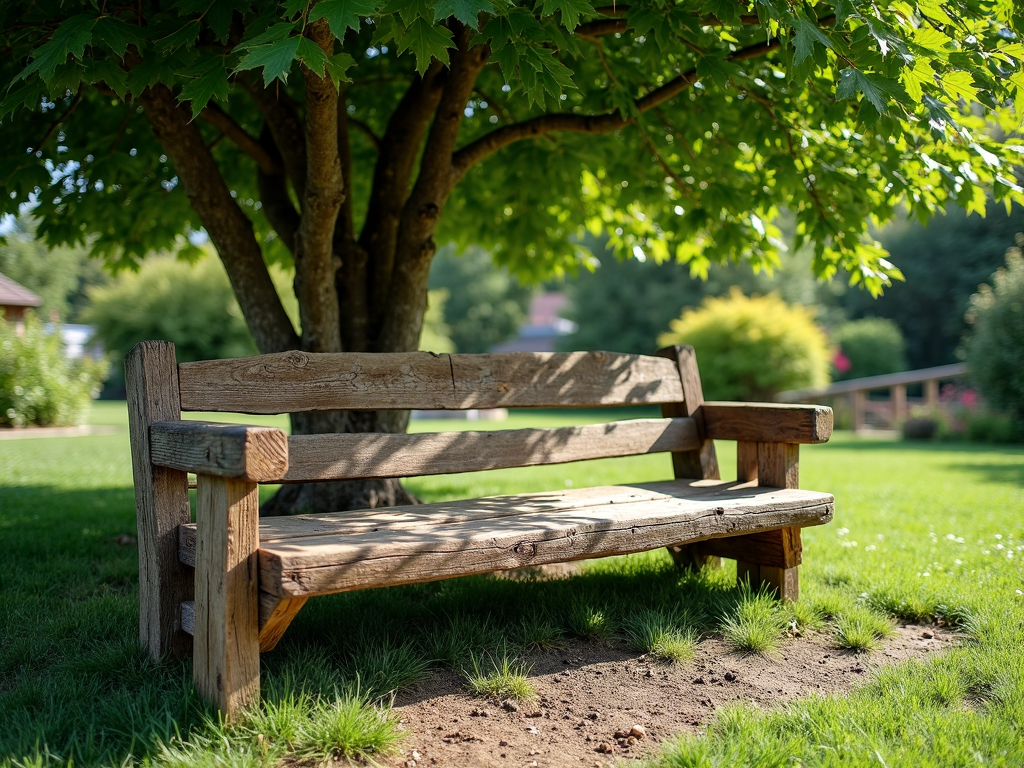
Don’t stop at indoor projects. I built a garden bench last summer with wood from an old fence. It’s under a tree now, perfect for morning coffee. A planter box is another easy win—fill it with flowers or herbs. These projects hold up outside if you seal them well, and they give your yard that same earthy feel.
If you’re new to this, start small. I made a picture frame for my first project—just four pieces of wood glued together. It holds a photo of my dog now, and I smile every time I see it. A coat rack is another beginner-friendly idea. Once you’re hooked, you can try something bigger, like innovative cabinet furniture concepts—think a cabinet with reclaimed wood doors for a fresh twist.

Here’s a quick list of tools you’ll need: - Hammer and nails (or screws for sturdier builds) - Saw (hand or power, your call) - Sandpaper (80-120 grit) - Drill (for shelves or furniture) - Sealant (optional but smart) Keep it basic—you don’t need a fancy workshop to make something great.
The benefits of reclaimed wood furniture go beyond looks. It’s tough—years of weathering make it stronger than new wood sometimes. Plus, it’s unique; no two pieces are alike. I’ve seen studies, like one from the Forest Stewardship Council (fsc.org), that say reusing wood cuts carbon emissions by up to 30% compared to new lumber. That’s hard to beat.

What keeps me coming back is the feeling of making something from nothing. My dining table—built from old floorboards—took a weekend and some elbow grease, but it’s mine. Knowing it didn’t cost a forest makes it even better. It ties into eco-friendly furniture design: trends and tips—reusing materials is huge right now, and it’s easy to see why.
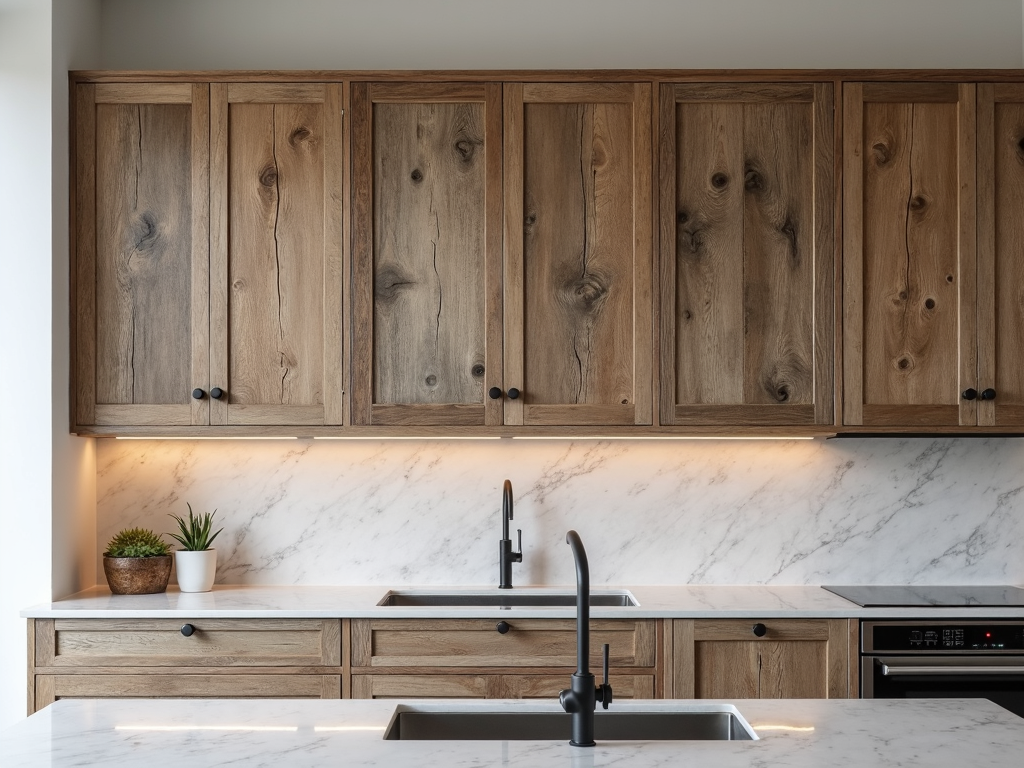
Let’s talk cabinets for a sec. A friend of mine swapped out her kitchen cabinet doors for reclaimed wood ones. It’s a subtle change, but it transforms the space—rustic yet modern. You could build a whole cabinet too, maybe with sliding barn doors. These innovative cabinet furniture concepts blend function with that handmade vibe.
Summary: DIY projects with reclaimed wood are a perfect mix of style, sustainability, and creativity. Whether you’re crafting a shelf, a table, or a cabinet, you’re giving old wood new life. Start small, experiment, and enjoy the process—your home will thank you.