


Featured Post
Easy Step-by-Step Guide to Assembling Your Bed Frame Like a Pro
Overview
Putting together a bed frame doesn’t have to be a headache. With the right steps, it’s an easy project that leaves you with a sturdy, cozy bed. This guide breaks it all down, so you can assemble your furniture like a pro in just a few hours.
Step 1: Unpack and Organize Your Materials
Start by opening the box and laying out every piece. I remember my first time assembling a bed frame—I dumped everything on the floor and nearly lost a screw! Check your manual for a parts list. You’ll usually find a headboard, footboard, side rails, slats, and a bag of hardware like screws and bolts. Grab a screwdriver, wrench, and maybe a hammer too. Spread them out so you can see what you’ve got.
Step 2: Read the Manual (Yes, Really!)
I know it’s tempting to skip the instructions, but don’t. Each bed frame is a little different. One time, I ignored the manual and spent an hour figuring out why the rails wouldn’t fit. Save yourself the trouble—flip through the pages, spot the diagrams, and get familiar with the steps. It’s your roadmap to success.
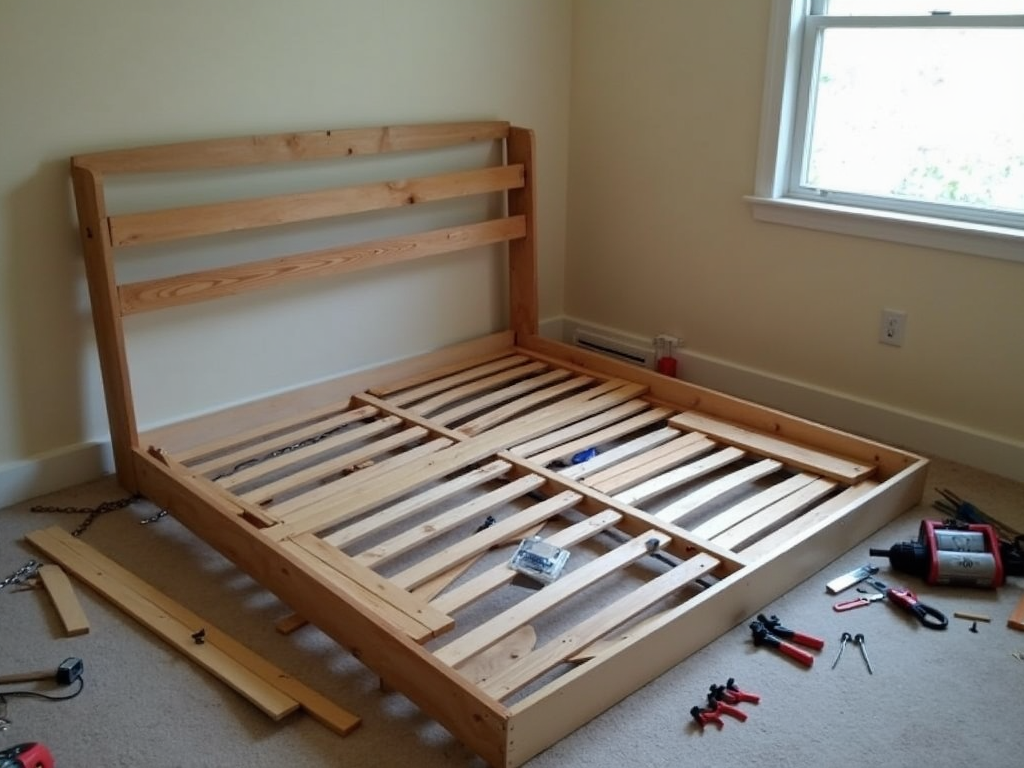
Step 3: Attach the Headboard to the Side Rails
Now, let’s get building. Line up the headboard with one side rail. Look for pre-drilled holes—they’re your guide. Use screws or bolts from the hardware bag and tighten them with your screwdriver or wrench. Keep it snug but not so tight you strip the threads. Repeat on the other side. I always check if it’s level here—it saves wobbles later.

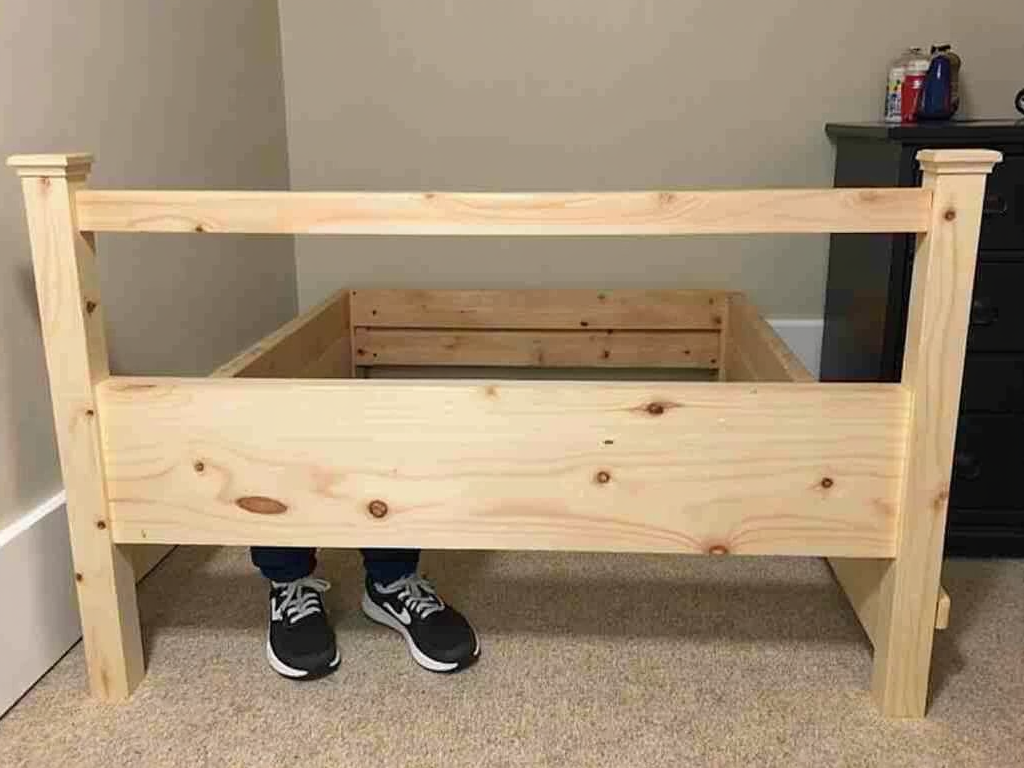
Step 4: Connect the Footboard
Next, attach the footboard to the other ends of the side rails. It’s like building a big rectangle. Align the holes again and secure everything with screws or bolts. I once flipped the footboard upside down by mistake—double-check the design or labels to avoid that! Stand it up when you’re done to see your progress.
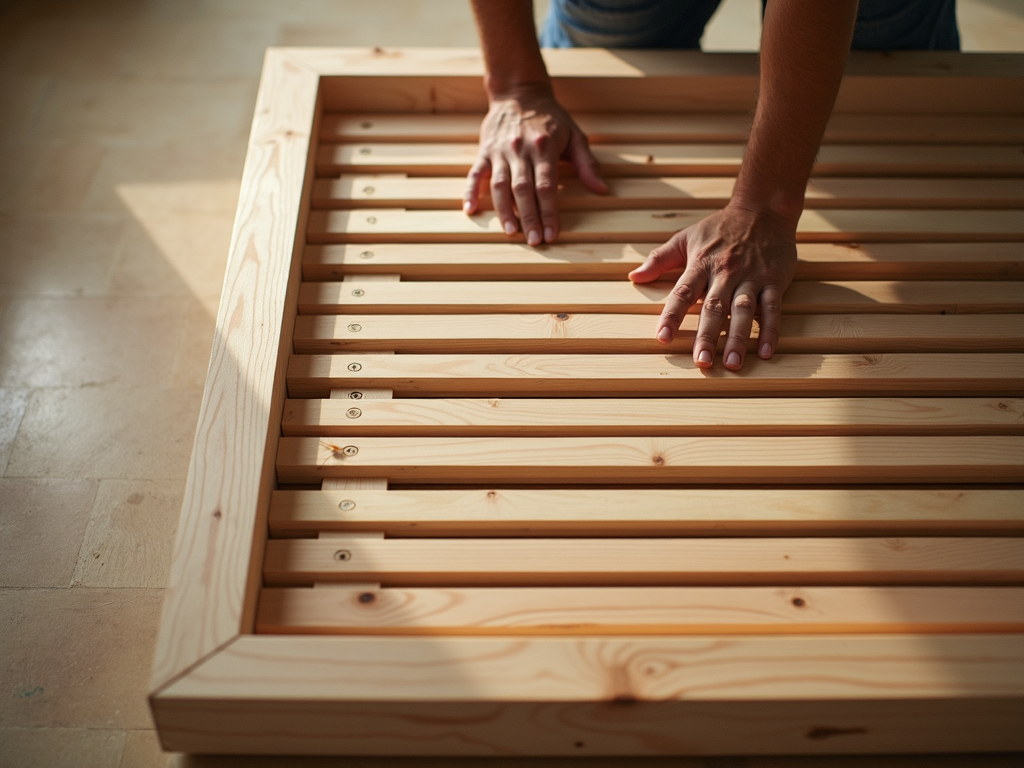
Step 5: Add the Support Slats
Time to give your mattress a solid base. Lay the slats across the side rails. Some frames have wooden slats that just sit there; others use metal ones with clips or screws. Space them evenly—I eyeball about an inch apart. If they’re loose, secure them as the manual says. This step makes your bed strong.
Step 6: Double-Check and Tighten
You’re almost done! Go over every screw and bolt. Tighten anything loose—I use a little shake test to spot wobbles. Once, I skipped this and heard creaks all night. Take five minutes here to ensure your bed frame’s rock-solid. It’s worth it for a good sleep.

Bonus: Assembling Dresser Furniture Tips
If you’re tackling other furniture like a dresser, some tricks carry over. Lay out parts first, just like with the bed. Use a screwdriver for tight spots—dressers have lots of small screws. And don’t force pieces together; they’ll fit if you’re patient. These furniture skills build confidence!
Tools You’ll Need
Here’s a quick list to keep handy:
- Screwdriver: Phillips or flathead, depending on screws
- Wrench: For bolts or nuts
- Hammer: If slats need a tap
- Level: To check evenness
I keep these in a toolbox now—makes every project smoother.

Common Mistakes to Watch Out For
Avoid these slip-ups:
- Skipping steps: The manual’s there for a reason.
- Wrong tools: A butter knife isn’t a screwdriver substitute!
- Over-tightening: You’ll crack wood or strip screws.
Slow down and enjoy the process—it’s not a race.
Pro Tips for Success
Want a bed that lasts? Try these:
- Add wood glue to joints for extra hold.
- Use a level at every step—no one likes a tilted bed.
- Save extra screws; they’re handy for repairs.
I’ve learned these the hard way, and they work!

Why This Matters
A well-assembled bed frame isn’t just about sleep—it’s pride in your work. I still grin when I walk past my first DIY bed. Plus, these skills spill over to other furniture, like assembling a dresser. You’re not just building a bed; you’re building know-how.
Summary
Assembling a bed frame is simpler than it looks. Follow this step-by-step guide, use the right tools, and check your work. You’ll end up with a strong bed and a boost of confidence. Ready to give it a shot? You’ve got this!