


Featured Post
How to Choose the Right Tools for Your DIY Projects
Choosing the right tools for your DIY projects can make all the difference between a job well done and a frustrating mess. Whether you’re building a shelf or tackling cabinet furniture assembly, the tools you pick set the stage for success. In this guide, we’ll walk you through everything you need to know to select the best tools, focusing on practical tips for cabinet and furniture projects. Let’s get started!
Why the Right Tools Matter
The tools you use can turn a challenging project into a smooth, enjoyable process. For cabinet furniture assembly, having the proper gear saves time, boosts safety, and ensures your furniture looks professional. Think of it like cooking: you wouldn’t chop vegetables with a butter knife, right? The same logic applies here—using the right tools is key to great results.
Step 1: Know Your Project
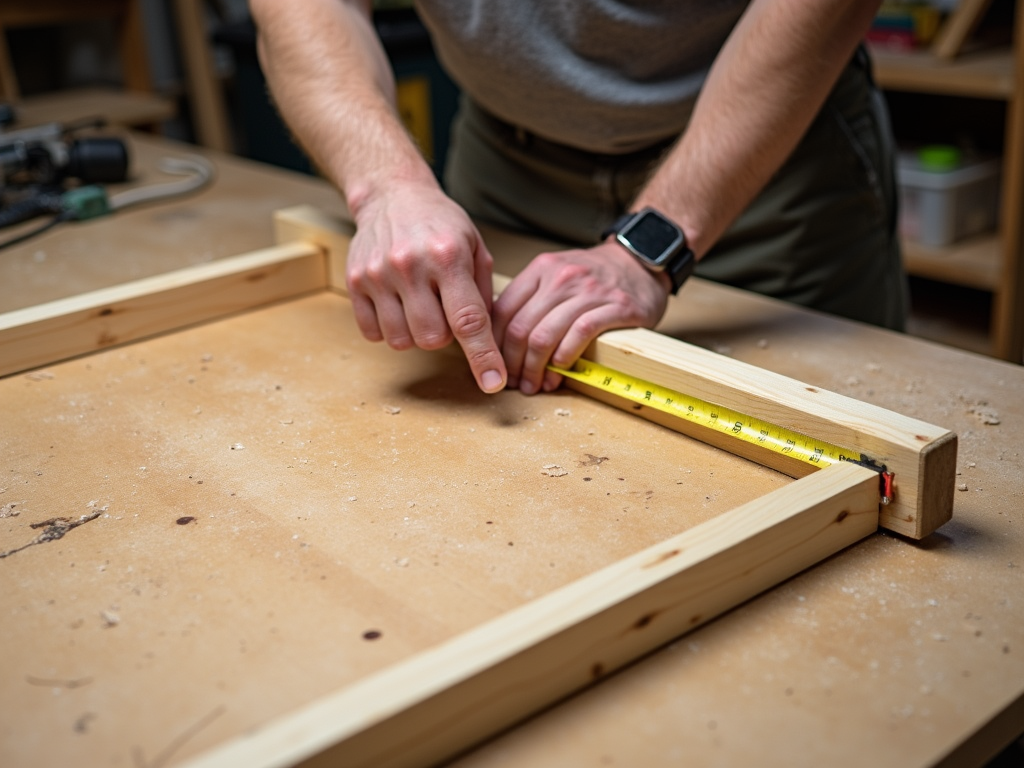
Before you grab any tools, figure out what your project needs. Are you assembling a cabinet from a kit, or building furniture from scratch? For cabinet furniture assembly tips, start by listing tasks like measuring, cutting, drilling, and fastening. Each step requires specific tools, and skipping one can throw off the whole project. Take a moment to plan—it’s worth it.
For example, measuring needs a tape measure, while drilling calls for a solid drill. Write down what you’ll do, then match tools to each task. This simple step keeps you organized and prevents last-minute trips to the hardware store.
Step 2: Pick the Must-Have Tools
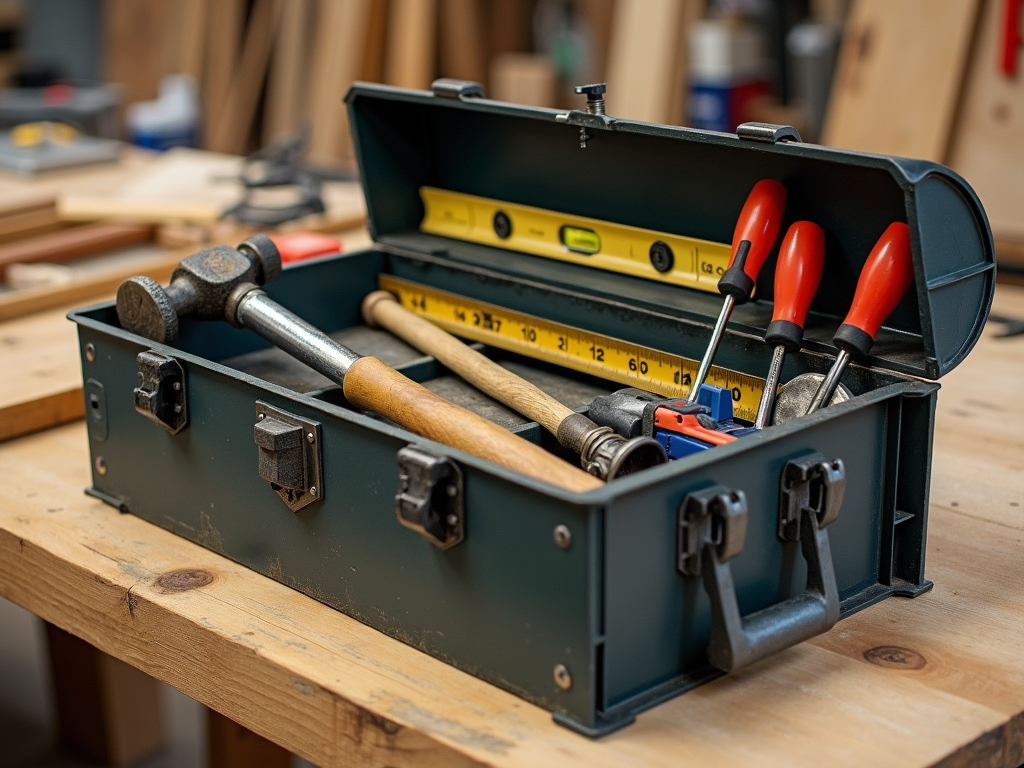
For cabinet and furniture projects, some tools are non-negotiable. Here’s a quick list of essentials:
- Tape Measure: Get exact lengths and widths.
- Level: Keep everything straight and even.
- Hammer: Drive nails or tap pieces into place.
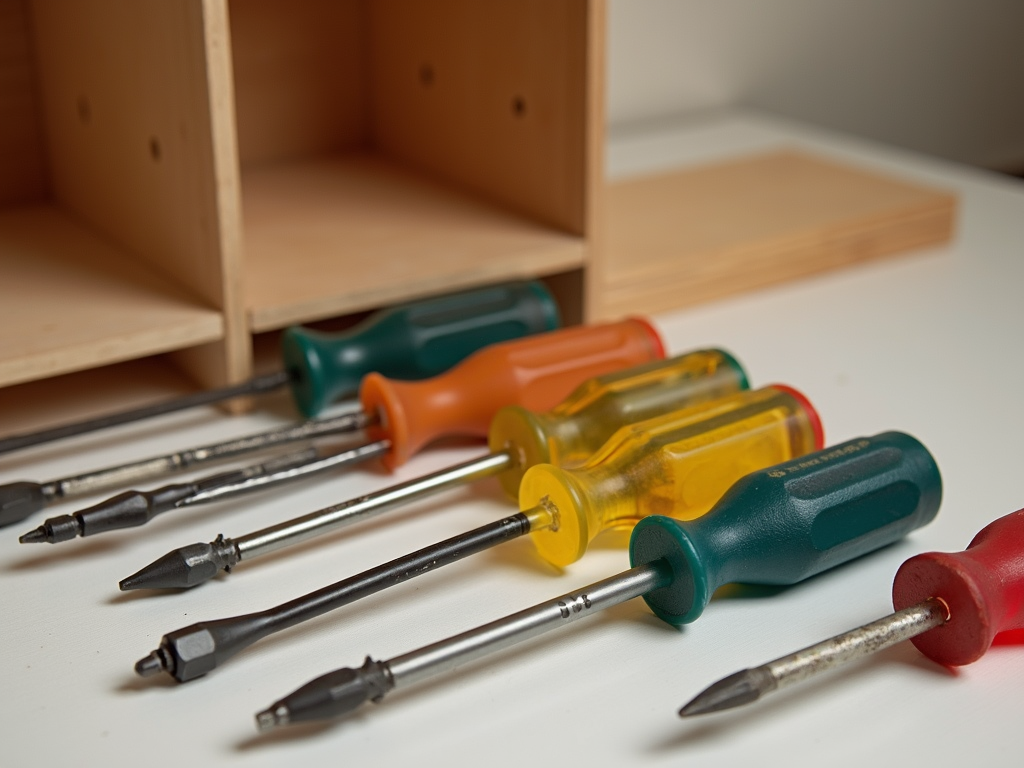
- Screwdrivers (Flathead and Phillips): Tighten screws securely.
- Drill: Make holes and drive screws fast.
- Saw: Cut wood to size if needed.
- Clamps: Hold pieces together while you work.
These basics cover most cabinet furniture assembly tips and set you up for success.
Step 3: Balance Quality and Budget
Cheap tools might save you money upfront, but they can fail when you need them most. A wobbly screwdriver or a dull saw can ruin your project—and your mood. Instead, aim for quality tools that last. You don’t need the priciest options, though. Focus on durability and comfort, especially for tools you’ll use often, like a drill or hammer.
Here’s a tip: buy mid-range tools if you’re starting out. As you get better, upgrade to higher-end ones. Watch for sales or check second-hand stores for deals on solid brands. Good tools are an investment in your DIY future.
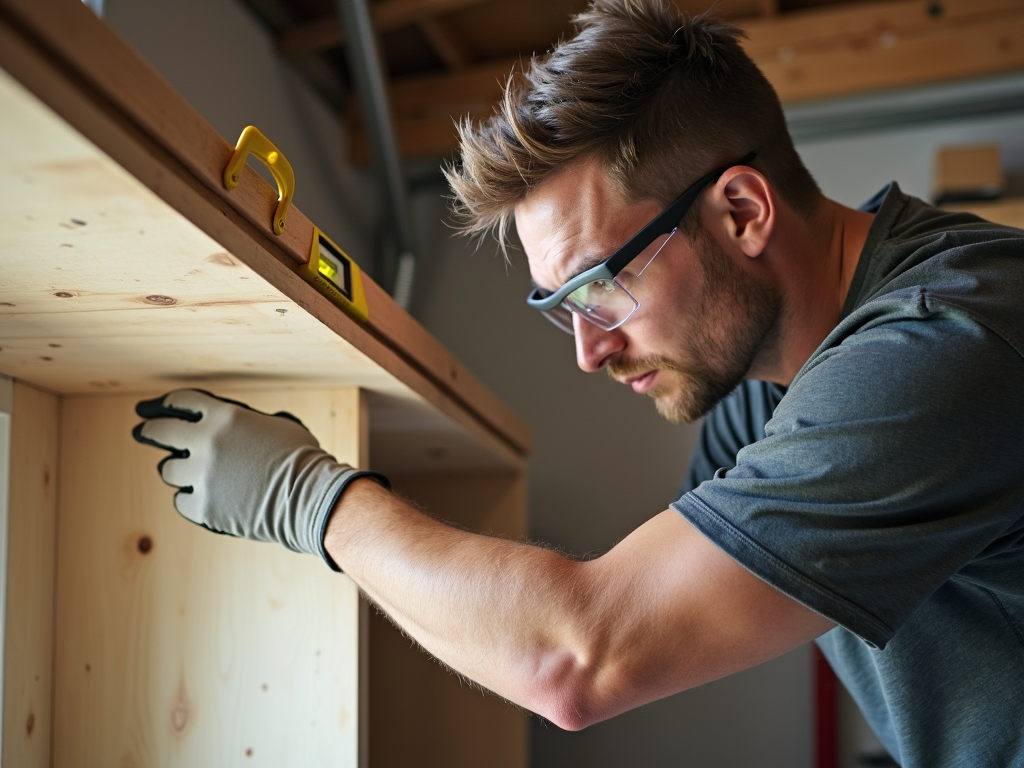
Step 4: Put Safety First
DIY is fun, but it’s not worth an injury. Always protect yourself with safety gear like glasses, gloves, and a dust mask. Read your tool manuals—those little books aren’t just for show. Keep your workspace tidy, too. A stray nail or cluttered table can trip you up faster than you’d think.
One rule I stick to: never force a tool to do something it wasn’t made for. Using a screwdriver as a pry bar might seem clever until it snaps. Stick to the plan, and you’ll keep yourself and your project safe.
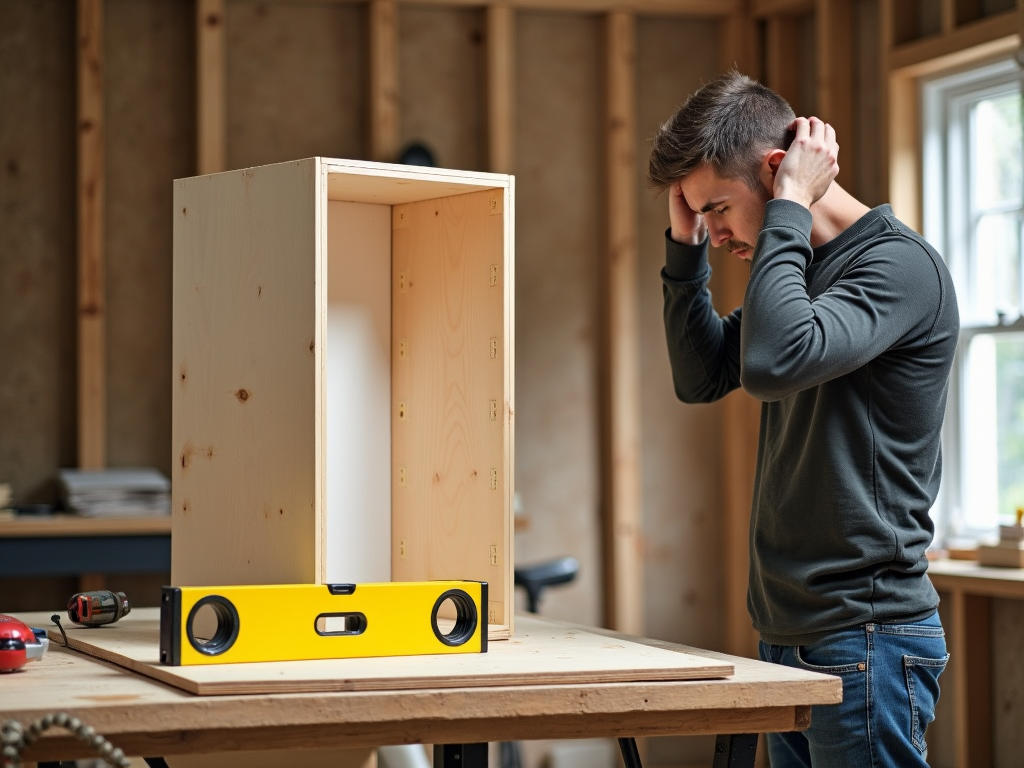
A Lesson I Learned the Hard Way
I once tried assembling a cabinet without a level. I figured my eye was good enough—big mistake. The cabinet leaned like a funhouse mirror, and I had to take it apart and start over. It was a pain, but it taught me something: the right tools aren’t optional. Now, I never skip the level, and my projects look way better.
That experience stuck with me. It’s not just about finishing—it’s about finishing well. A small tool can save you hours of rework, so don’t cut corners.
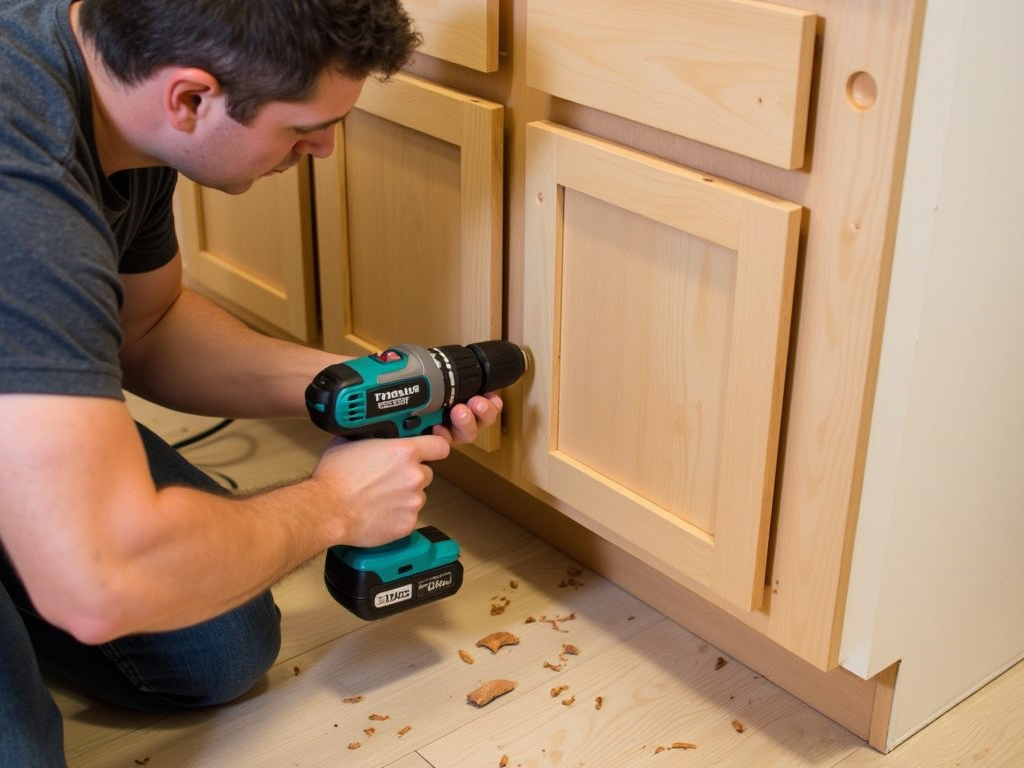
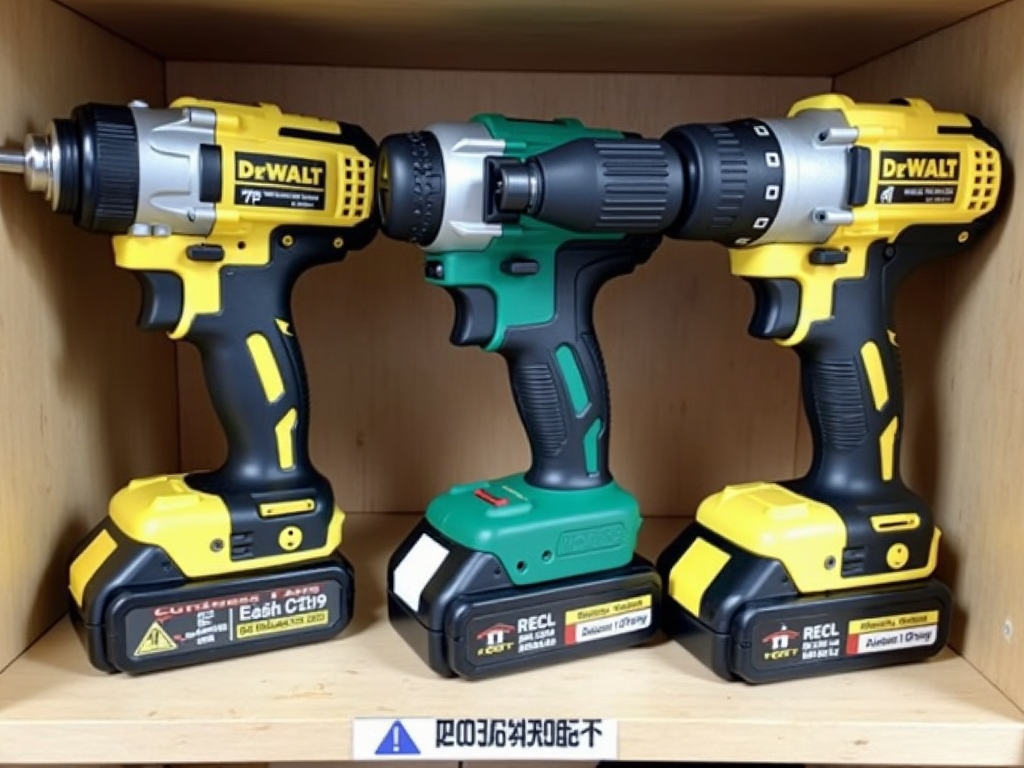
Choosing the Right Drill
Drills are a DIY superstar, especially for cabinet furniture assembly. But which one’s best? Here’s a quick table to help:
| Drill Type | Pros | Cons |
|---|---|---|
| Cordless | Easy to move, versatile | Battery runs out |
| Corded | Strong, no recharge | Stuck near outlets |
| Hammer Drill | Perfect for tough jobs | Heavy, costs more |
For most furniture projects, a cordless drill works great. It’s light and lets you work anywhere. If you’re drilling into brick or stone, though, grab a hammer drill.
Keep Your Tools in Shape
Good tools deserve good care. After each project, wipe them down to remove dust. Store them in a dry spot—a rusty saw is no one’s friend. Sharpen blades and bits when they dull, and check for wear. A little upkeep goes a long way toward making your tools last.
I learned this after leaving a hammer outside overnight. Rain hit, and it rusted. Now, I’m strict about storage, and my tools stay ready for action.

Extra Tips for Success
Here are a few more cabinet furniture assembly tips:
- Start Small: If you’re new, practice with a simple project first.
- Ask for Help: Hardware store staff can point you to the right tools.
- Test Fit: Dry-assemble parts before screwing them in.
These little tricks can boost your confidence and your results.
Wrapping It Up
How to choose the right tools for your DIY projects isn’t rocket science—it’s about planning and picking smart. For cabinet and furniture work, grab essentials like a level, drill, and screwdrivers. Spend wisely on quality, keep safety first, and learn from each project. With the right tools, you’ll build pieces you’re proud of, no stress required.