


Featured Post
How to Pick the Best Wood for DIY Furniture
Overview
Building your own furniture is rewarding and fun. Learning how to pick the best wood for DIY furniture helps you create pieces that look great and last long. This guide covers key factors, popular woods, and tips for beginners.

When I started my first DIY project, I grabbed whatever wood was cheapest at the store. It warped and scratched easily. Now, I know better. Choosing the right wood makes all the difference in your finished piece.
Wood comes in two main categories: hardwoods from deciduous trees and softwoods from evergreens. Hardwoods are denser and more durable, perfect for furniture that gets daily use. Softwoods are lighter and cheaper, great for easy DIY furniture projects for beginners.
Key Factors to Consider
Think about these when picking wood:
- Durability and Hardness: Use the Janka hardness scale. Higher numbers mean harder wood that resists dents.
- Cost: Softwoods like pine are budget-friendly.
- Workability: Easier to cut and shape for beginners.
- Appearance: Grain pattern and color.
- Stability: How much it expands or contracts with humidity.
- Finish: How well it takes stain or paint.
| Wood Type | Janka Hardness | Pros | Cons | Best For |
|---|---|---|---|---|
| Pine (Softwood) | 380-590 | Affordable, easy to work with, takes paint well | Soft, dents easily | Easy DIY furniture projects for beginners, painted pieces |
| Poplar | 540 | Inexpensive hardwood, paints nicely | Not very attractive grain | Hidden parts or painted furniture |
| Red Oak | 1290 | Durable, beautiful grain, good value | Can be porous | Tables, chairs, cabinets |
| Maple | 1450 | Very hard, smooth finish | Harder to stain evenly | High-traffic items like desks |
| Cherry | 950 | Rich color that darkens over time, smooth | Expensive, softer than oak | Elegant pieces like nightstands |
| Walnut | 1010 | Stunning dark color, stable | Costly | Premium furniture |
From my experience, pine is ideal for easy DIY furniture projects for beginners. It cuts easily and forgives mistakes. I built my first shelf with pine, and it turned out great after painting.
For something more durable, go with oak. It's strong and shows off a nice grain with a clear finish.
Where to Buy Wood
Visit local lumberyards for better selection than big box stores. They often have kiln-dried wood ready for projects. Check for straight boards without twists or knots if you're new.
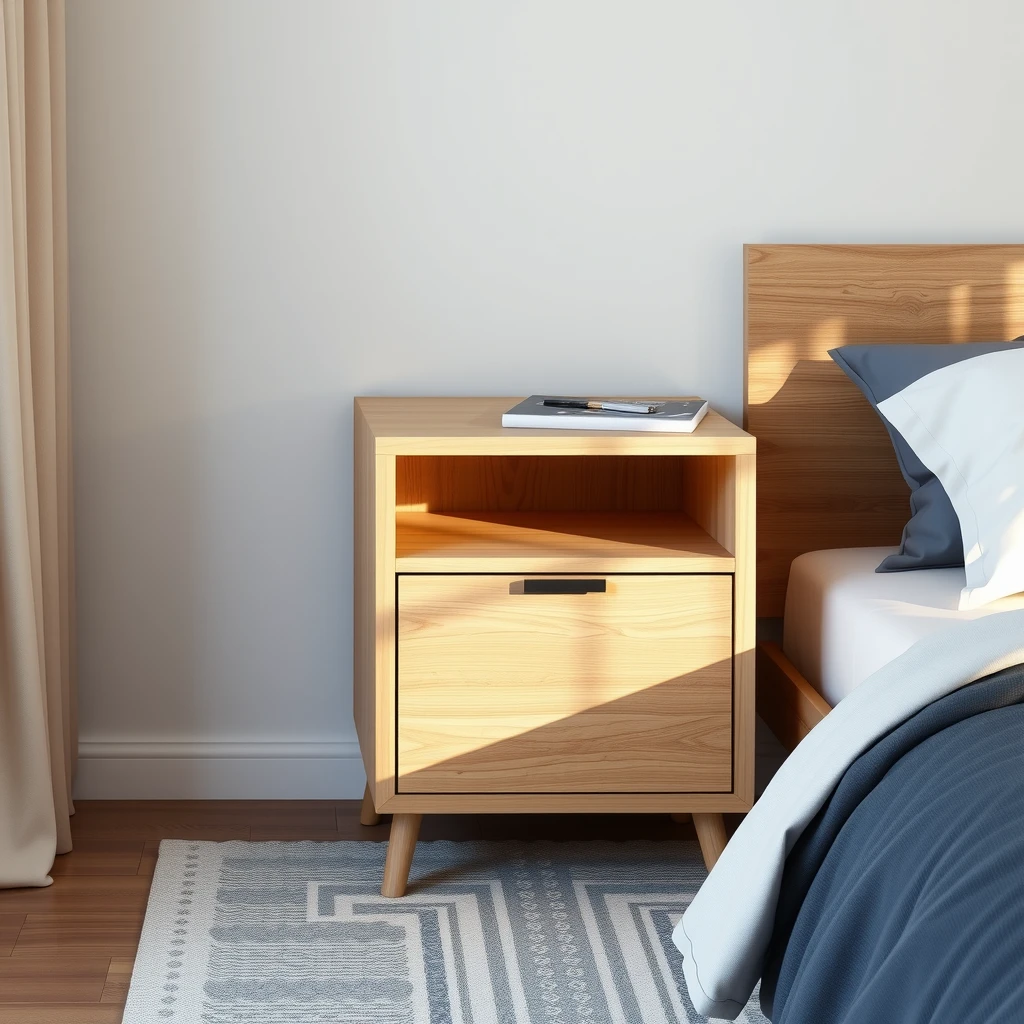
Let's tie this to a popular project: building a nightstand. A nightstand is one of the easy DIY nightstand upgrades you can make. Pick oak or maple for longevity.
Steps for a Basic Nightstand: 1. Choose 1x12 boards for sides and shelves. 2. Cut to size. 3. Assemble with screws and glue. 4. Add drawers if you want. 5. Sand and finish.
This fits perfectly with minimalist bedroom decor ideas. Clean lines and natural wood create a calm space.
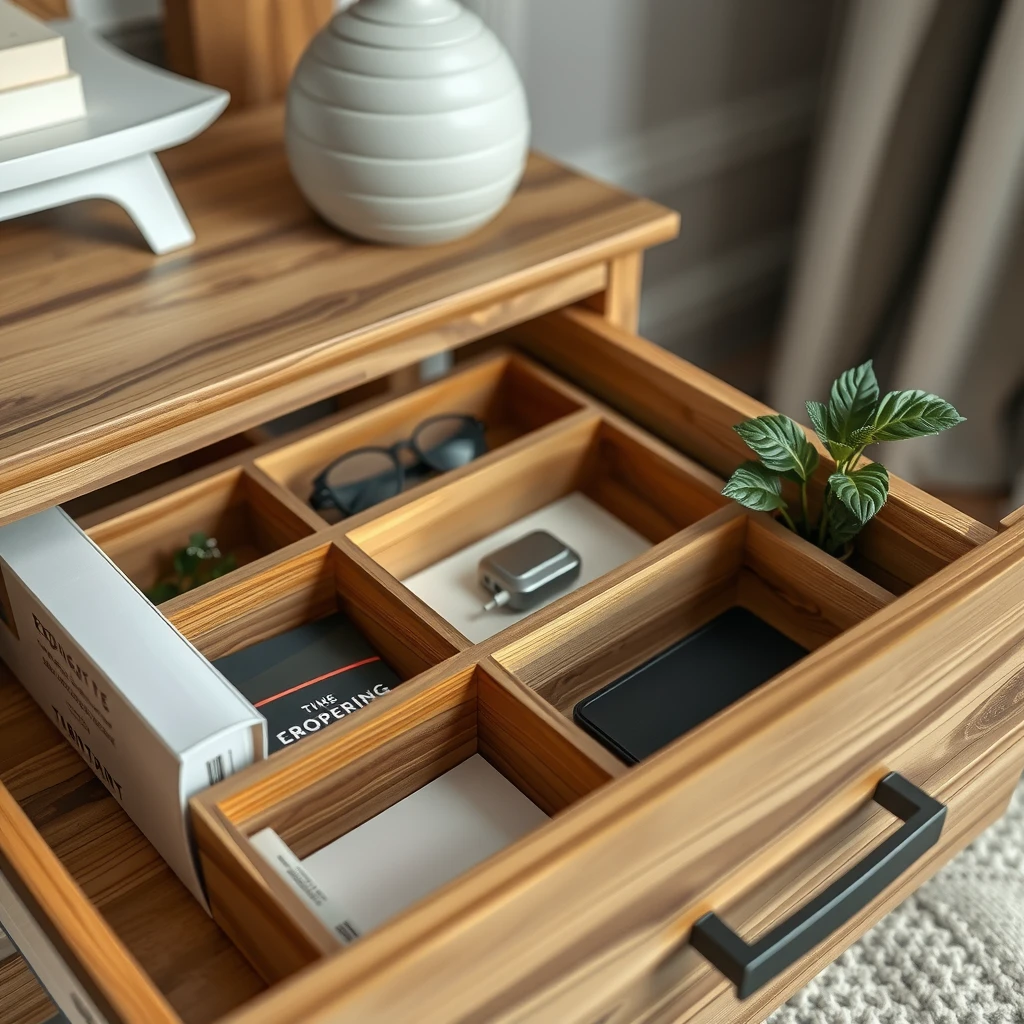
Once built, apply nightstand organization tips. Add drawer dividers to keep things tidy. Use the top for a lamp and books. A well-chosen wood makes it sturdy for daily use.
Finishing Your Project
Always sand smoothly. For natural look, use oil or polyurethane. Test stains on scraps first.
Sustainability matters too. Look for FSC-certified wood when possible.
Picking the best wood comes down to your project, skill level, and budget. Start simple with pine for practice, then move to hardwoods.
Your DIY furniture will improve with each build. Enjoy the process!
Sources: Information drawn from woodworking experts and sites like The Wood Database and Real Simple's guide to wood types.