


Featured Post
Wood Finishing Basics for Beginners: A Step-by-Step Guide
Overview: Wood finishing is the process of protecting and beautifying wood surfaces. Whether you’re refinishing a wooden bed frame or starting a new project, this guide covers the basics for beginners. You’ll learn essential steps, simple repair techniques, upholstery care, and furniture maintenance tips to make your pieces last.
What Is Wood Finishing and Why Does It Matter?
Wood finishing means adding a protective layer to wood to shield it from water, sun, and scratches while making it look better. It’s like giving your furniture a shield and a makeover at the same time. For beginners, it’s a game-changer—it can turn a rough piece into something you’re proud of. I remember my first project: a wobbly table that looked amazing after a good finish. It’s worth the effort because it keeps your furniture strong and beautiful for years.
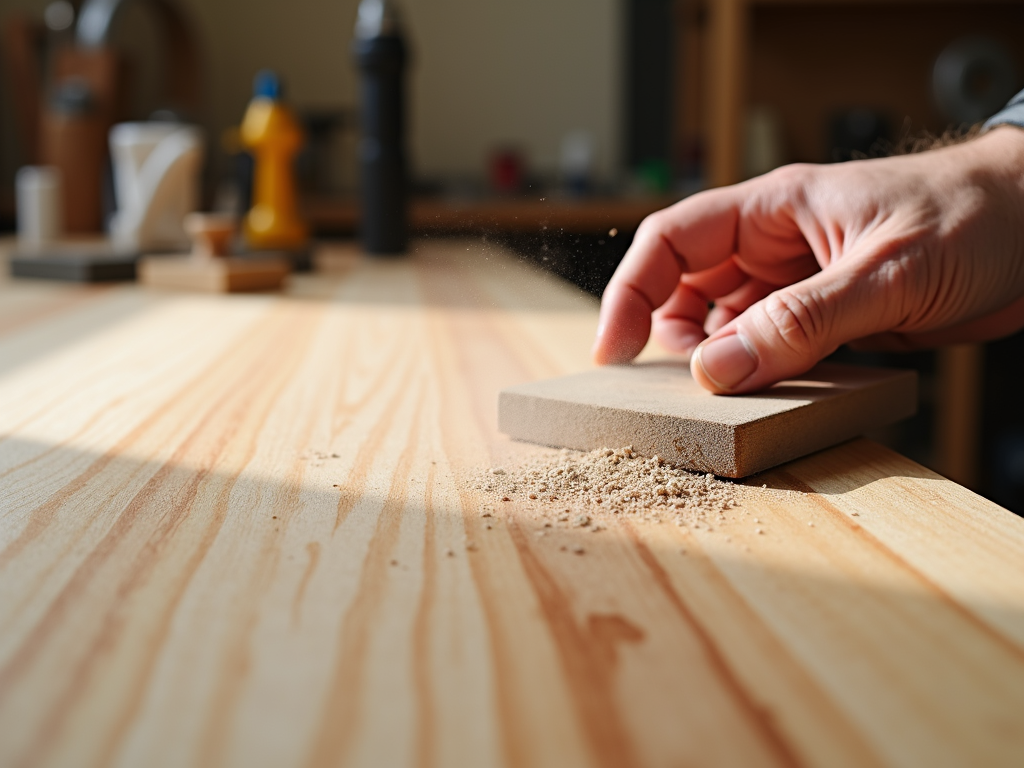
Wood Finishing Basics for Beginners: Step 1 - Preparing the Wood
The first step is getting the wood ready. Sand it with coarse sandpaper (80-100 grit) to smooth out rough spots, then switch to finer sandpaper (150-220 grit) for a silky finish. Always go with the grain—against it, and you’ll see scratches. Wipe it down with a damp cloth after to get rid of dust. I learned this the hard way when I skipped sanding once, and my finish looked bumpy. Prep well, and you’re halfway there.
Step 2: Picking the Right Finish
Choosing a finish can feel overwhelming, but keep it simple. Polyurethane is tough and water-resistant—perfect for a beginner’s bed frame. Lacquer dries fast and shines, but it’s tricky to get even. Oil-based finishes are easy and bring out the wood’s color, though they take time to dry. I’d recommend water-based polyurethane for starters—it’s forgiving and cleans up with soap and water.
| Finish Type | Pros | Cons |
|---|---|---|
| Polyurethane | Strong, resists water | Can look uneven if rushed |
| Lacquer | Fast-drying, shiny | Needs good airflow |
| Oil-based | Simple to use, rich color | Slow to dry |
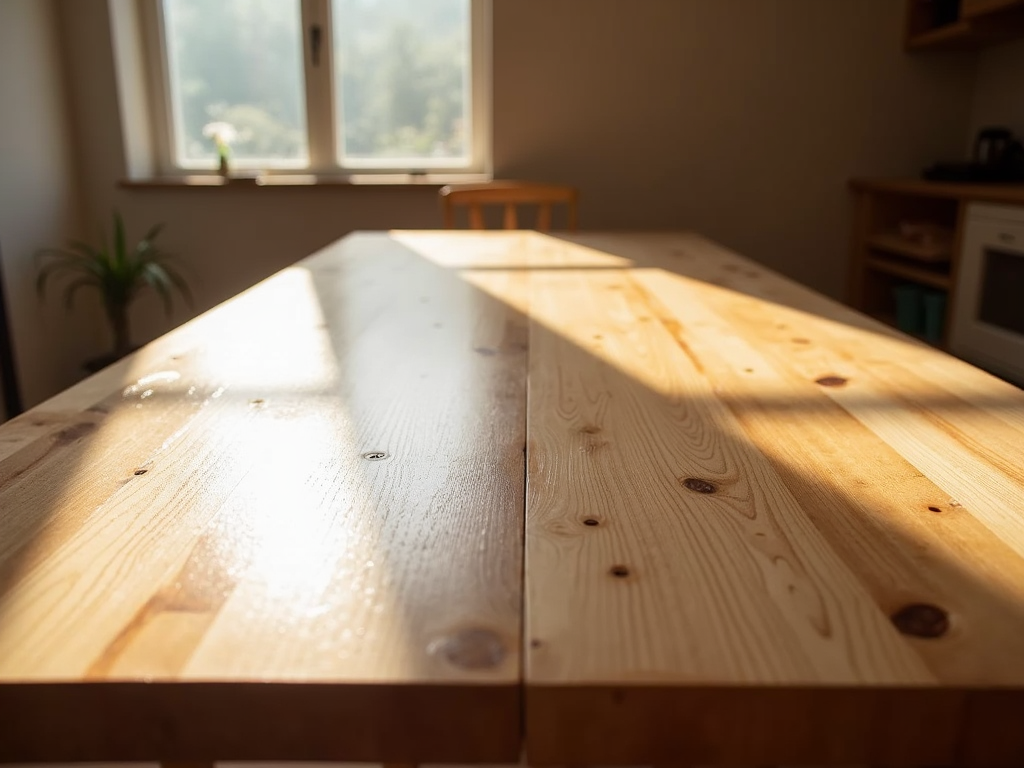
Step 3: Applying the Finish
Now, grab a good brush or cloth and start applying. Use thin coats, following the wood grain. Too much finish at once can drip and ruin your work—I’ve done that and had to sand it all off. Let the first coat dry, sand lightly, then add another. Two or three coats usually do the trick. Take your time here; it’s where the magic happens.
Step 4: Letting It Dry
Drying is where patience pays off. Check the can for drying times—some finishes need hours, others days. Don’t touch it too soon, or you’ll get a sticky mess. I once moved a chair too early, and my fingerprints are still in the finish. Give it time to cure fully, and you’ll have a solid result.
Avoid These Beginner Mistakes
- Skimping on sanding: A rough surface ruins everything. Sand well.
- Overdoing the finish: Thick layers drip and dry slow. Go thin.
- Forgetting a sealer: Some woods blotch without it—read the label.
My first bed frame project had all these issues, but each mistake taught me something. You’ll get better with every try.
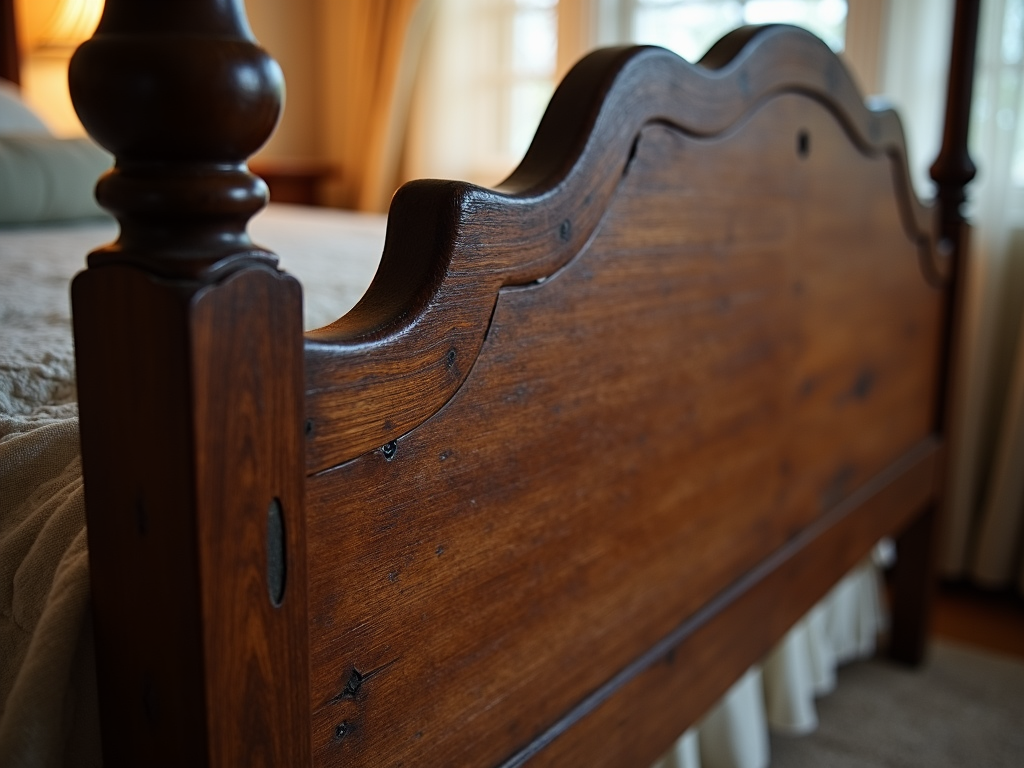
DIY Furniture Repair: Simple Fixes for Common Problems
Furniture gets beat up—especially beds. Here’s how to fix it:
Scratches: For small ones, a matching touch-up pen works wonders. Deeper scratches need wood filler, sanding, and a stain touch-up. I fixed a scratched bedpost this way, and it looked new.
Dents: Wet a cloth, lay it over the dent, and iron it. The steam lifts the wood. Sand and finish after.
Loose Joints: Add wood glue, clamp it tight, and let it dry. Screws can help if it’s wobbly still.
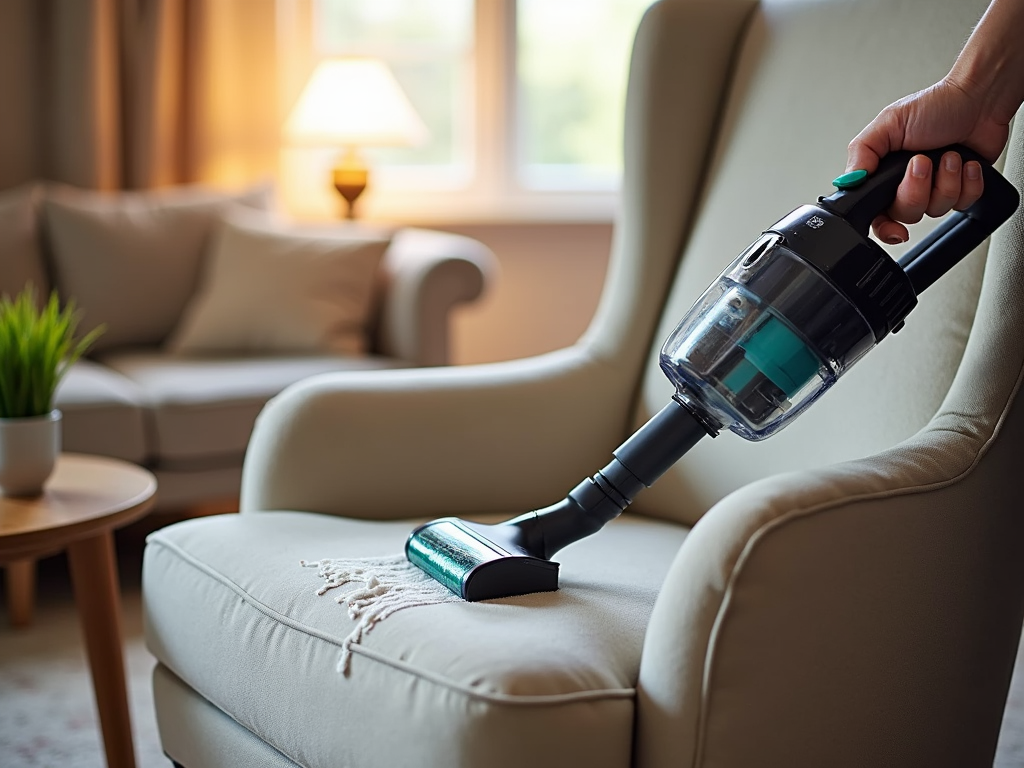
The Definitive Guide to Upholstery Maintenance
Upholstered pieces need love too. Here’s the breakdown:
- Fabric: Vacuum weekly. For spills, dab with mild soap and water—don’t scrub.
- Leather: Wipe with a damp cloth and condition twice a year to stop cracks.
- Velvet: Brush gently and skip water—it stains easy.
Keep it out of the sun and flip cushions to wear evenly. I saved an old chair with these tricks, and it’s still comfy.
Furniture Care Tips for Long-Lasting Quality
Want your furniture to last? Try these:
- Clean often: Dust and wipe it down to stop grime.
- Protect it: Use coasters and pads to dodge scratches.
- Store smart: Keep it dry and cool if you’re storing it.
I’ve kept a wooden bed frame looking great for years with these habits. Little steps make a big difference.
Summary: Wood finishing is a skill anyone can learn. Prep the wood, pick a finish, apply it carefully, and let it dry—simple as that. Add some repair know-how and upkeep tips, and your furniture will shine for years. Start small, maybe with a bed frame, and watch your skills grow.