



Featured Post
Budget-Friendly DIY Patio Upgrades: Transform Your Outdoor Space Without Breaking the Bank
Tired of staring at a dull, weather-beaten patio? You can upgrade it completely with Budget-Friendly DIY Patio Upgrades that look fresh and feel inviting. This guide shares easy steps you can finish in a weekend, plus smart advice on cleaning, fixing, and choosing durable furniture. Your backyard will become the go-to spot for friends and family—no big budget required.
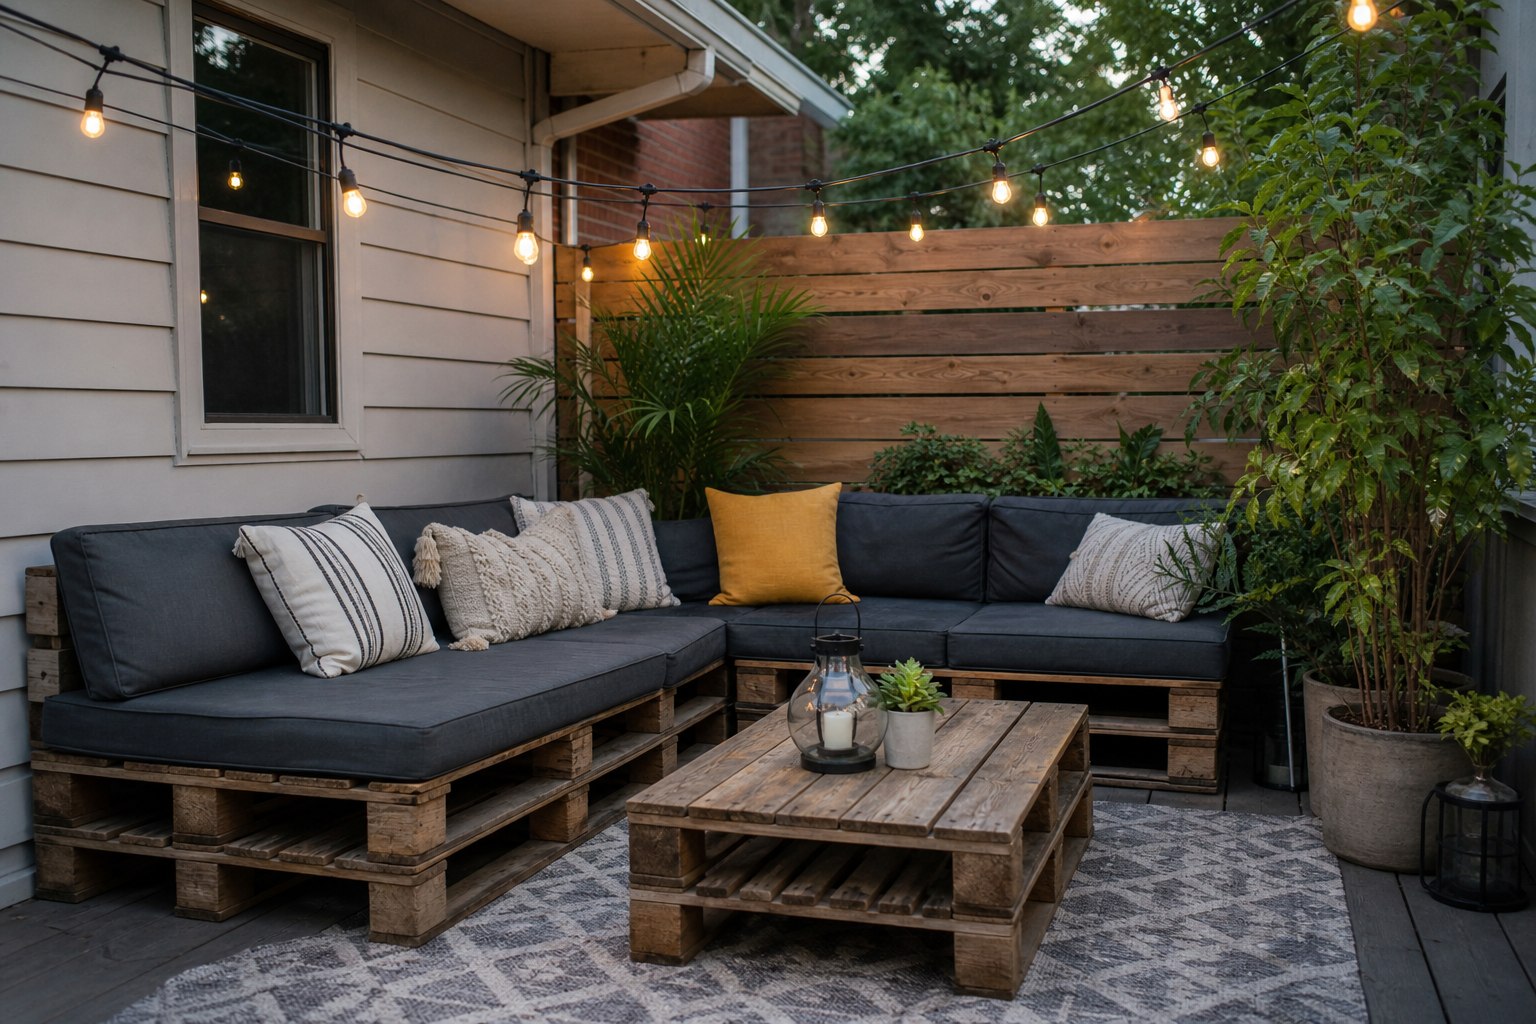
One of the quickest wins in Budget-Friendly DIY Patio Upgrades is turning old pallets into seating. Grab two sturdy pallets and two 2x4s. Cut the wood into legs and a backrest, then nail everything together. Add thick outdoor cushions and you have a bench that costs almost nothing. I built my first one on a rainy Saturday and it became the heart of our evening hangs.
Another fantastic option uses cinder blocks. Stack two rows of blocks, slide wooden posts through the holes, and attach seats on top. Paint the blocks black for a modern look. This piece feels solid, drains rain instantly, and adds height for interesting shadows. Friends always ask how I built it—now you can too with simple tools from the hardware store.
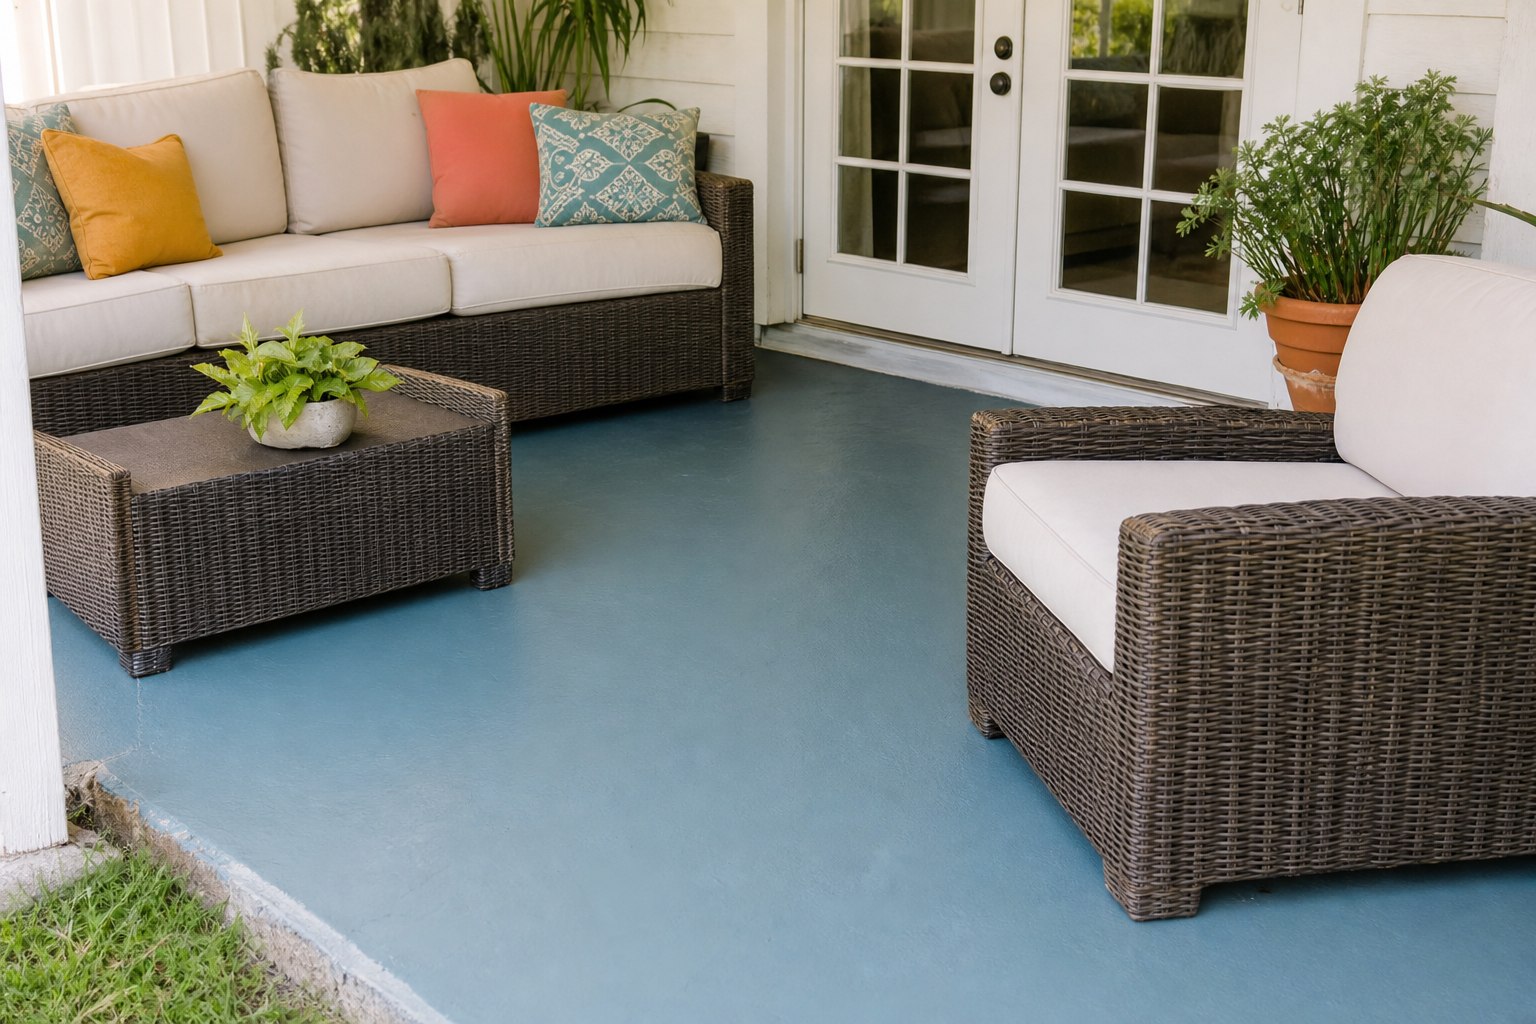
Budget-Friendly DIY Patio Upgrades also shine when you paint or stain old concrete. Pressure-wash the surface first, then apply a patio-specific stain in two colors for a subtle pattern. Let it dry, and your floor looks brand new. I did this on my gray concrete last spring and it lifted the entire backyard. The color change made the space feel twice as big.
Here is where Budget-Friendly DIY Patio Upgrades get creative: add potted plants at different heights. Mix herbs, grasses, and flowers in affordable ceramic pots. Water them regularly and you create layers that hide any bare spots. I placed tall grasses in the corners and trailing vines along the railing—suddenly the patio feels like a tropical oasis. Plants also bring life and reduce heat in summer.
Lighting transforms evenings. Hang weatherproof string lights or solar-powered lanterns. Brightever-style LED sets cost under $20 and give a warm glow that makes your space magical. I added them over my new pallet seating and now we enjoy sunset chats for hours. They run on batteries or solar panels, so no wiring needed.
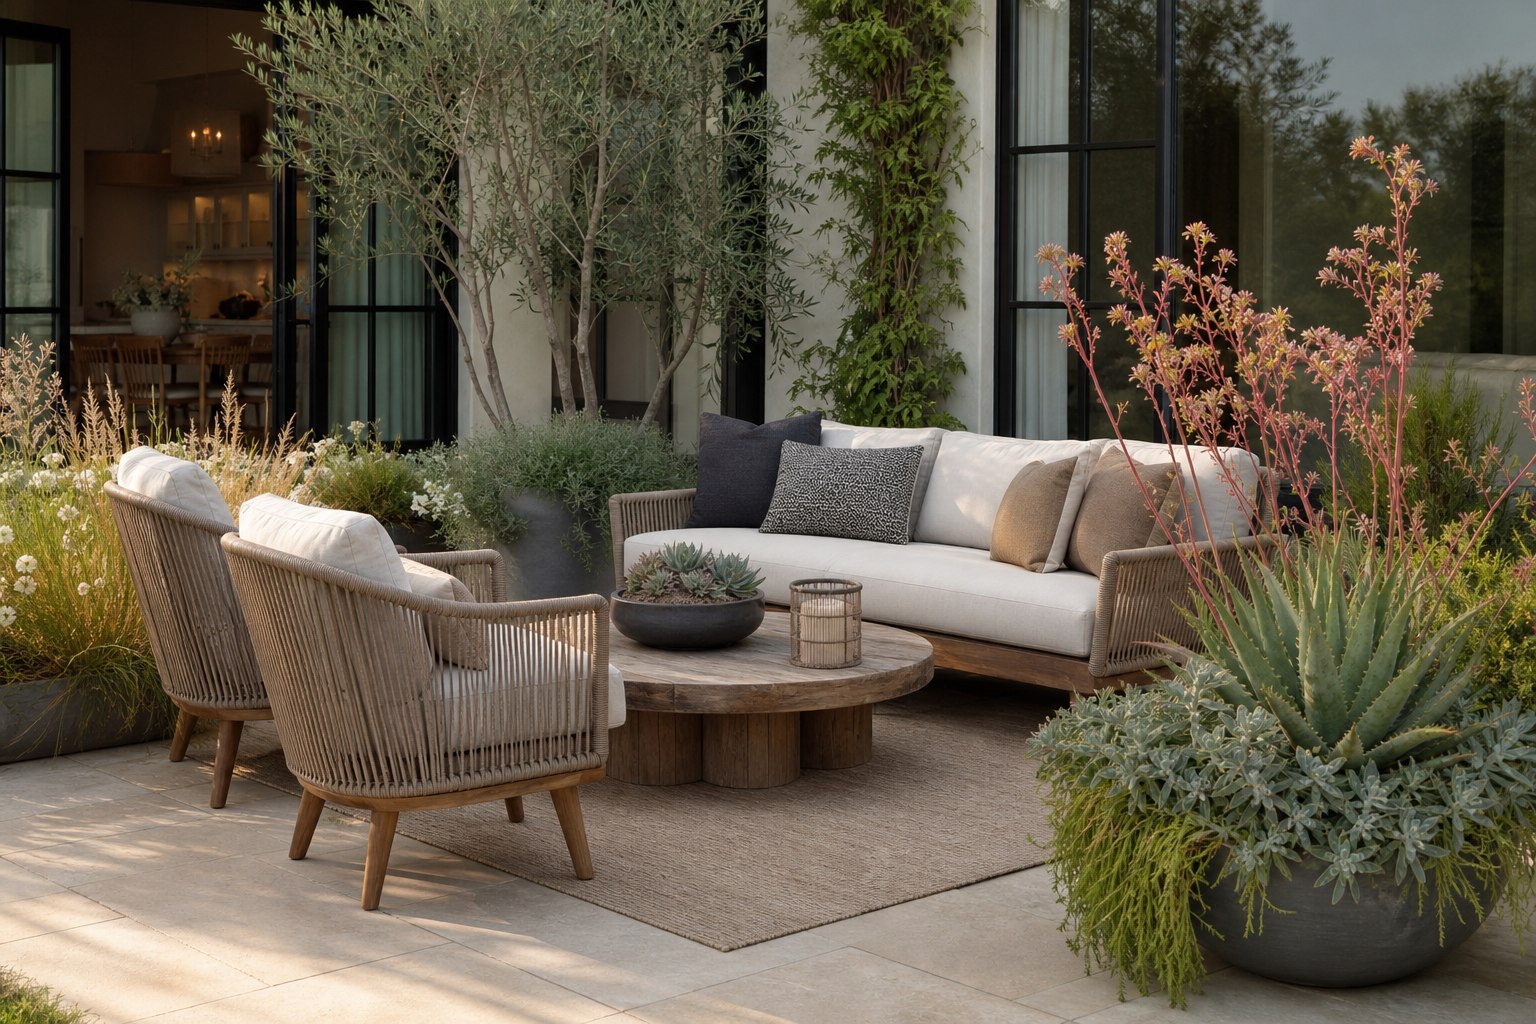
Time to talk about furniture. Here are 10 Tips for Choosing Weather-Resistant Outdoor Furniture that keep your upgrades looking good for years:
-
Pick powder-coated aluminum frames—they resist rust and stay cool.
-
Choose HDPE or resin wicker that is UV-stabilized and easy to wipe clean.
-
Look for solution-dyed acrylic cushions that won’t fade.
-
Select teak or acacia wood if you want a natural feel, but apply oil every season.
-
Ensure good drainage on seats so water doesn’t pool.
-
Check for sealed joints and stainless steel hardware.
-
Read warranties—most good pieces cover 5+ years.
-
Test in person if possible; feel the weight and stability.
-
Buy pieces that are modular so you can rearrange as needed.
-
Start small with one key item and expand later.
These tips come from years of watching neighbors try cheap stuff that fails fast. Follow them and your Budget-Friendly DIY Patio Upgrades will last.
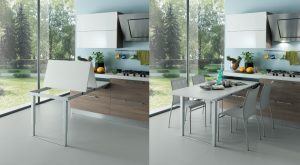
Multifunctional patio furniture pieces make everything easier. A table that doubles as a cooler or fire pit is a game-changer. I found a folding bistro set with built-in storage and it replaced two bulky pieces. Modular sectionals let you change layouts for parties or quiet evenings. These smart designs save money and space while keeping your patio usable year-round.
Now let’s talk How to Clean and Maintain Outdoor Furniture. Start with a mild dish soap and warm water solution. Spray on, scrub with a soft brush, then rinse thoroughly. For mildew, mix one cup bleach with two ounces dish soap per gallon of water, let it sit 15 minutes, then scrub and hose off. Dry everything in the sun so no mildew returns. I do this every spring and my furniture looks like new again.
DIY Fixes for Worn-Out Outdoor Furniture are simple too. For faded cushions, mix equal parts water and vinegar, spray on mildew spots, let sit, then wipe. For wobbly joints, tighten all bolts and screws with a socket wrench. On plastic furniture, spray WD-40 or paste wax to restore shine. If wood grayed out, sand lightly with 120-grit paper, then apply teak oil. These fixes save hundreds because you reuse what you already have.
One more pro tip: store cushions and pillows in a dry bin when winter comes. Apply a UV protectant spray once a year on exposed wood. Follow these steps and your Budget-Friendly DIY Patio Upgrades will stay looking great for a long time. I saved over $800 last year by fixing old pieces instead of buying new ones.
In the end, Budget-Friendly DIY Patio Upgrades prove you don’t need a big budget to create a beautiful outdoor retreat. With pallets, paint, plants, lights, and smart furniture choices, your space can look designer and feel cozy. Grab some basic tools, watch a quick YouTube tutorial, and start today. Your backyard will thank you with endless summer memories.