


Featured Post
DIY Furniture Assembly Guide: Tips for Assembling a Dresser and Maximizing Storage
Overview
Putting together your own furniture can save money and feel incredibly satisfying. This DIY Furniture Assembly Guide zeros in on dressers, offering clear steps, handy tips, and ways to maximize storage with efficient furniture setups. Let’s dive into making your furniture project a success!
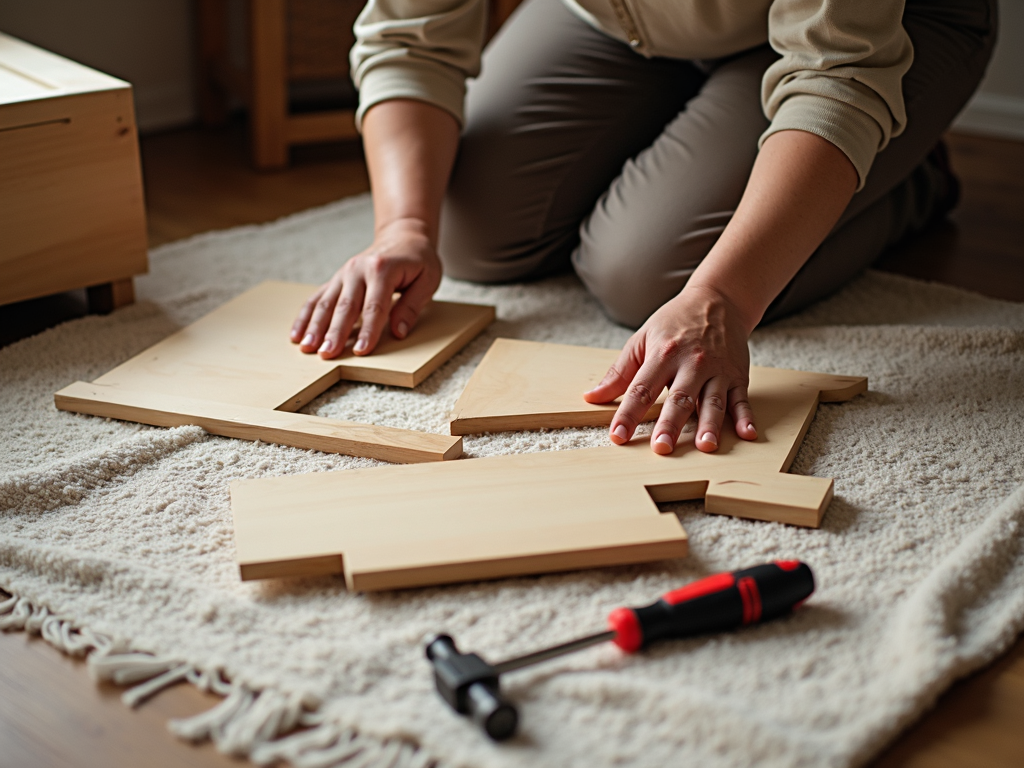
Getting Ready to Assemble
Before you jump in, set yourself up for success. Gather tools like a screwdriver, hammer, and maybe a drill—check the manual for specifics. Clear a big space on the floor so you can move around easily. I once tried assembling a dresser in a cramped corner and ended up with a bruised knee! Lay out all the parts and match them to the instruction list to spot anything missing early.
Figuring Out the Instructions
Don’t skip this part—reading the manual saves headaches later. Look at every diagram and step closely. Some brands even have videos online, which I’ve found super helpful when the paper instructions feel like a puzzle. If you’re like me and lose tiny screws easily, label each part with a sticky note. It’s a small trick that keeps everything straight.

Assembling the Furniture: Step by Step
Here’s where the fun starts! Assembling dresser furniture takes patience, but it’s doable. We’ll break it into three main parts: the frame, the drawers, and the finishing touches. Follow along, and you’ll have a sturdy dresser in no time.
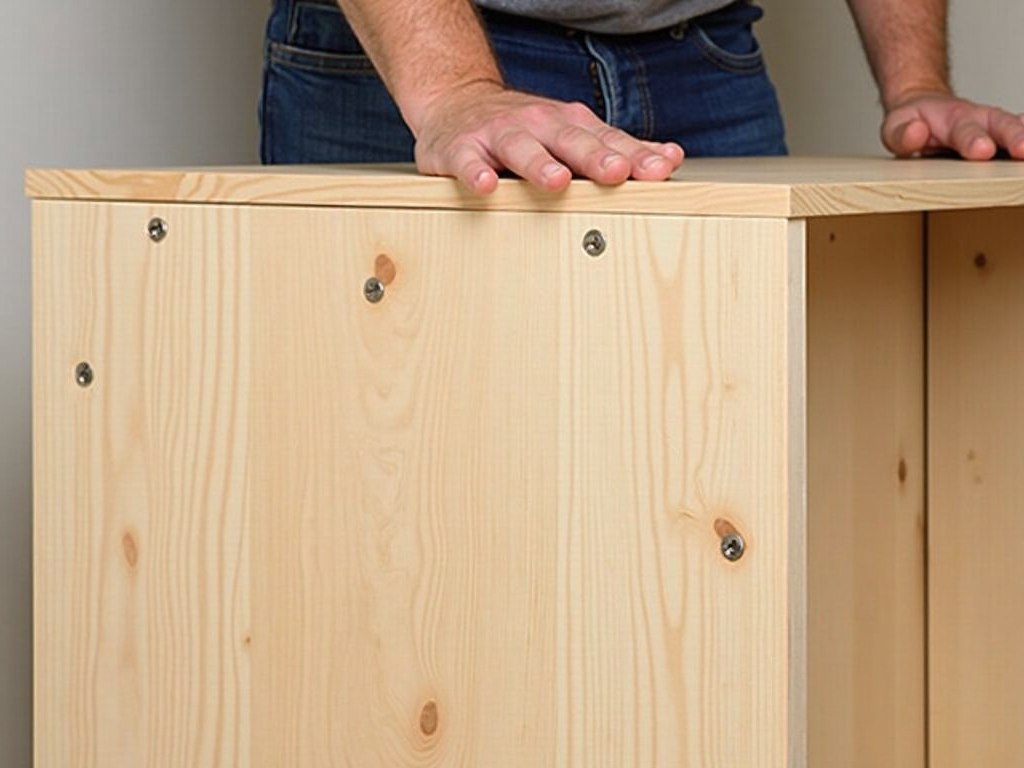
Step 1: Building the Frame
Start with the big pieces: side panels, top, and bottom. Screw or dowel the sides to the bottom first—go slow to keep it even. Then attach the top. I always check if it’s square by eyeballing the corners or using a ruler. Tighten everything up so it doesn’t wobble.
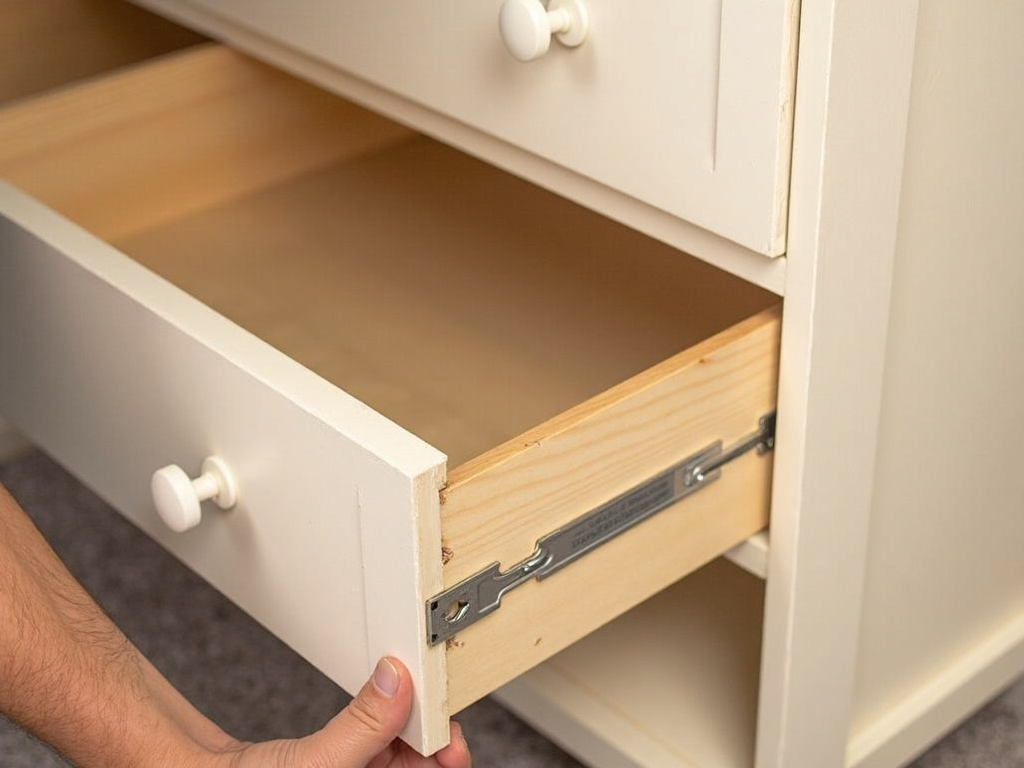
Step 2: Putting Together the Drawers
Next, tackle the drawers. Connect the sides to the front and back pieces—usually with screws or clips. Attach the drawer slides to both the frame and drawers. Test them as you go; I learned the hard way that crooked slides make drawers stick. Slide them in and adjust if they’re not smooth.
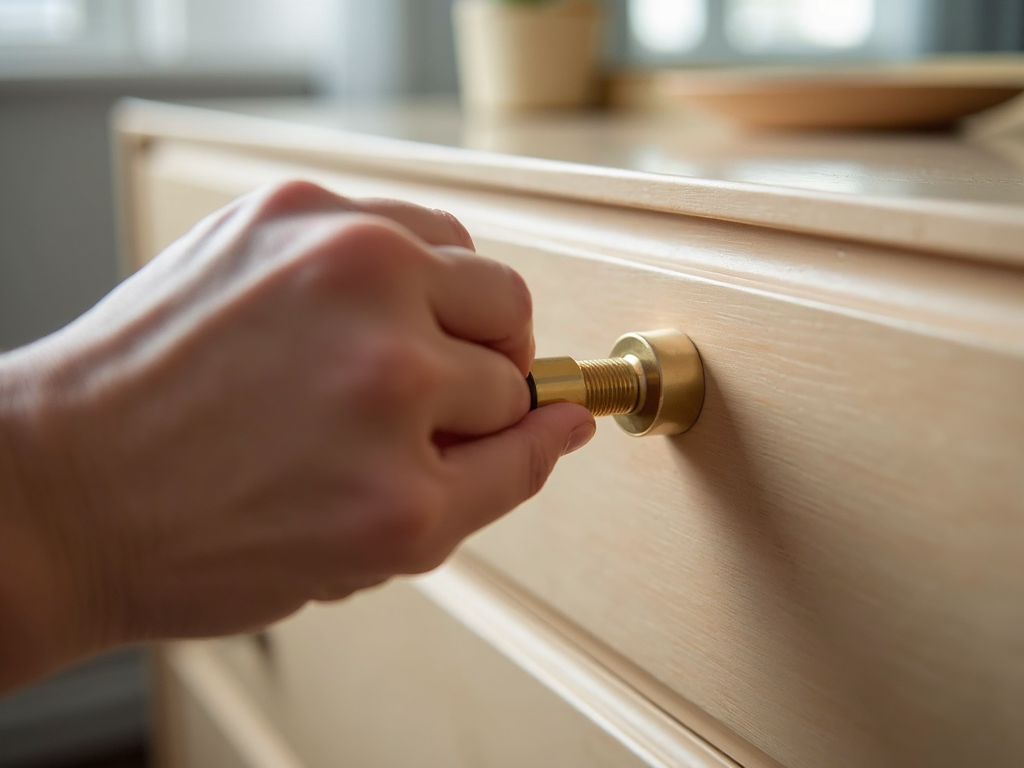
Step 3: Adding the Final Touches
Now for the details. Screw on handles or knobs—measure twice so they’re centered. Add any extra panels or trim the manual mentions. Go over every screw and joint again. I once skipped this and had a drawer fall out mid-use! A quick double-check avoids that mess.
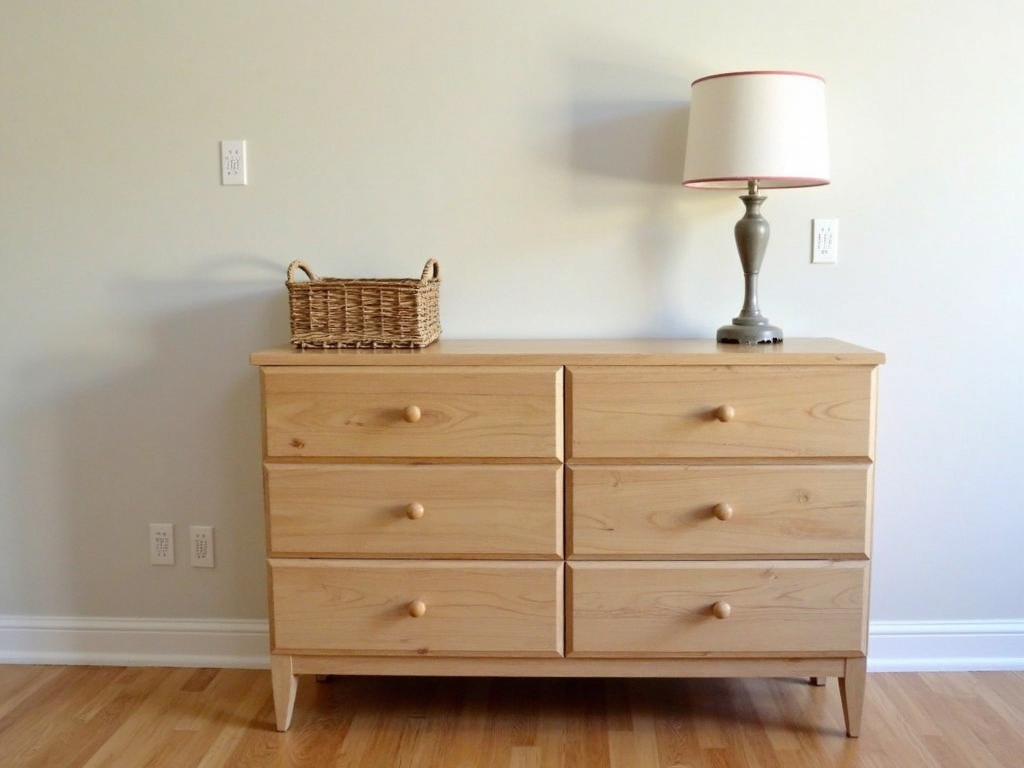
Maximizing Storage with Efficient Furniture
A dresser isn’t just for looks—it’s a storage powerhouse. Use dividers in drawers to keep socks or shirts neat. Put everyday stuff in top drawers for quick grabs. I’ve even used my dresser as a TV stand, with baskets on top for extra odds and ends. Think about your space and get creative!

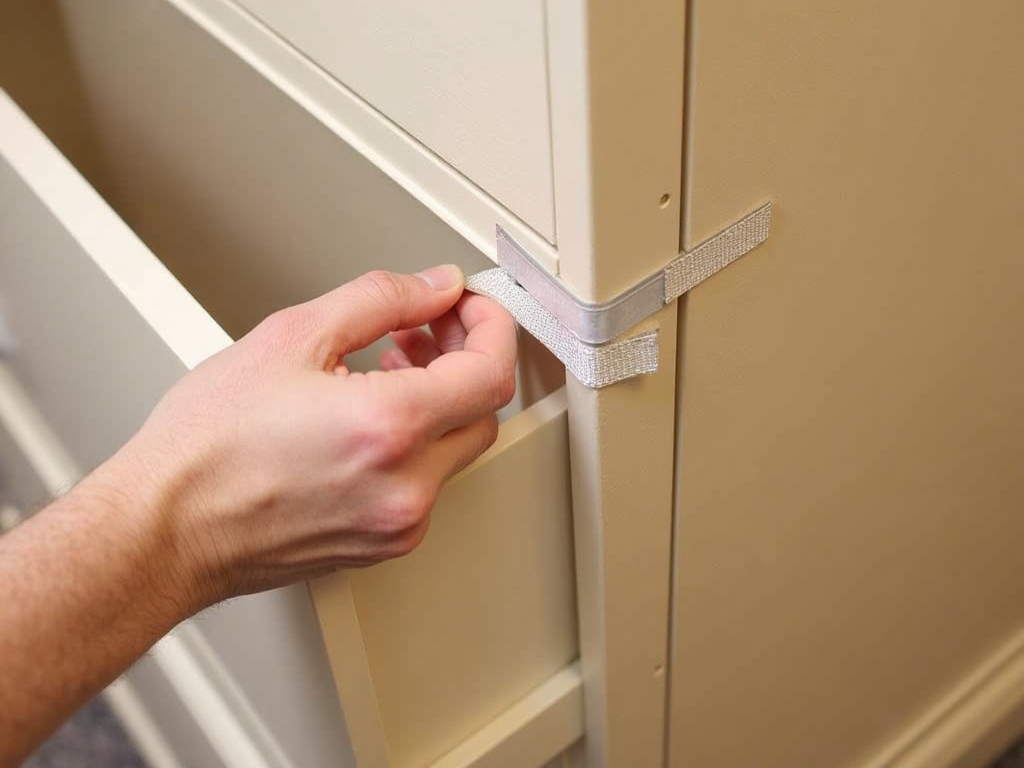
Fixing Common Problems
Things don’t always go perfectly, and that’s okay. Missing a screw? Call the manufacturer—they’re usually good about sending replacements. Holes not lining up? Gently drill a fix, but don’t force it. Wobbly dresser? Tighten screws or add corner braces. I’ve fixed a shaky frame with a $2 bracket—works like a charm.
Final Checks and Keeping It in Shape
Almost done! Test the drawers—do they glide easily? Check if the dresser sits flat; use shims if it rocks. Wipe it down with a soft cloth. For upkeep, tighten screws every few months. I learned to avoid stacking heavy books on top—keeps the wood from bowing over time.
Summary
Assembling a dresser yourself is easier than it looks with the right steps. This guide walked you through prep, assembly, and storage tricks to make the most of your furniture. Take it slow, check your work, and enjoy a job well done—plus a little extra room!