


Featured Post
How to Assemble a Dresser: Essential Tips and Tricks
Assembling furniture can feel overwhelming, especially with big pieces like dressers. But don’t worry—with the right steps, it’s totally doable. This guide shares practical assembling dresser furniture tips to help you build your dresser smoothly. We’ll cover everything from setting up to adding the final touches.
Get Ready: Prepare Your Space and Tools
Before you start, set up a good workspace. Pick a flat, clean area—like a table or the floor with a blanket to avoid scratches. Good lighting helps you see small parts clearly. Gather tools like a screwdriver (flathead and Phillips), a hammer, and maybe an Allen key—check your dresser’s manual for specifics. I once tried assembling a dresser on carpet, and the uneven surface made it wobble. Now, I stick to hard floors or add a plywood sheet.
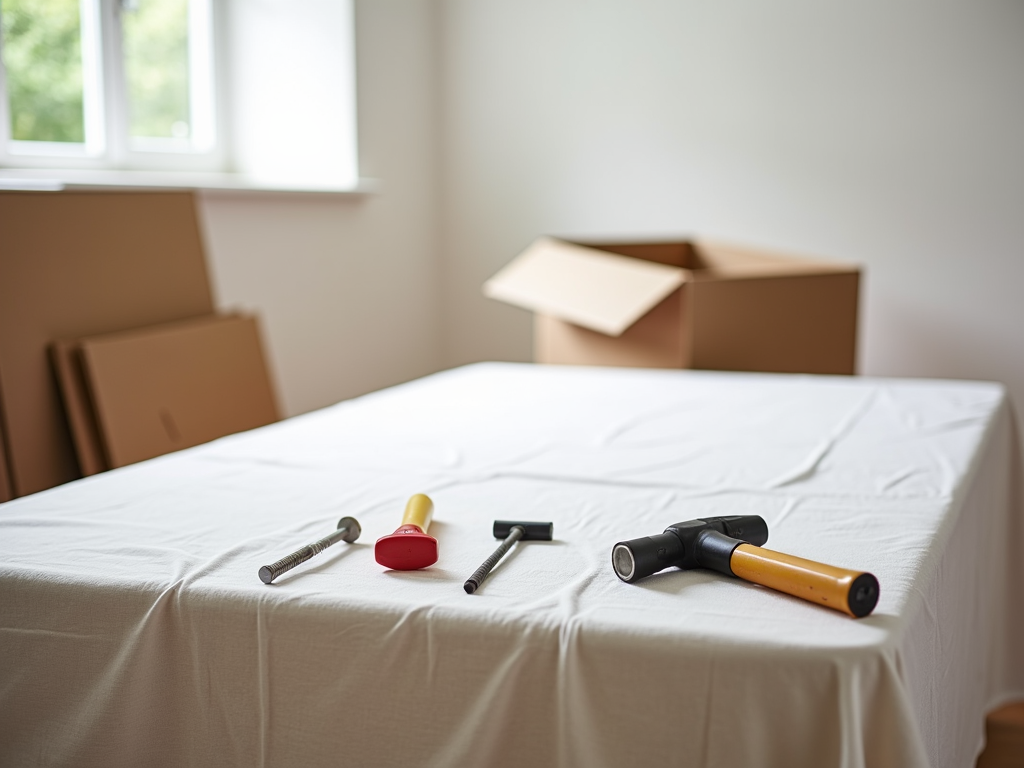
Have a small bowl handy for screws so they don’t roll away. If the dresser is heavy, ask a friend to help. Some steps, like holding panels steady, are easier with two people. Trust me, it’s worth it.
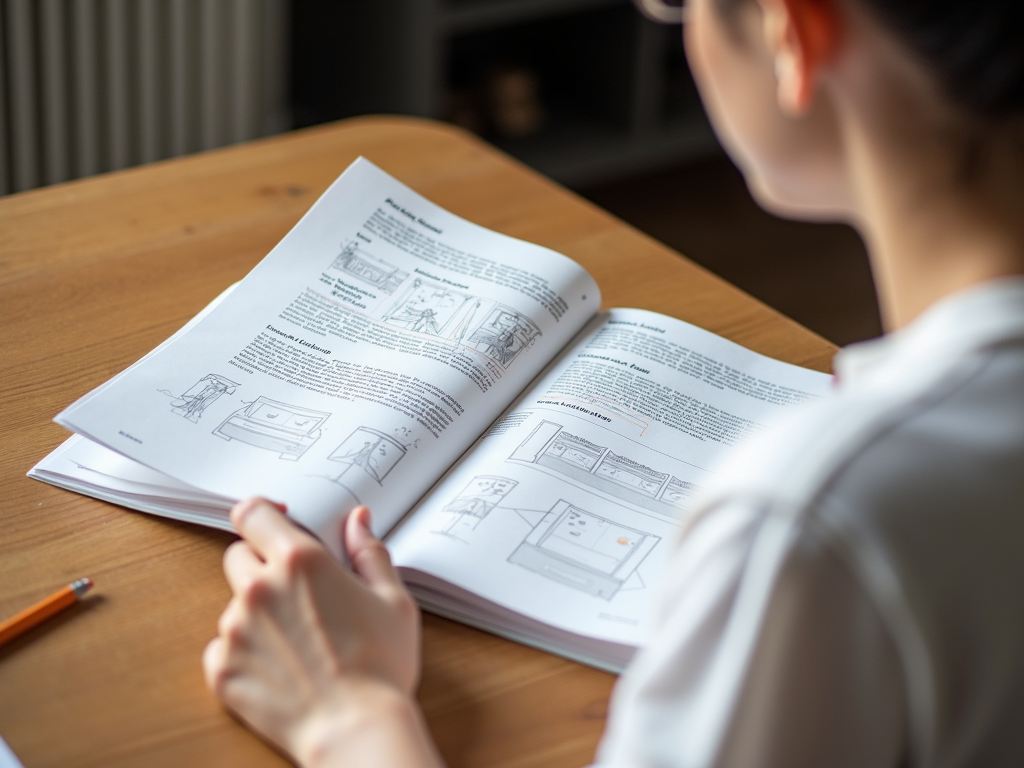
Read the Manual: Don’t Skip This Step
Reading the instruction manual is a must. It’s tempting to dive in, but that can lead to trouble. Start with the parts list to check everything’s there. Missing a screw? Call the manufacturer right away. Then, go through the steps and study any diagrams. I skipped this once and had to undo half a dresser because the drawers were backward. Take 10 minutes to read—it saves hours later.
Sort the Parts: Stay Organized
Lay out all the dresser parts on your workspace. Group them—screws in one pile, panels in another. If they’re labeled (like ‘A’ or ‘B’), keep those visible. I like taking a quick photo of the layout with my phone. It’s a lifesaver if I forget where something goes. Use cups or bowls to separate hardware by size. This trick keeps you from grabbing the wrong bolt mid-assembly.

Assemble Your Dresser: Step by Step
Here’s how to put your dresser together without stress. Break it into chunks to keep it manageable.
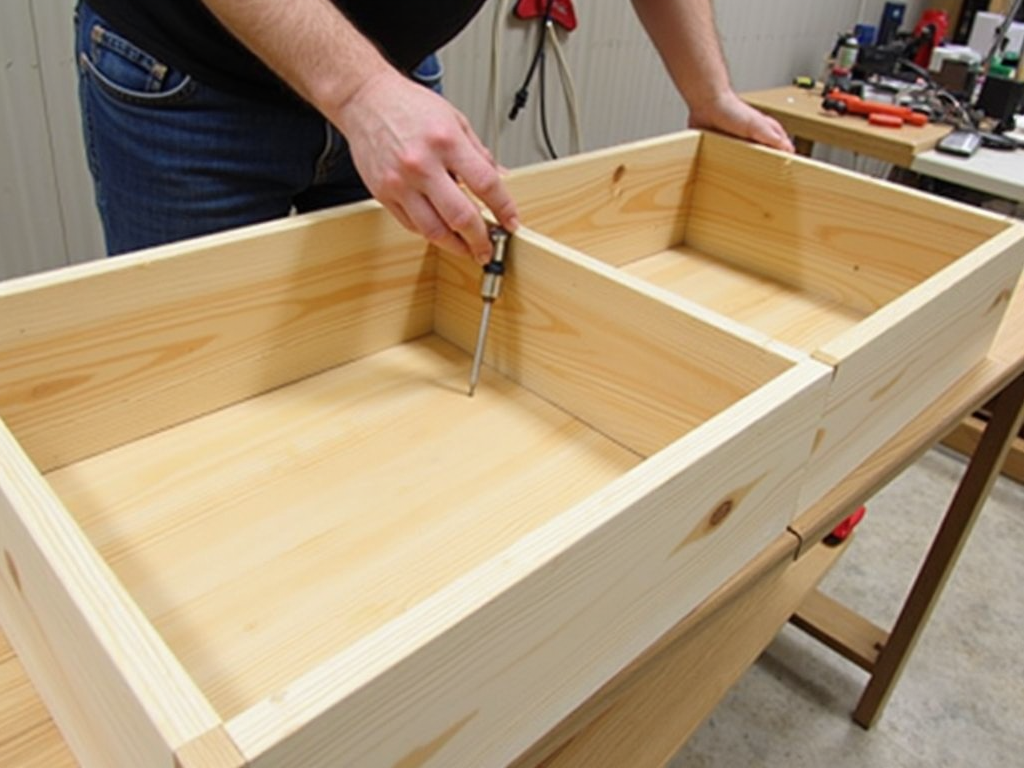
Step 1: Build the Frame
Find the top, bottom, and side panels. Lay them out roughly how they’ll look when done. Attach one side to the bottom first—line up the holes and tighten screws gently. Add the other side, then the top. Check alignment at each step. A sturdy frame is the backbone of your dresser.
Step 2: Attach the Back Panel
The back panel keeps your dresser stable. It’s usually thin wood or fiberboard. Line it up with the frame’s edges and nail or screw it in, starting at one corner. Work your way around so it’s flush—no gaps. This step makes a big difference in strength.
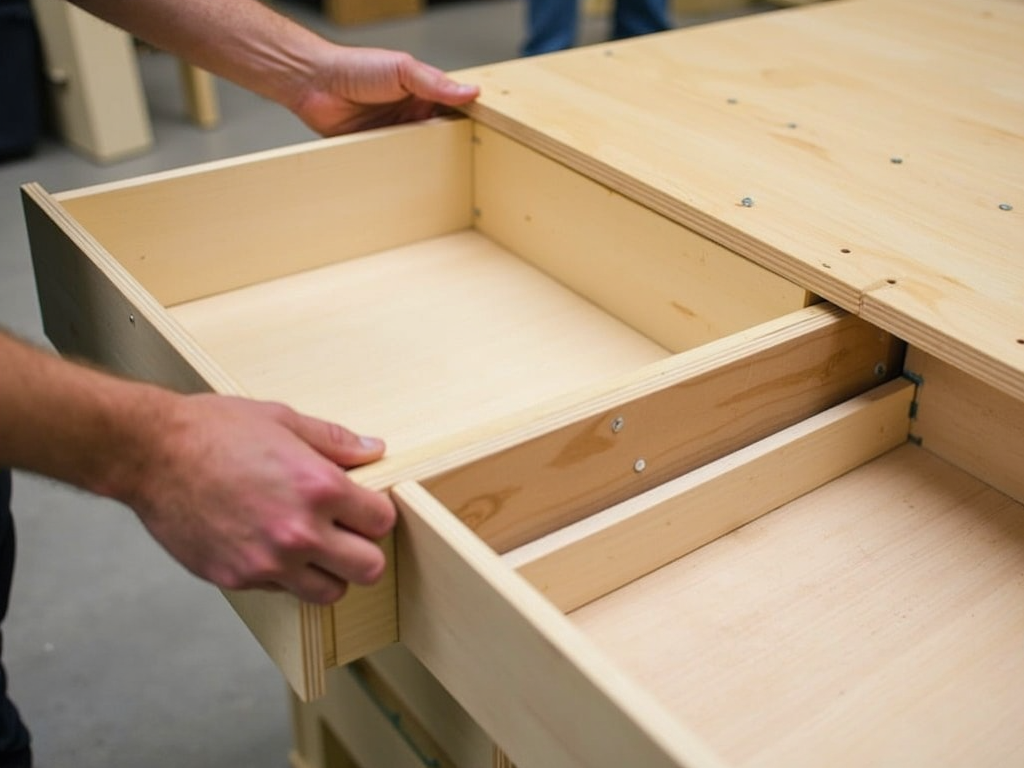
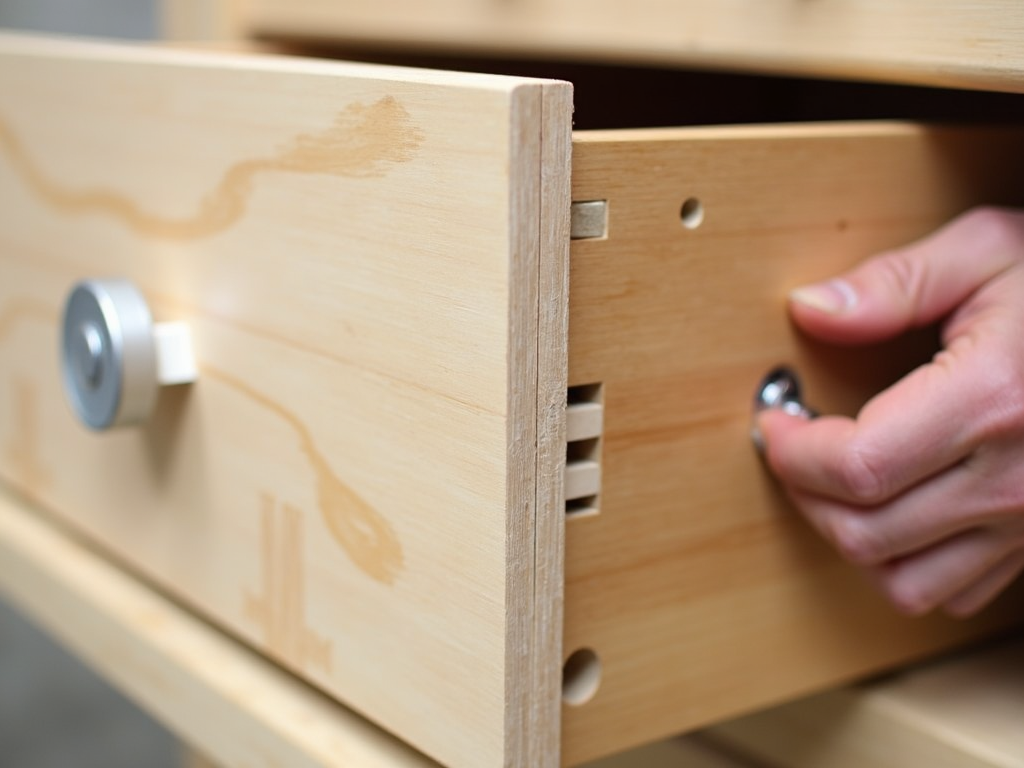
Step 3: Put Together the Drawers
Each drawer has a front, back, two sides, and a bottom. Connect the sides to the back, slide in the bottom, then add the front. Make sure it’s square—crooked drawers won’t slide right. Attach slides to the frame and drawers next. Test them to ensure they move smoothly.
Watch Out: Avoid These Mistakes
Mess-ups happen, but you can dodge them. Don’t skip the manual—guessing leads to errors. Check alignment before tightening screws; misaligned holes are a pain to fix. Don’t over-tighten either—it can crack the wood. And level the dresser after—it shouldn’t wobble on flat ground.
Here’s a quick list of pitfalls and fixes: - Skipping Steps: Follow the manual every time. - Wrong Screws: Match hardware to the instructions. - Uneven Base: Use a level tool to check stability.
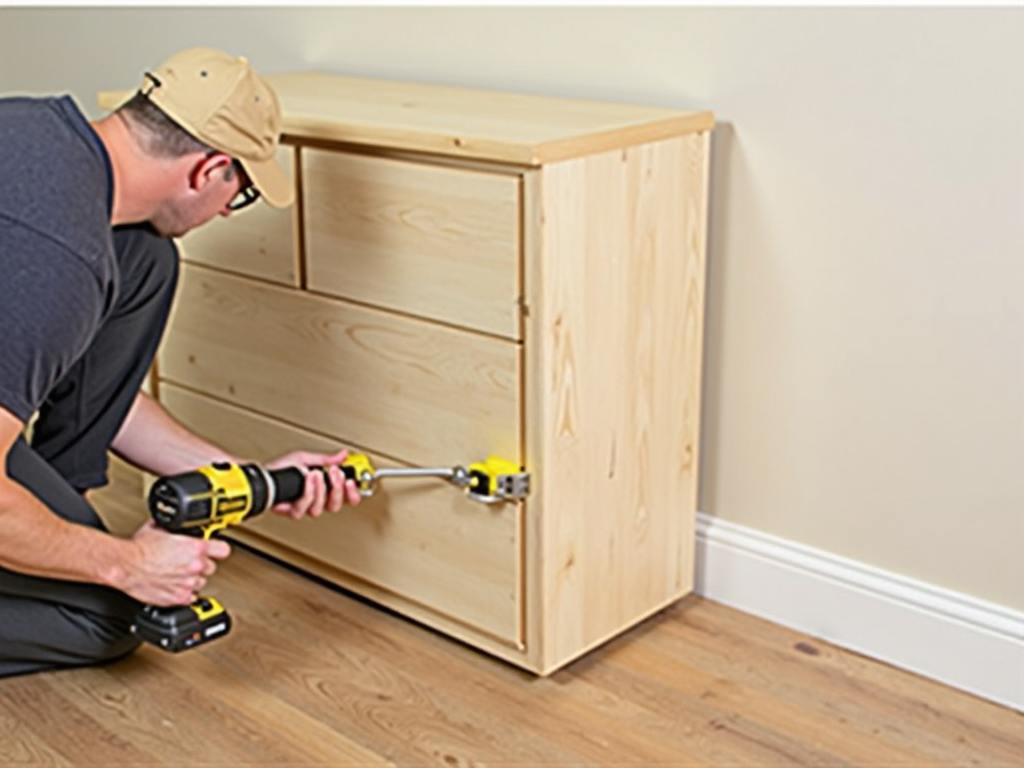
Make It Steady: Stability Tips
A wobbly dresser isn’t just annoying—it’s unsafe, especially with kids around. Anchor tall dressers to the wall with the kit included or buy one. Secure it to a stud for strength. After assembly, test for wobble. Add felt pads under legs if it’s uneven. Tighten all screws again, but not too hard.
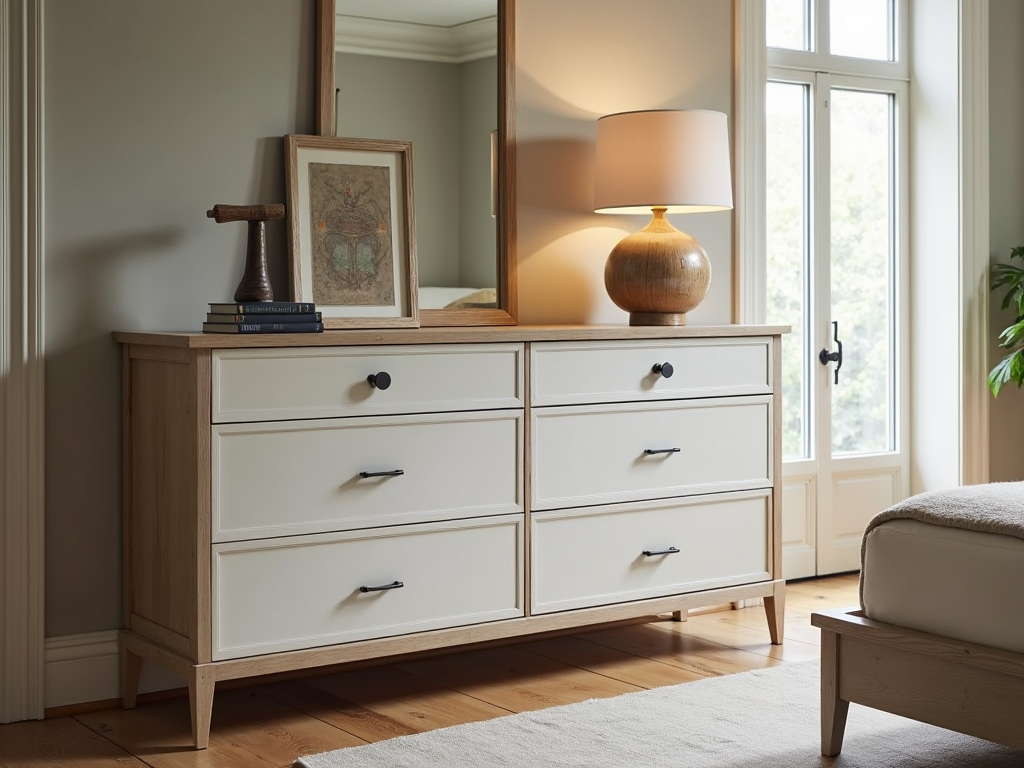
Add the Final Touches
Now for the fun part—handles and knobs. Line them up carefully; measure if needed before screwing them in. Test the drawers again—they should glide easily. Add felt pads to the legs to protect your floor. Step back and admire your work. You’ve built a solid piece of furniture!
Wrap-Up: You’ve Got This
Building a dresser takes time, but these assembling dresser furniture tips make it easier. Prep well, read the manual, stay organized, assemble carefully, avoid mistakes, secure it, and finish strong. Patience pays off with a dresser that looks great and lasts. Enjoy your new furniture!