


Featured Post
10 Simple Woodworking Projects for Beginners
Woodworking is a rewarding hobby that lets you craft beautiful, useful items for your home. If you’re new to it, starting with complex projects might feel overwhelming. Don’t worry—there are plenty of simple projects to build your confidence. In this article, we’ll walk through 10 Simple Woodworking Projects for Beginners that use basic tools and materials. These projects are perfect for learning and can even double as gifts or home decor pieces.
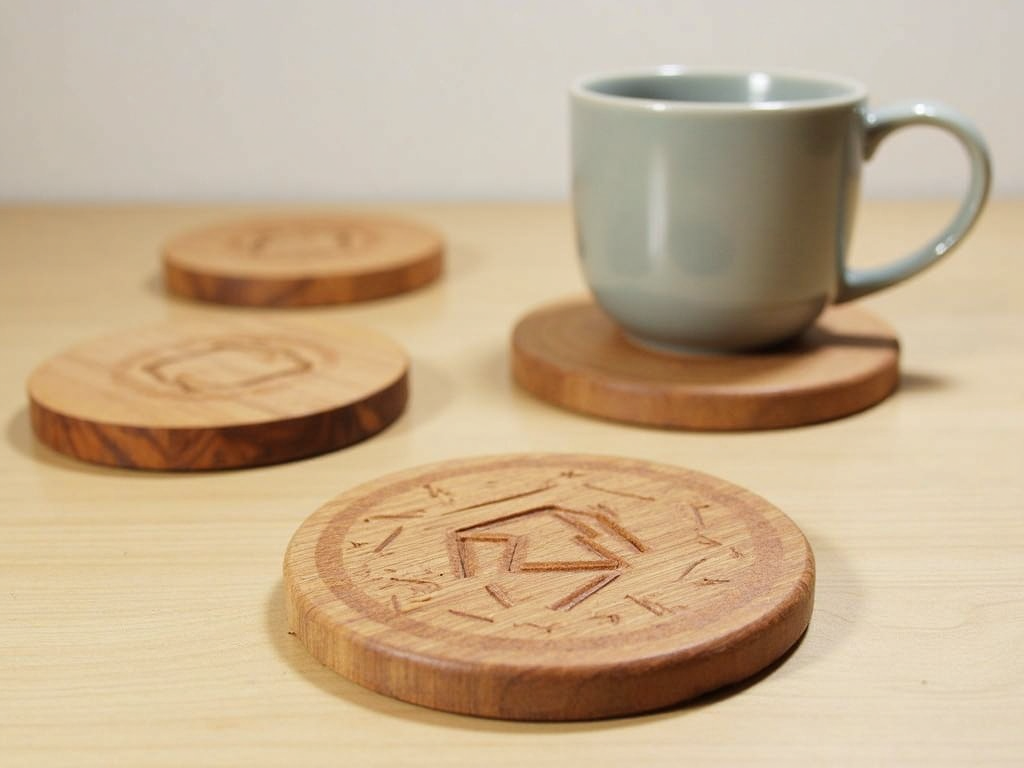
Wooden Coasters\n\nWooden coasters are an awesome first project. They’re quick to make, need few tools, and look great on any table. You can even personalize them!\n\nYou’ll need:\n- A wood board (pine, oak, or birch work well)\n- A saw (hand or power)\n- Sandpaper (coarse and fine grits)\n- Wood finish (like polyurethane or oil)\n- Optional: paint or stain\n\nSteps:\n1. Cut your wood into 4x4-inch squares or circles. Measure carefully so they match.\n2. Sand the edges and surfaces smooth. Start coarse, finish fine.\n3. Apply your finish to protect the wood. Let it dry completely.\n4. Want flair? Paint or etch a design.\n\nTips: Measure twice, cut once—it’s worth it. Sanding takes time but makes them splinter-free. I once made a set with a carved leaf pattern, and they were a hit as a housewarming gift!
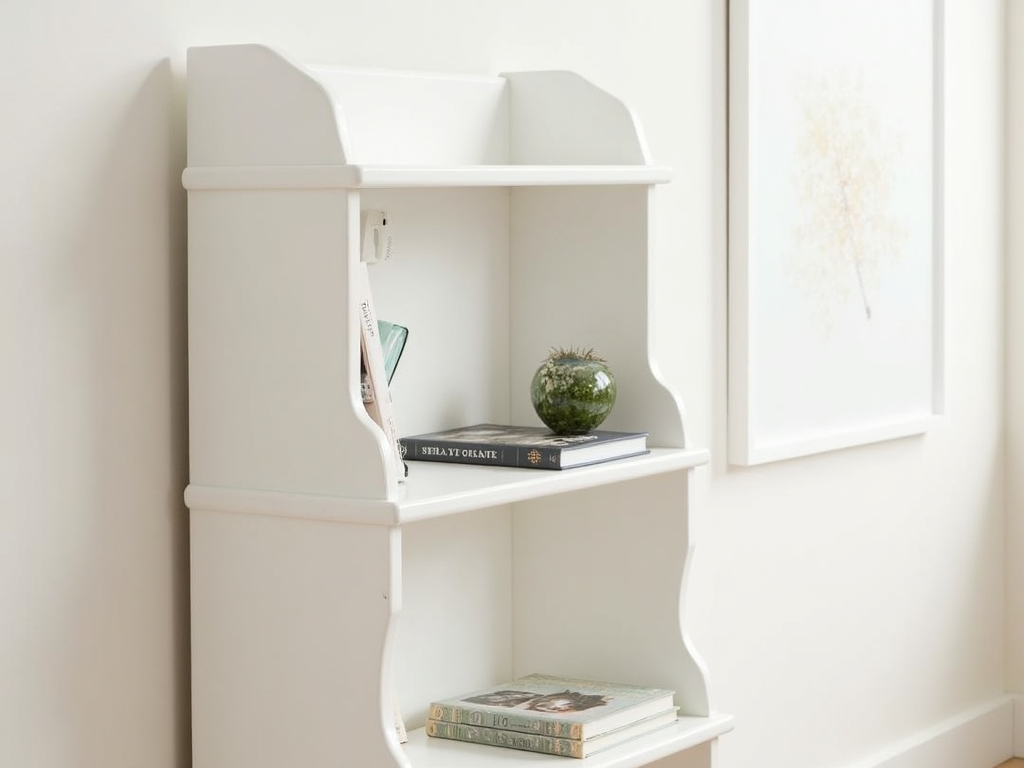
Simple Bookshelf\n\nA small bookshelf is a practical next step. It’s perfect for storing books or decor, and you can tweak its size to fit anywhere.\n\nYou’ll need:\n- Wood boards (for sides and shelves)\n- Screws or nails\n- Drill or hammer\n- Sandpaper\n- Optional: paint or stain\n\nSteps:\n1. Decide your size—two sides, three shelves is easy.\n2. Cut your boards to length. Keep cuts straight.\n3. Attach shelves to sides with screws or nails. Check they’re level.\n4. Sand it smooth, then paint or stain if you like.\n\nTips: Use a level—crooked shelves look sloppy. Pre-drill screw holes to avoid splitting. My first bookshelf wobbled until I added a back panel—lesson learned!
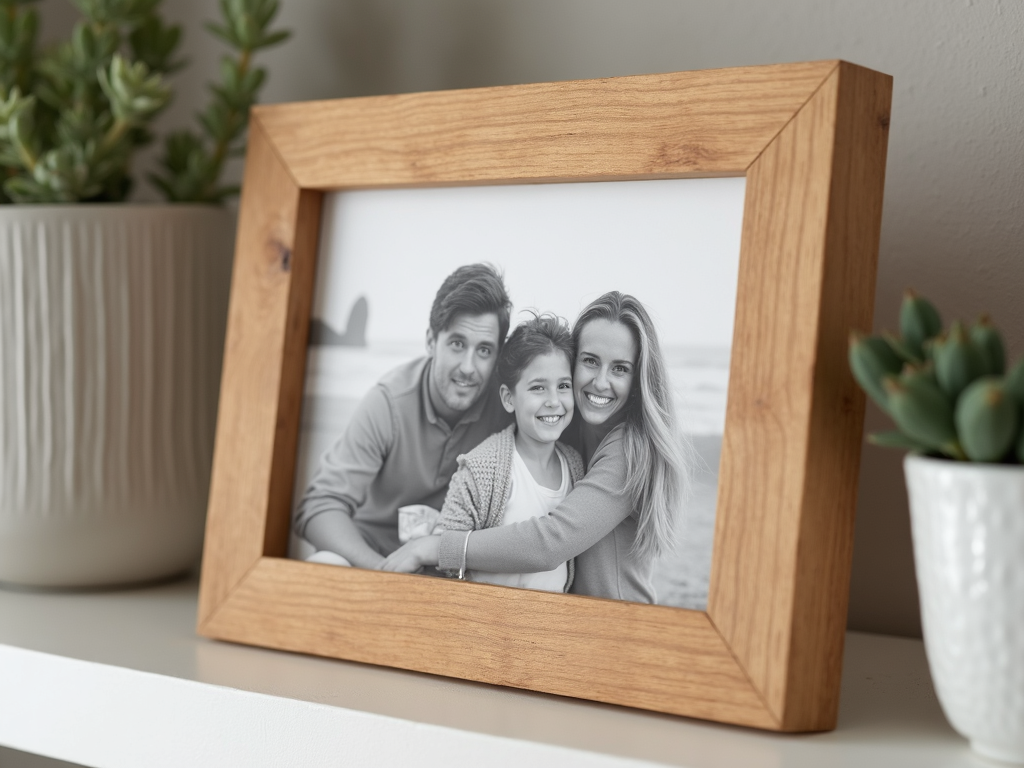
Picture Frame\n\nMaking a picture frame lets you showcase photos or art. It’s a fun way to practice precise cuts.\n\nYou’ll need:\n- Wood molding or trim\n- Miter saw (or hand saw with miter box)\n- Wood glue\n- Clamps\n- Sandpaper\n- Optional: paint or stain\n\nSteps:\n1. Measure your photo. Cut four pieces at 45-degree angles.\n2. Glue the corners and clamp until dry.\n3. Sand it smooth. Add paint or stain if you want.\n\nTips: A miter box is your friend for clean angles. Check corners are square while clamping. I made one for a family photo—simple, but it’s still a favorite.
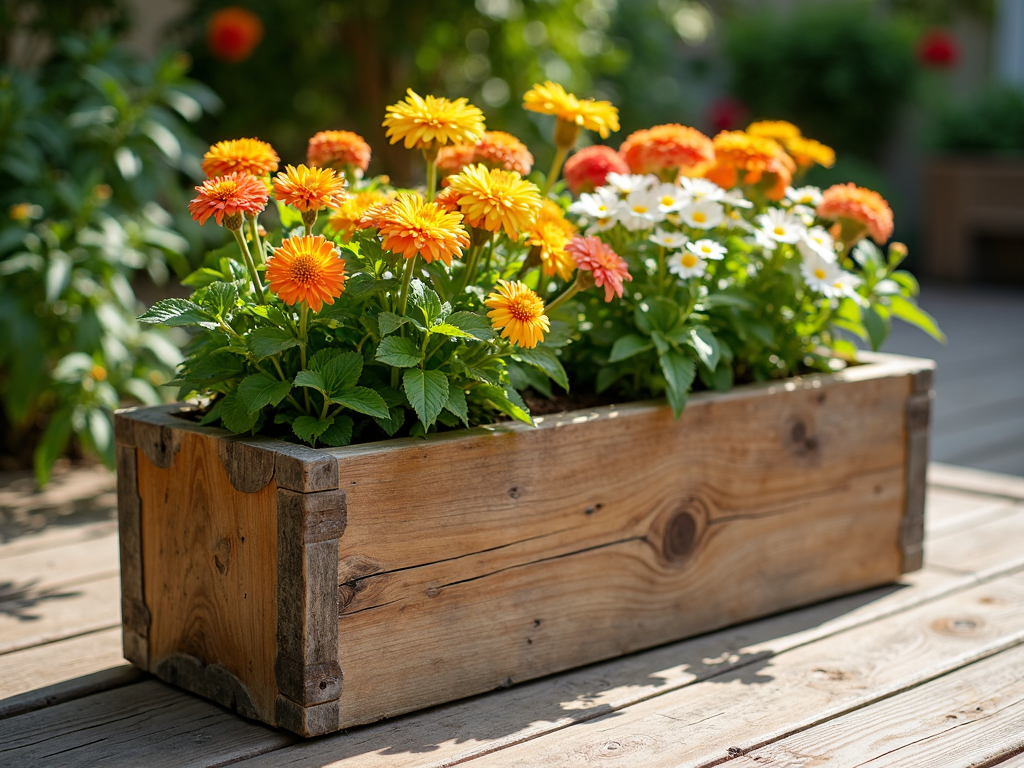
Wooden Planter Box\n\nA planter box brings life to your space. It’s easy and great for indoor or outdoor plants.\n\nYou’ll need:\n- Wood boards (sides and bottom)\n- Screws or nails\n- Drill or hammer\n- Sandpaper\n- Optional: sealer or paint\n\nSteps:\n1. Cut boards for a rectangle box.\n2. Assemble sides, then add the bottom.\n3. Sand it smooth. Seal or paint for durability.\n\nTips: Drill drainage holes—plants hate soggy roots. Cedar lasts longer outside. Mine’s held herbs on my porch for years!
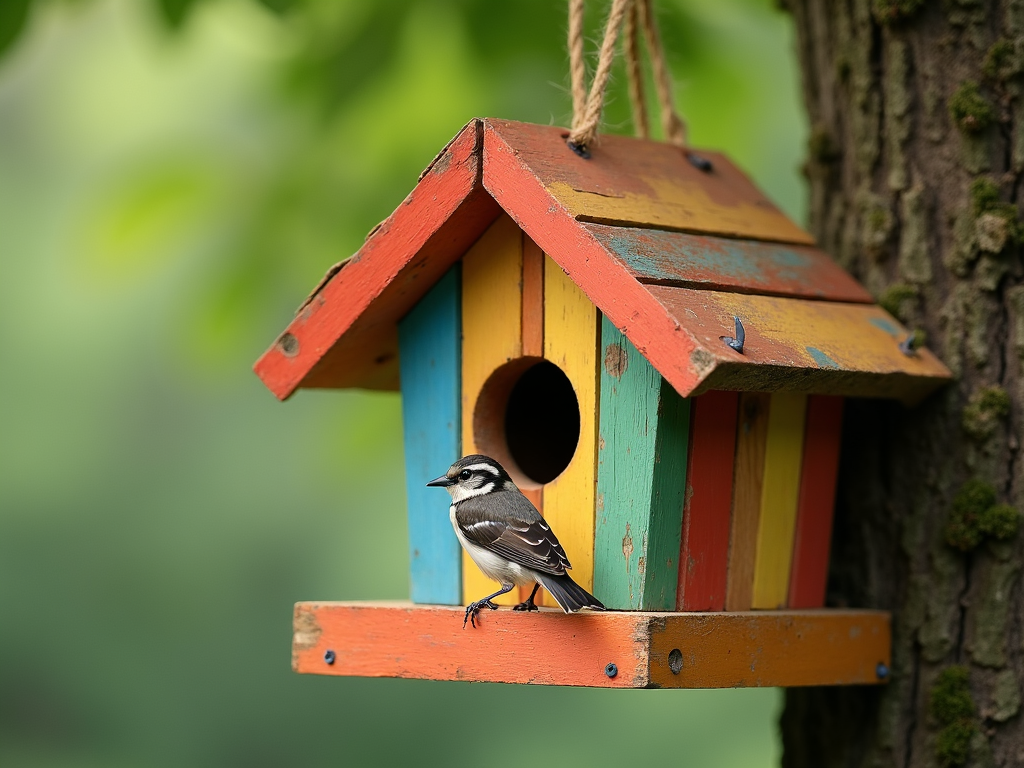
Birdhouse\n\nA birdhouse is a charming project that invites nature to your yard. It’s simple but teaches assembly skills.\n\nYou’ll need:\n- Wood boards (sides, roof, bottom)\n- Screws or nails\n- Drill or hammer\n- Sandpaper\n- Optional: paint\n\nSteps:\n1. Cut pieces based on a basic plan (check online).\n2. Assemble sides, bottom, and roof. Leave an entry hole.\n3. Sand and paint if you like.\n\nTips: Match the hole size to local birds. Hang it securely. My first one attracted sparrows—such a thrill!
Cutting Board\n\nA cutting board is a kitchen must-have. It’s a great way to master sanding and finishing.\n\nYou’ll need:\n- Hardwood board (maple or walnut)\n- Saw\n- Sandpaper (various grits)\n- Food-safe finish (mineral oil)\n\nSteps:\n1. Cut the board to size—rectangle is simplest.\n2. Sand it smooth, working up to fine grit.\n3. Apply mineral oil and let it soak in.\n\nTips: Hardwood lasts longer. Sand well—no one likes splinters in their food. I use mine daily—it’s held up great.

Wooden Spoon\n\nCarving a wooden spoon is hands-on and satisfying. It’s perfect for practicing knife skills.\n\nYou’ll need:\n- Wood block (basswood or pine)\n- Carving knife\n- Sandpaper\n- Food-safe finish\n\nSteps:\n1. Sketch the spoon shape on the block.\n2. Carve it out—rough first, then refine.\n3. Sand smooth and apply finish.\n\nTips: Go slow—carving takes patience. Cut away from yourself. My first spoon was uneven, but I loved using it anyway.

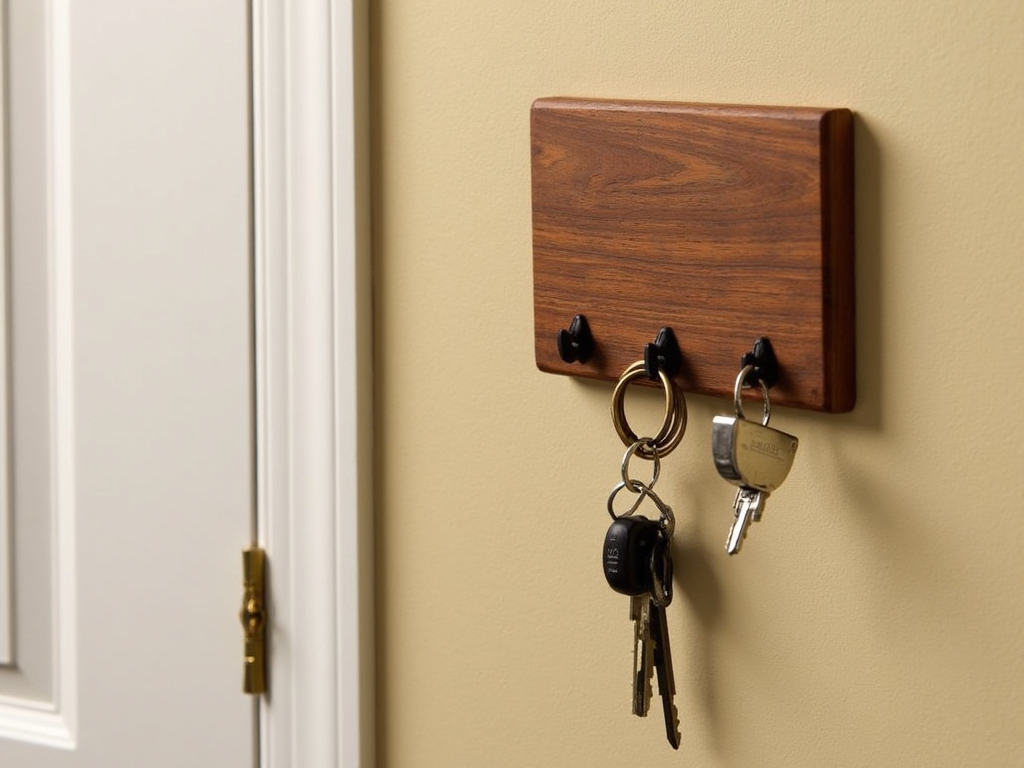
Key Holder\n\nA key holder keeps your entryway tidy. It’s a quick project with big impact.\n\nYou’ll need:\n- Wood board\n- Saw\n- Drill\n- Hooks or pegs\n- Sandpaper\n- Optional: paint\n\nSteps:\n1. Cut the board to size.\n2. Drill holes for hooks.\n3. Attach hooks, sand, and paint if desired.\n\nTips: Space hooks evenly. Add a shelf if you want. Mine’s saved me countless lost-key moments!
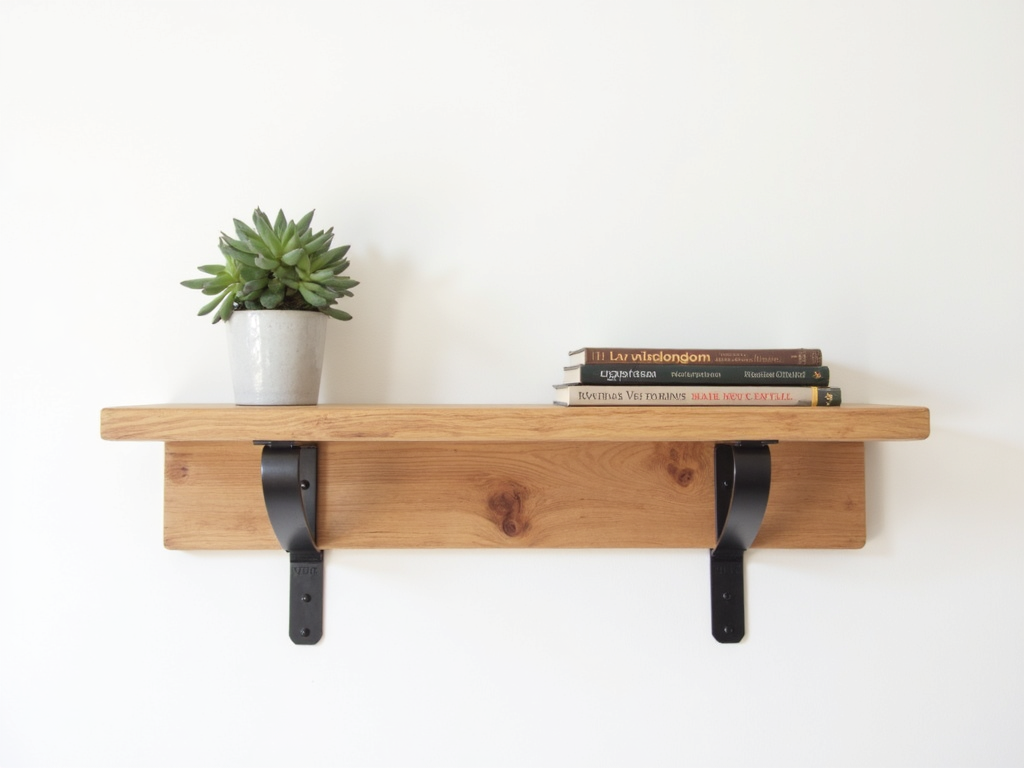
Wall Shelf\n\nA wall shelf adds storage without taking floor space. It’s an easy win for any room.\n\nYou’ll need:\n- Wood board\n- Brackets\n- Screws\n- Drill\n- Sandpaper\n- Optional: stain\n\nSteps:\n1. Cut the board to length.\n2. Sand it smooth.\n3. Mount brackets to the wall, then add the shelf.\n\nTips: Check bracket strength—don’t overload it. Level it up. I use mine for books and plants—looks sharp!
Simple Nightstand with Organization Tips\n\nA nightstand is one of the best Easy DIY Furniture Projects for Beginners. It fits into Minimalist Bedroom Decor Ideas and offers Easy DIY Nightstand Upgrades. Here’s how to make one with nightstand organization tips.\n\nYou’ll need:\n- Wood boards (top, sides, shelf)\n- Screws or nails\n- Drill or hammer\n- Sandpaper\n- Optional: paint\n\nSteps:\n1. Plan a basic design—top, sides, one shelf.\n2. Cut boards to size.\n3. Assemble with screws or nails. Keep it square.\n4. Sand and finish.\n\nTips: Add a drawer if you’re up for it. For organization, use trays for small stuff—keeps it neat. Mine holds a lamp and book, no clutter!

Summary\n\nWoodworking opens up a world of creativity. These 10 Simple Woodworking Projects for Beginners are designed to build your skills while making useful items. From coasters to a nightstand, they’re approachable and rewarding. Start small, enjoy the process, and soon you’ll be tackling bigger builds!