


Featured Post
Cabinet Furniture Assembly Tips for a Stress-Free Build
Overview
Assembling cabinet furniture can feel overwhelming, but with the right approach, it’s a rewarding DIY project. Whether you’re building a kitchen cabinet, a wardrobe, or a storage unit, these cabinet furniture assembly tips will help you achieve a sturdy, professional result. This guide shares practical steps and personal insights to make the process smooth and stress-free.
Why Cabinet Furniture Assembly Matters
Cabinets are the backbone of organized spaces. From kitchens to offices, they provide storage and style. However, improper assembly can lead to wobbly structures, misaligned doors, or even safety hazards. I’ve tackled countless furniture projects, from flat-pack bookshelves to complex kitchen cabinets, and I’ve learned that preparation and patience are key. These tips are designed to save you time, reduce frustration, and ensure your cabinet stands the test of time.
Step 1: Prepare Your Workspace
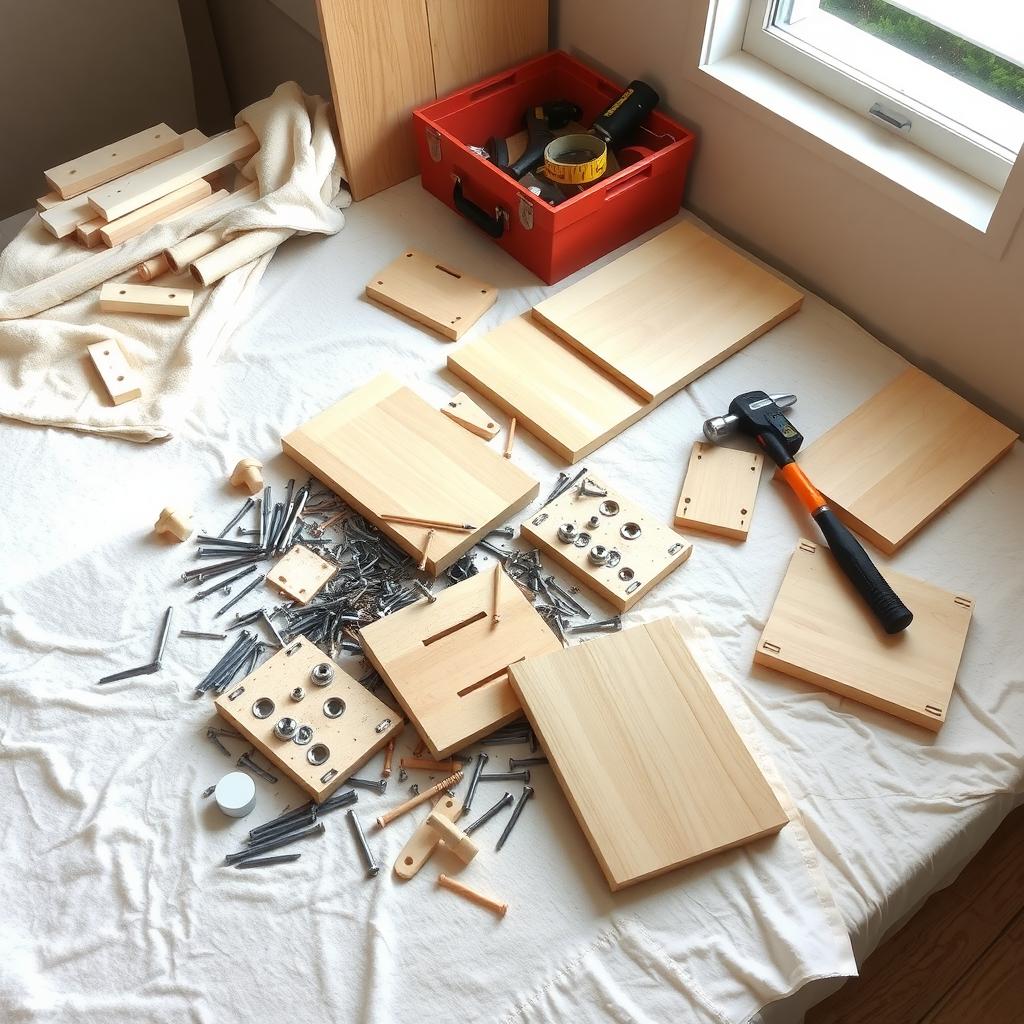
Before you open the box, set up a clean, spacious work area. Clear a flat surface, like a garage floor or living room, and lay down a blanket or cardboard to protect parts from scratches. I once scratched a glossy cabinet panel because I worked on a rough concrete floor—lesson learned! Gather all tools listed in the manual, typically a screwdriver, hammer, and maybe an Allen wrench. Double-check that all parts are included by comparing them to the inventory list.
Essential Tools for Cabinet Assembly
Here’s a quick checklist of tools you’ll likely need:
- Screwdriver (Phillips and flathead): For various screw types.
- Cordless drill: Speeds up the process but use cautiously to avoid stripping screws.
- Level: Ensures your cabinet is perfectly aligned.
- Measuring tape: For double-checking dimensions.
- Hammer: For securing dowels or tapping parts into place.
- Rubber mallet: Gentler for delicate adjustments.
Having these ready prevents mid-project trips to the hardware store.
Step 2: Read the Instructions (Seriously!)
I know it’s tempting to dive in, but the instruction manual is your roadmap. Spend 10 minutes reading it thoroughly. Manufacturers like IKEA or Wayfair design manuals to guide even beginners, but they can be tricky. Look for numbered steps and diagrams. If the manual is unclear, check the manufacturer’s website for digital versions or videos. For example, IKEA’s assembly guides often include helpful visuals.
Step 3: Organize Parts Strategically
Sort parts by type—screws, dowels, panels, hinges—and group them in small containers or on labeled sections of your workspace. I use old muffin tins for screws; it’s a game-changer. This step prevents confusion when the manual says, “Insert screw type B into panel 3.” Double-check part counts, as missing pieces can halt progress. If something’s missing, contact the retailer immediately.
Step 4: Assemble in the Right Order
Follow the manual’s sequence precisely. Cabinets are built in stages—base, sides, back, shelves, then doors. Rushing to attach doors early can throw off alignment. I once skipped ahead on a wardrobe assembly and had to redo hours of work because the frame wasn’t square. Use a level at each stage to ensure everything is straight. If you’re assembling a wall-mounted cabinet, This Old House offers excellent tips on securing it safely.
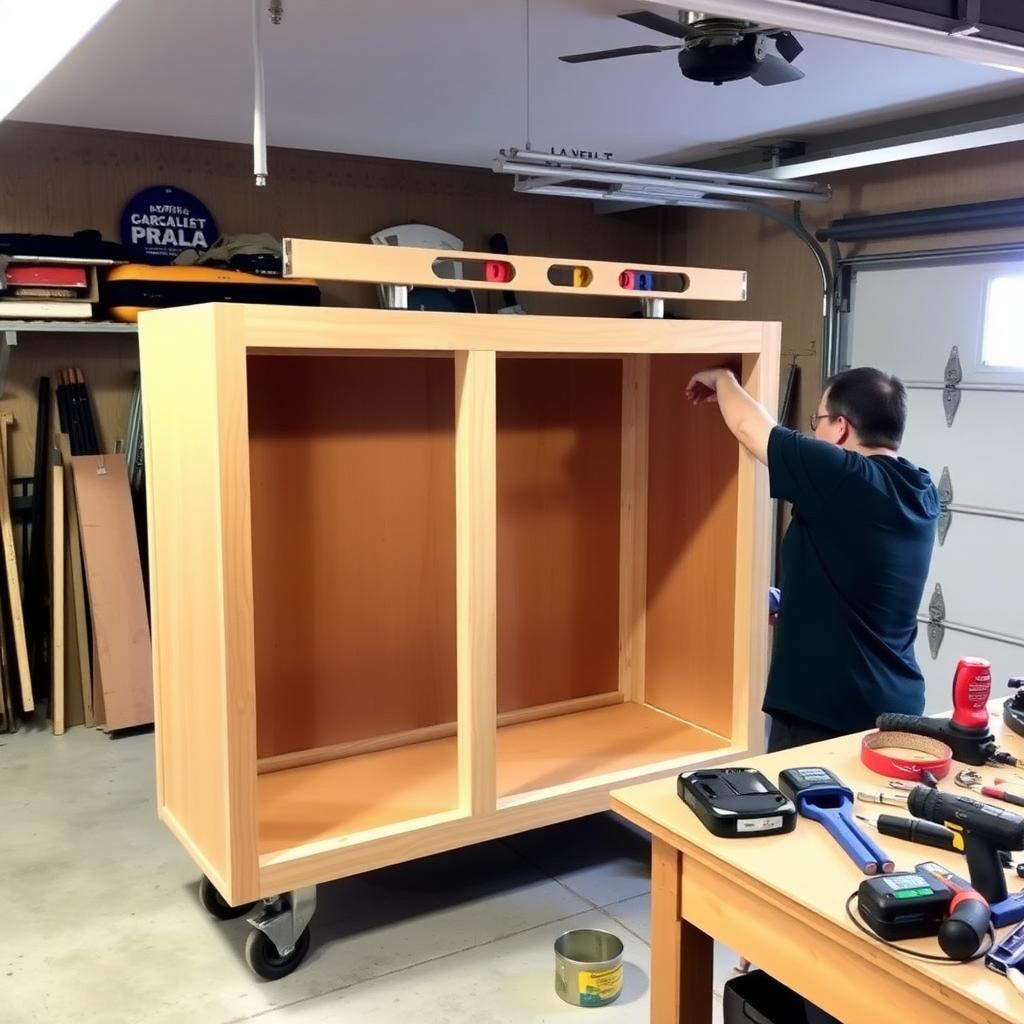
Step 5: Master the Art of Screws and Dowels
Screws and dowels are the heart of cabinet furniture assembly. Tighten screws gradually to avoid stripping or cracking wood. For dowels, tap them gently with a hammer or rubber mallet to ensure a snug fit. I’ve found that applying a tiny dab of wood glue to dowels (if the manual allows) adds extra strength. Be cautious with power drills—low torque settings prevent damage. According to a study by the University of Michigan, over-tightening screws is a common DIY mistake that weakens furniture.
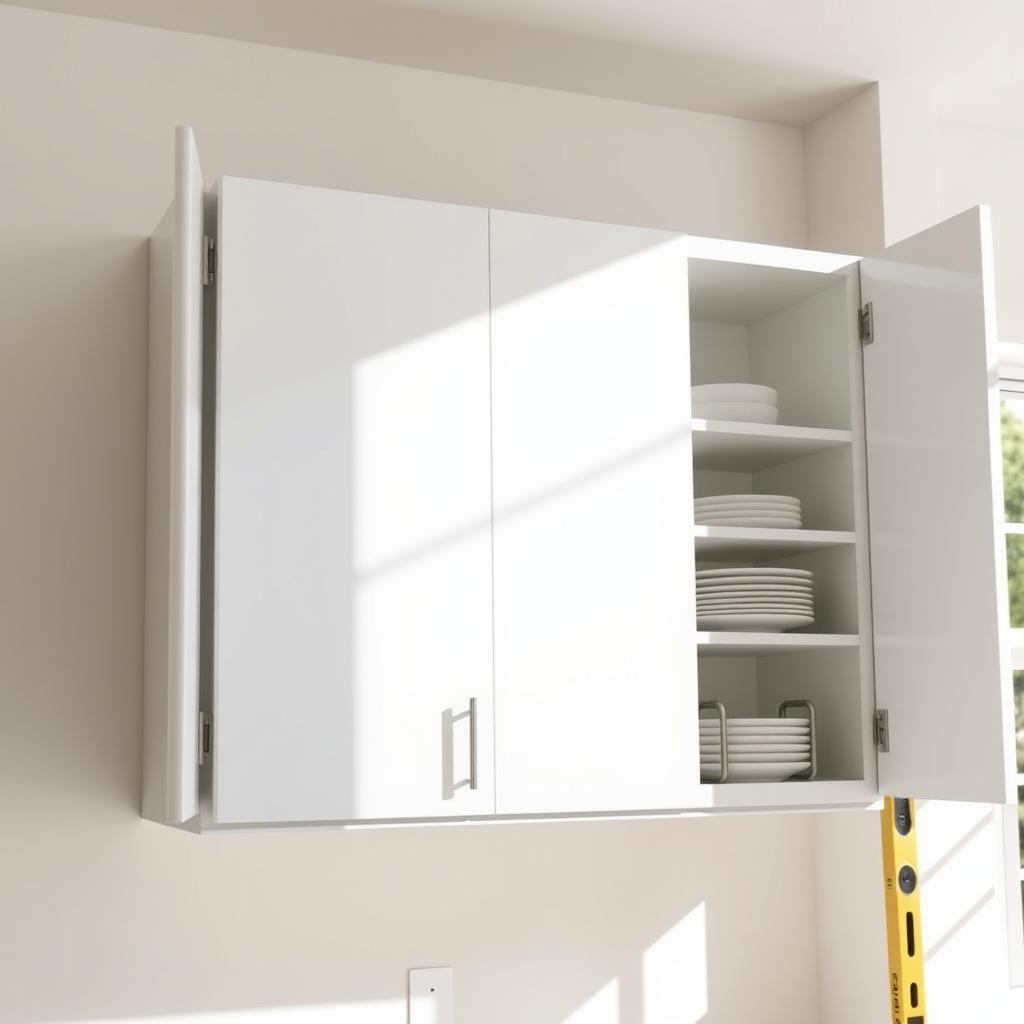
Step 6: Align Doors and Drawers Perfectly
Misaligned doors or drawers scream “amateur.” Once the frame is built, attach hinges and test door swing. Use a screwdriver to adjust hinge screws for perfect alignment. For drawers, ensure tracks are level and lubricated with a bit of soap or wax for smooth gliding. I spent an hour tweaking a bathroom vanity’s doors to close evenly, and the result was worth it—clean lines make all the difference.
Step 7: Secure the Cabinet Properly
If your cabinet is freestanding, ensure it’s stable on the floor. For wall-mounted units, use appropriate anchors and brackets. A poorly secured cabinet can tip, especially in homes with kids or pets. The U.S. Consumer Product Safety Commission reports thousands of injuries yearly from furniture tip-overs, so don’t skip this step. Use a stud finder to locate wall studs for maximum strength.
Common Mistakes to Avoid
Here’s a quick table of pitfalls and how to dodge them:
| Mistake | Solution |
|---|---|
| Ignoring the manual | Read it fully before starting. |
| Over-tightening screws | Tighten gradually; use hand tools for final turns. |
| Skipping the level | Check alignment at every step. |
| Rushing assembly | Work methodically, taking breaks if needed. |
| Not securing to the wall | Use proper anchors for safety. |
These mistakes are easy to make but easier to avoid with care.
Personal Tips from Experience
After assembling dozens of cabinets, I’ve picked up a few tricks. First, work with a friend if possible—extra hands make aligning panels easier. Second, keep a small notebook to jot down manual steps or part counts; it’s a lifesaver for complex projects. Finally, take breaks. Fatigue leads to errors, and I’ve learned the hard way that a 10-minute coffee break can prevent hours of fixing mistakes.
Summary
Assembling cabinet furniture doesn’t have to be daunting. With careful preparation, organized parts, and attention to detail, you can build sturdy, professional-looking cabinets. Follow these cabinet furniture assembly tips, take your time, and enjoy the satisfaction of a job well done. Your home deserves furniture that’s both functional and beautiful.