


Featured Post
The Ultimate Guide to Wood Finishes: Transform Your Furniture
Overview: Why Wood Finishes Matter
Wood finishes do more than make furniture look good. They protect your chairs, tables, and other pieces from wear, moisture, and time. The right finish can elevate a simple wooden chair into a centerpiece. This guide dives into everything you need to know about wood finishes, from choosing the best type to applying it like a pro. Whether you’re restoring an old table or finishing a new project, this furniture care guide for wood finishing will help you get results that last.
Understanding Wood Finishes
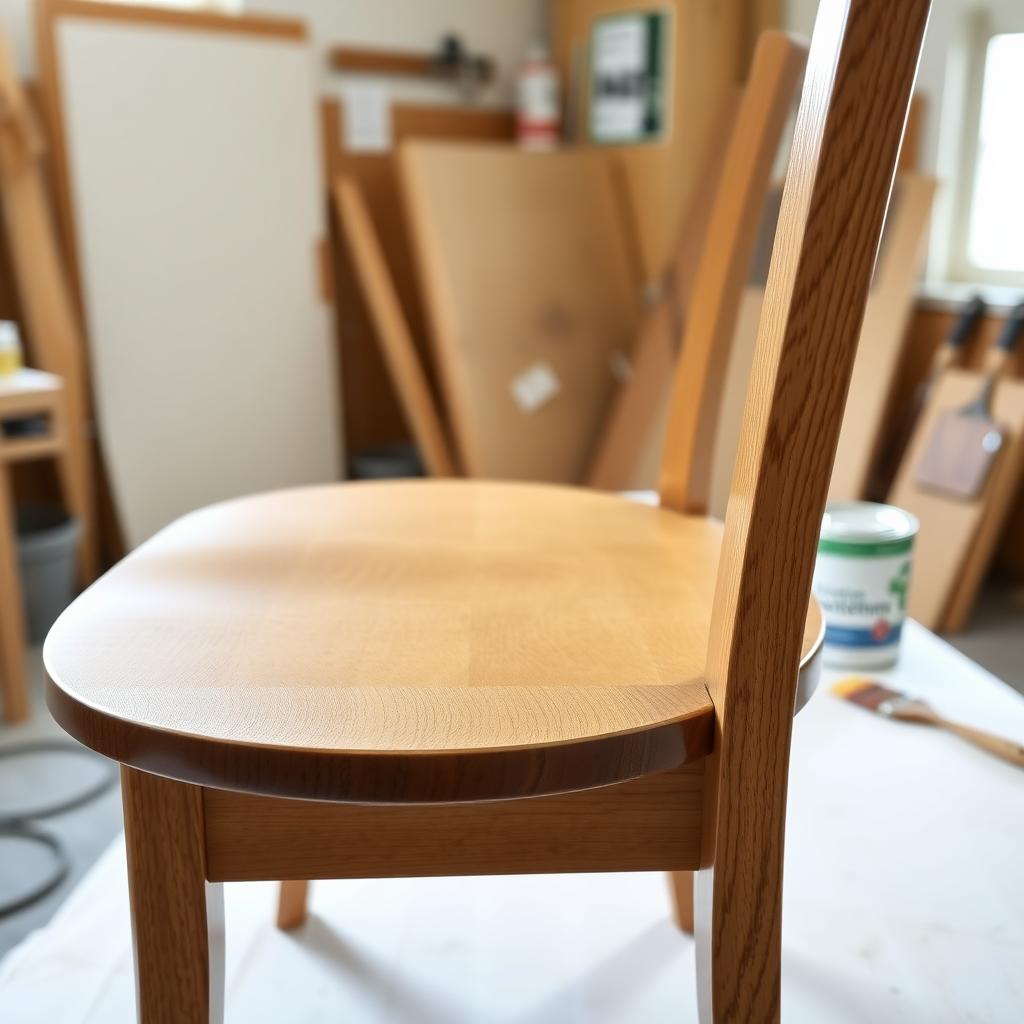
A wood finish is a protective coating that enhances the beauty and durability of wood. Finishes seal the wood, prevent scratches, and resist water or heat damage. They also bring out the wood’s natural grain, giving your furniture a polished look. But not all finishes are the same. Some prioritize protection, while others focus on aesthetics. Knowing the difference is key to picking the right one for your project.
There are two main types of finishes: penetrating and surface. Penetrating finishes, like oils, soak into the wood, enhancing its natural look while offering moderate protection. Surface finishes, like polyurethane, form a hard layer on top, ideal for heavy-use furniture like dining tables. Each type has its strengths, so your choice depends on the piece and its purpose.
Choosing the Right Wood Finish
Selecting a finish starts with understanding your furniture’s needs. A chair in a busy kitchen needs a tougher finish than a decorative shelf. Here’s a breakdown of popular finishes and their best uses:
- Oil-Based Polyurethane: Durable and water-resistant, perfect for tables and chairs. It’s easy to apply but dries slowly.
- Water-Based Polyurethane: Less odor, faster drying, and eco-friendly. Great for indoor furniture but less durable than oil-based.
- Shellac: A natural finish with a warm, amber tone. Ideal for decorative pieces but not for high-traffic areas.
- Lacquer: Quick-drying and glossy, often used for professional-grade furniture. Requires good ventilation.
- Tung Oil: Penetrates deeply for a natural look. Best for low-wear items like accent tables.
For example, I once restored a set of dining chairs using water-based polyurethane. The finish held up to spills and daily use, and the chairs still look great years later.
When choosing, consider the wood type too. Oak and walnut love oil-based finishes for their rich grain, while maple shines with clear water-based coats. Always test a finish on a small, hidden area first. This guide from the University of Kentucky’s Forestry Department offers detailed insights on matching finishes to wood types.
Preparing Your Furniture for Finishing
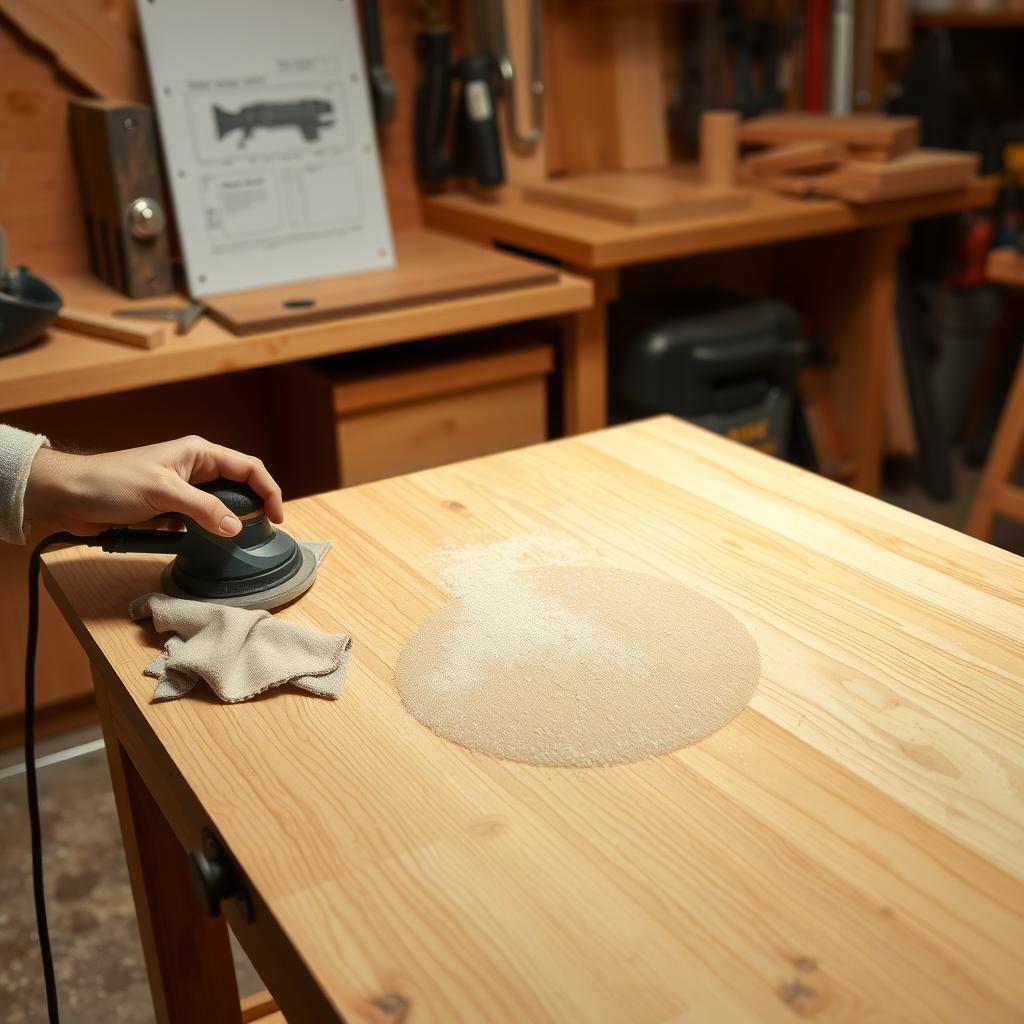
Preparation is half the battle. A poorly prepped surface leads to uneven finishes, no matter how good your product is. Start by sanding the wood. Use coarse sandpaper (80-grit) to remove old finishes or imperfections, then move to finer grits (120-220) for a smooth surface. I learned this the hard way when I skipped sanding on an old chair. The finish bubbled, and I had to start over.
Clean the wood thoroughly after sanding. A tack cloth works best to remove dust. If you’re refinishing, strip old paint or varnish completely. Chemical strippers are effective but use them in a well-ventilated area. OSHA’s safety guidelines emphasize proper ventilation when handling these chemicals.
Applying Wood Finishes: Step-by-Step
Here’s a simple process to apply a finish: 1. Stir, Don’t Shake: Mix the finish gently to avoid bubbles. 2. Use the Right Tools: Brushes work for polyurethane; rags are better for oils. 3. Apply Thin Coats: Thin layers dry evenly and prevent drips. Aim for 2-3 coats. 4. Sand Between Coats: Lightly sand with 220-grit paper for a smooth finish. 5. Let It Cure: Most finishes need 24-48 hours to dry fully.
When I finished a walnut coffee table, I used a foam brush for polyurethane. The thin coats dried clear, and the table’s grain popped beautifully. Patience is key—rushing leads to mistakes.
For intricate pieces like chair spindles, use a small brush or even a spray finish for hard-to-reach spots. Always work in a dust-free area to avoid particles sticking to the wet finish. This article from Fine Woodworking has great tips on achieving a flawless application.
Maintaining Your Finished Furniture
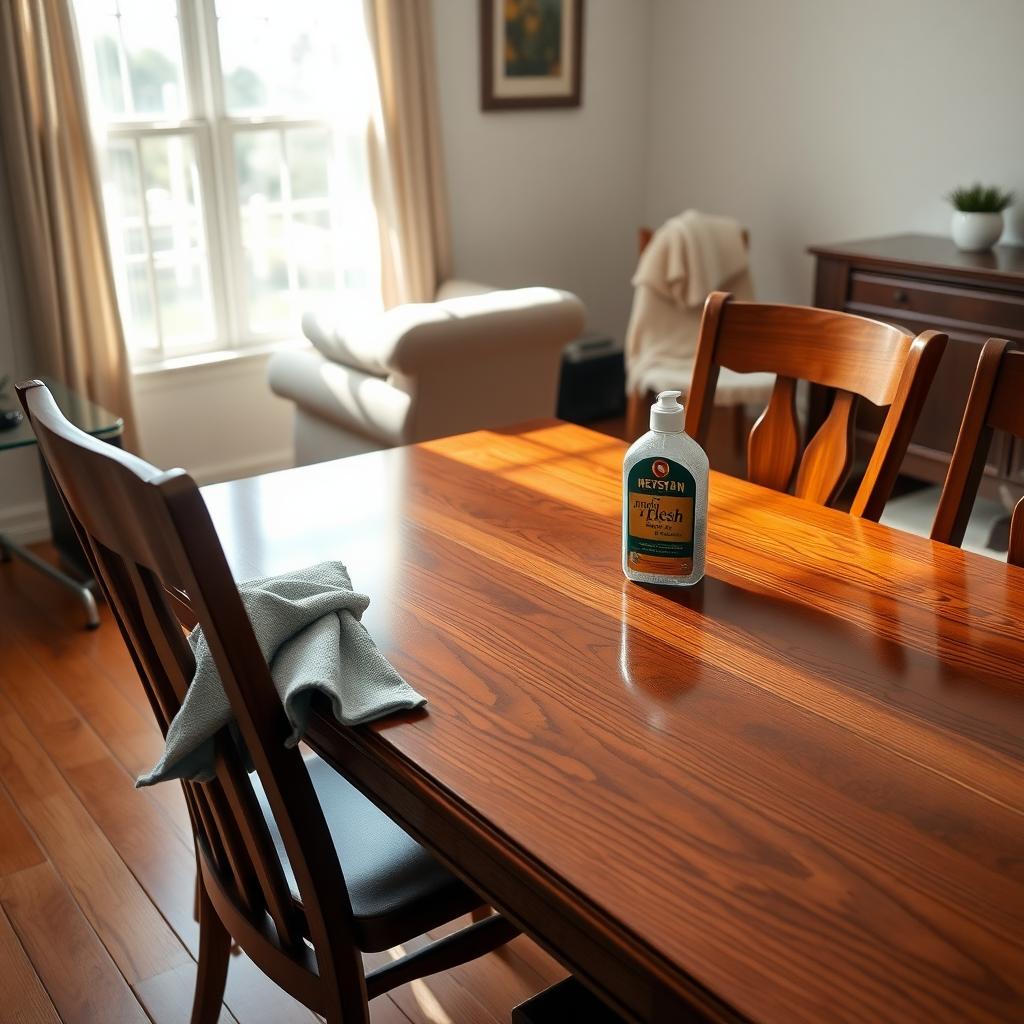
A good finish needs care to stay beautiful. Dust regularly with a soft cloth to avoid scratches. For spills, wipe immediately with a damp cloth, then dry. Avoid harsh cleaners—they can strip the finish. Every few years, apply a furniture polish or wax to refresh the shine. I’ve used beeswax polish on my oak chairs, and it keeps them looking new.
For scratches, try a touch-up pen matched to the wood’s color. Deeper damage may need light sanding and a new coat. Check your finish type—some, like shellac, don’t hold up to water exposure. Regular care extends the life of your furniture, saving you time and money.
Common Mistakes to Avoid
Even experienced woodworkers mess up sometimes. Here are pitfalls to watch for: - Skipping Prep: Rushing sanding or cleaning leads to blotchy finishes. - Overloading the Brush: Too much finish causes drips and uneven coats. - Ignoring Ventilation: Fumes from lacquer or polyurethane can be harmful. - Mixing Finishes: Combining incompatible finishes, like oil over lacquer, can ruin your work.
I once applied too much tung oil to a shelf, thinking it would speed things up. It stayed sticky for weeks. Stick to thin, even coats for best results.
Eco-Friendly Finishing Options
If you’re environmentally conscious, consider low-VOC or natural finishes. Water-based polyurethane and plant-based oils like linseed are great choices. They’re safer for indoor use and reduce environmental impact. The EPA’s guide on VOCs explains why low-VOC finishes matter for air quality.
Summary: Your Path to Perfect Wood Finishes
The Ultimate Guide to Wood Finishes shows you how to protect and beautify your furniture. From picking the right finish to applying it with care, every step matters. With proper prep, application, and maintenance, your chairs and tables will stay stunning for years. Start small, experiment, and enjoy the process of transforming your wood pieces.