


Featured Post
How to Restore Old Furniture Like a Pro
Overview
Restoring old furniture is a rewarding way to breathe new life into cherished pieces. Whether it’s a scratched dining table or a faded chair, learning How to Restore Old Furniture Like a Pro can save money and create stunning results. This guide shares practical steps, personal insights, and expert tips to help you achieve professional-quality restorations.
Why Restore Old Furniture?
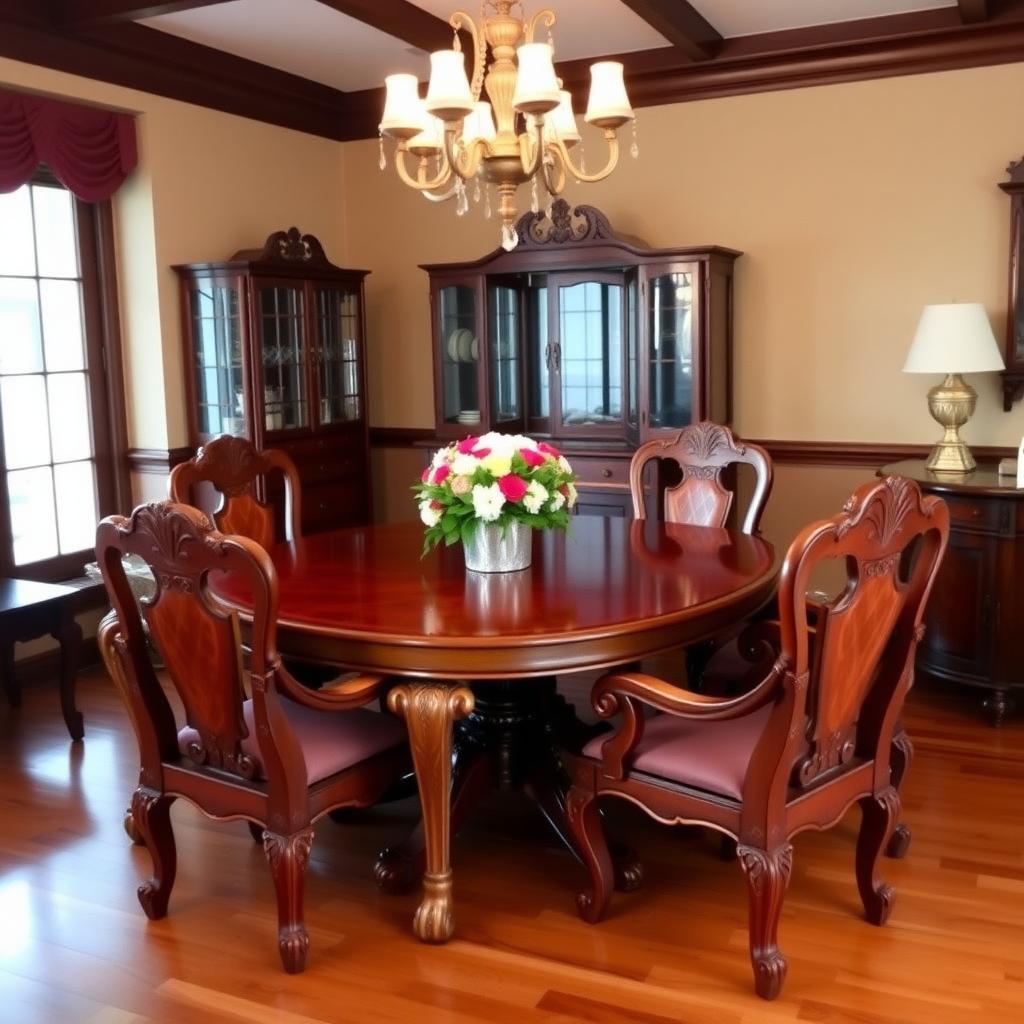
Old furniture often carries sentimental value or unique craftsmanship that modern pieces lack. Restoring a dining set, for example, can preserve family memories while creating elegant dining furniture for formal rooms. Plus, it’s eco-friendly, reducing waste by repurposing items. My first restoration was a wobbly oak table from my grandmother’s house. The process was daunting but taught me patience and the joy of reviving something meaningful.
Step 1: Assess the Furniture’s Condition
Before diving in, inspect your piece. Check for structural issues like loose joints, missing parts, or water damage. For wooden dining furniture, look for common furniture scratches and how to fix them. Surface scratches are often cosmetic, while deep gouges may need more work. I once found a dining chair with a cracked leg—fixing it required glue and clamps before any cosmetic touch-ups.
Use a flashlight to spot hidden damage, especially in crevices. If you’re unsure about the wood type, consult resources like the Wood Database from the Woodworkers Source, which identifies wood species and their properties. Knowing your material guides your restoration approach.

Step 2: Clean the Furniture Thoroughly
Dirt and grime can hide damage or affect your finish. Use a mild cleaner, like a mix of dish soap and water, to gently scrub the surface. Avoid soaking the wood, as excess moisture can warp it. For intricate carvings, use a soft toothbrush. I learned this the hard way when I over-wetted a chair, causing the wood to swell slightly.
For stubborn stains, try a solution recommended by the Furniture Refinishers Guide from the University of Georgia Extension. They suggest using mineral spirits for greasy marks. Always test cleaners on a small, hidden area first.
Step 3: Repair Structural Damage
Fix wobbly legs or loose joints before addressing cosmetics. Use wood glue for loose joints, clamping them for 24 hours. For broken parts, consider replacing them with matching wood. My go-to is checking salvage yards for period-appropriate pieces to maintain authenticity.
| Common Structural Issues | Solution |
|---|---|
| Loose joints | Apply wood glue, clamp tightly |
| Cracked legs | Use epoxy or replace the piece |
| Missing veneer | Patch with wood filler or new veneer |
Step 4: Address Common Furniture Scratches and How to Fix Them
Scratches are a common issue, especially on dining sets. Here’s how to tackle them:
- Light Scratches: Rub with a walnut or use a furniture touch-up marker. I’ve used markers on oak tables with great success.
- Medium Scratches: Sand lightly with 400-grit sandpaper, then apply a matching stain.
- Deep Gouges: Fill with wood filler, sand smooth, and stain to match.
The Old House Journal suggests using tinted wax sticks for quick fixes on minor scratches.
Step 5: Sand and Prep the Surface
Sanding removes old finishes and smooths imperfections. Start with 120-grit sandpaper for rough areas, then move to 220-grit for a smooth finish. Always sand with the grain to avoid scratches. I once rushed this step and ended up with swirl marks that took hours to fix.
Wipe away dust with a tack cloth before staining. This ensures a clean surface for even application. If you’re refinishing elegant dining furniture for formal rooms, a smooth prep is key to a polished look.
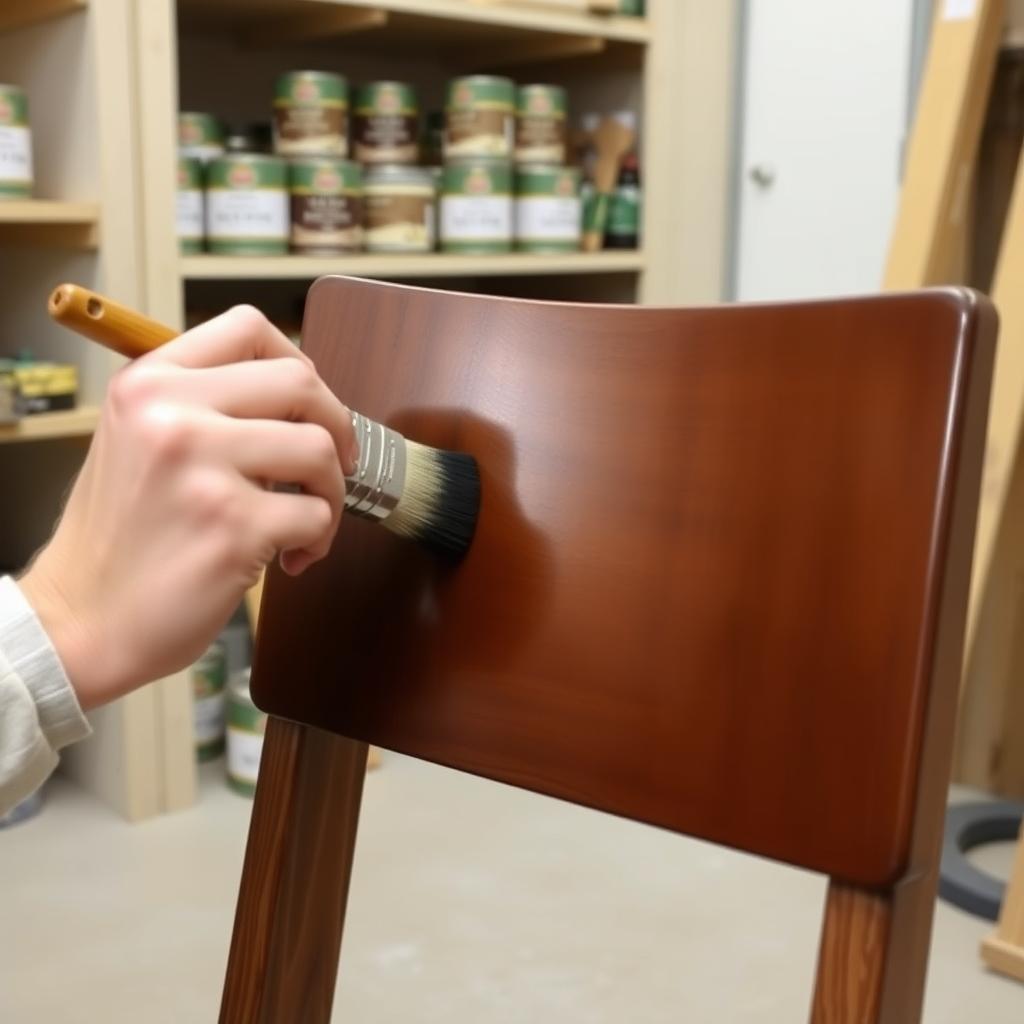
Step 6: Stain and Finish
Choose a stain that enhances the wood’s natural beauty. Test it on a hidden area first, as colors can vary. Apply with a brush or cloth, wiping off excess for even coverage. For dining sets, I prefer oil-based stains for durability. Seal with polyurethane for protection—two to three coats work best.
The Forest Products Laboratory from the USDA Forest Service recommends water-based polyurethane for eco-friendly options. It dries faster but may need extra coats for heavy-use pieces like dining tables.
Top Tips for Maintaining Wooden Dining Furniture
Once restored, keep your dining set looking pristine with these tips:
- Dust Regularly: Use a soft, lint-free cloth to prevent dust buildup.
- Use Coasters: Protect surfaces from water rings and heat marks.
- Polish Sparingly: Apply furniture polish every few months to avoid buildup.
- Avoid Direct Sunlight: UV rays can fade wood over time.
I learned to rotate my dining table’s position yearly to prevent uneven fading from sunlight.
Common Mistakes to Avoid
Restoring furniture is forgiving, but avoid these pitfalls:
- Skipping sanding: It leads to uneven finishes.
- Using too much stain: This causes sticky, blotchy surfaces.
- Ignoring safety: Wear gloves and a mask when sanding or using chemicals.
My first project taught me to take my time—rushing leads to mistakes that are harder to fix later.
Summary
Restoring old furniture is a blend of patience, skill, and creativity. By assessing damage, cleaning thoroughly, repairing scratches, and applying the right finish, you can transform any piece into elegant dining furniture for formal rooms. Follow these steps, avoid common mistakes, and enjoy the satisfaction of a beautifully restored dining set.